Upload Map
Each floor has its own floor map. To begin with, you need to create floors and upload map backgrounds for each floor.
Create First Floor
If there are no floors in location, start with creating new floors.
Click Get Started to create a new floor and upload floor map
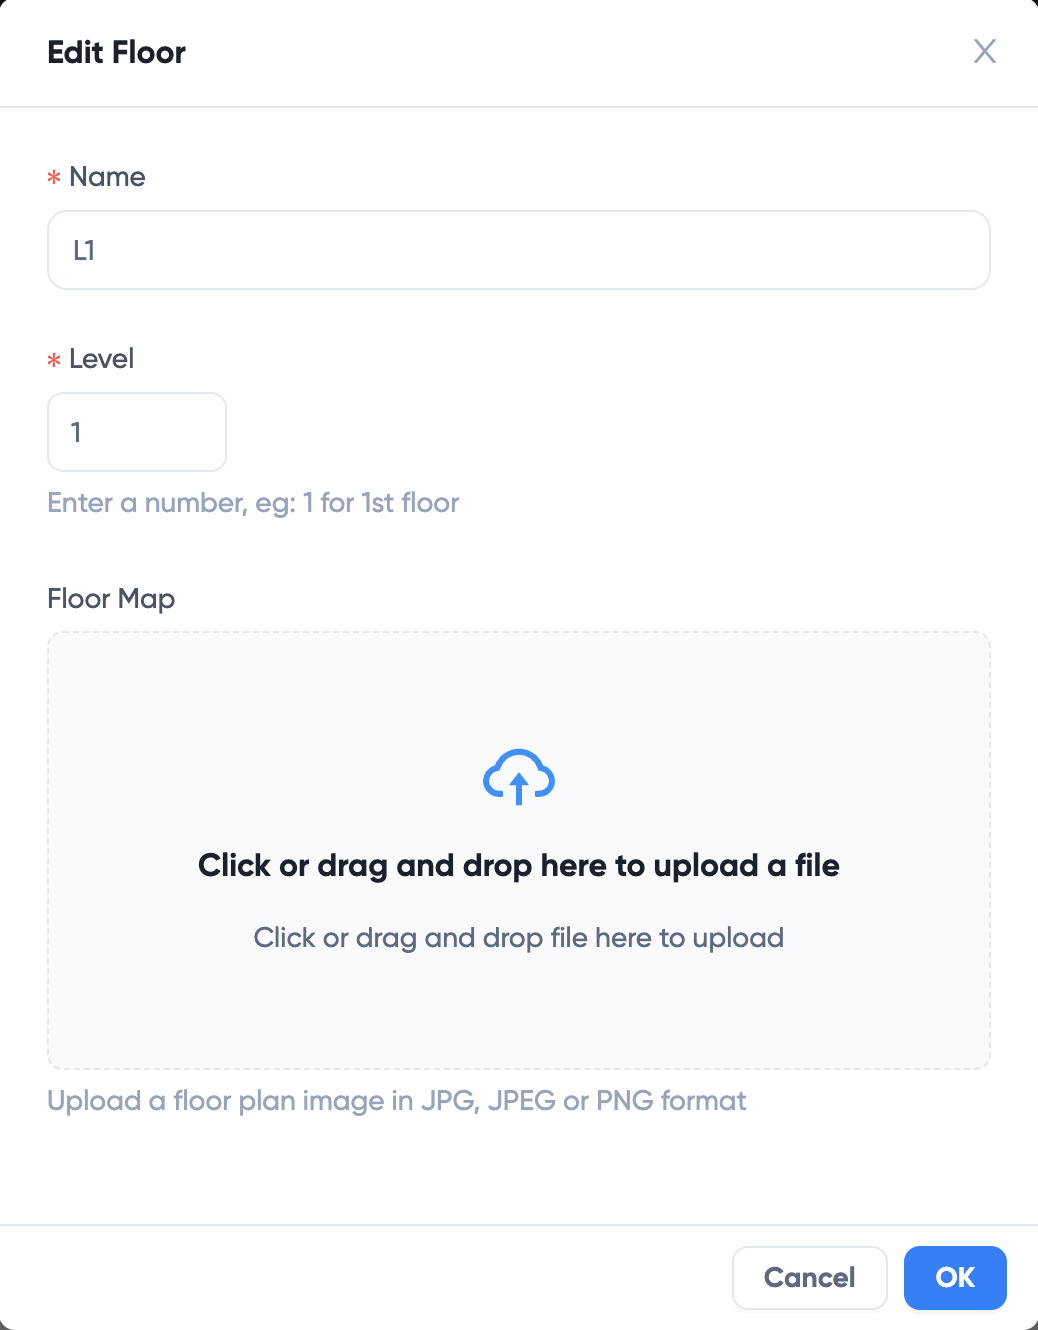
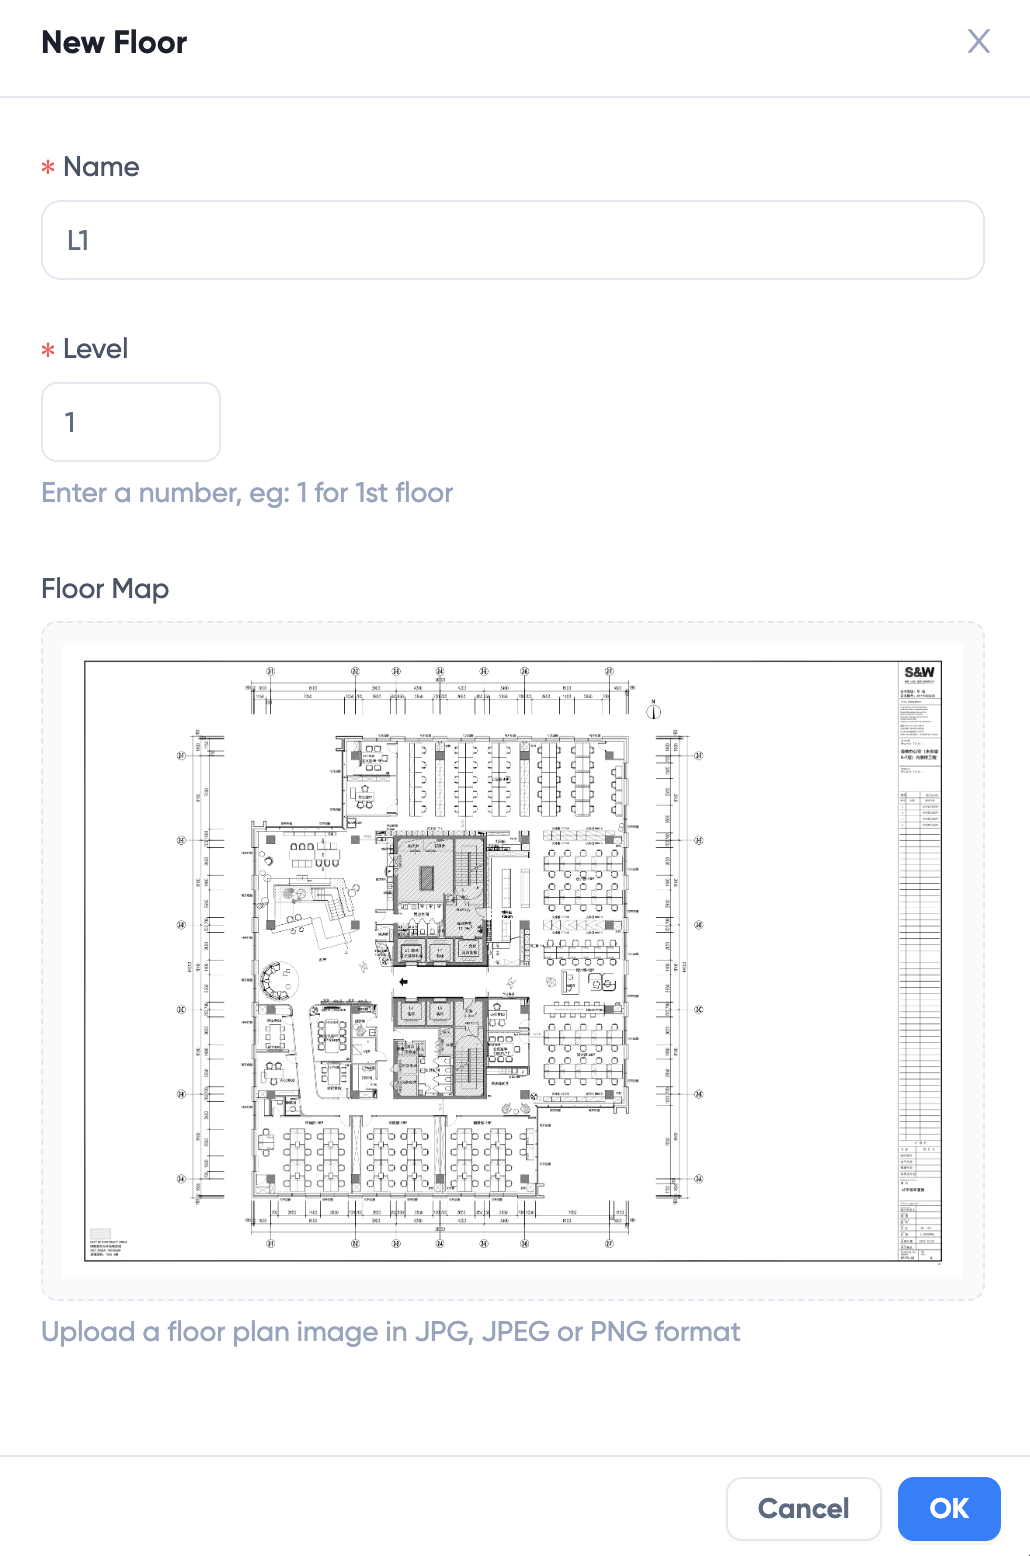
Select or drag and drop a PNG or JPG file for map background and click OK to upload.
TIP
Because the floor map is used on mobile app, it is recommended the file size is not too big, such as within 300KB. You can use image compressors to reduce image size.
Next, add resources such as rooms, desks, areas and more to your floor map.
Add Additional Floors
If you have already added some floors, you can continue adding new floors in Map Editor.
Go to Settings > Floor Map
Click Edit Floor Map button to open Map Editor
On top bar, click Floor dropdown and click "+ New Floor"
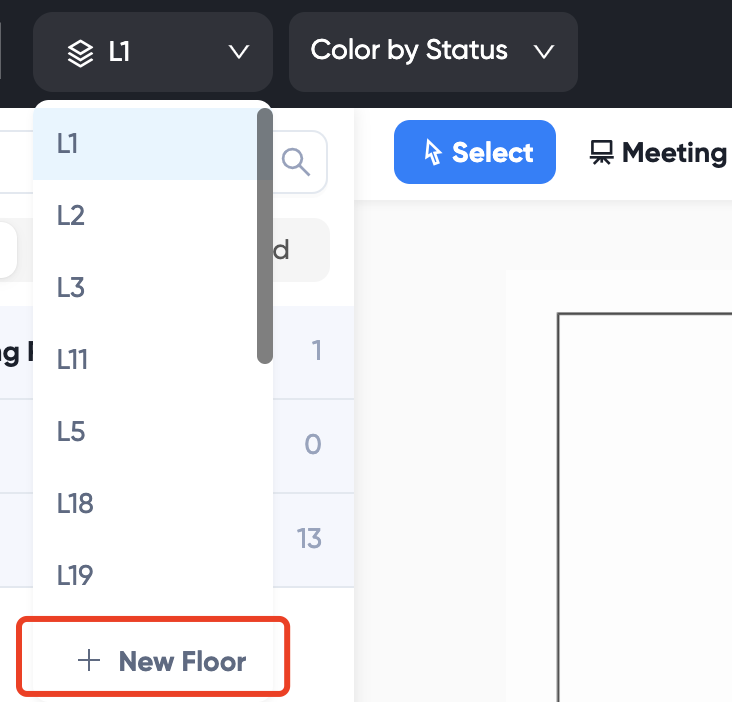
Fill in New Floor information and upload map for new Floor.
Change background
You may also change map background image for existing floor.
- Open Map Editor. Click on an empty space on the map. On the right, the Map Properties panel is displayed.
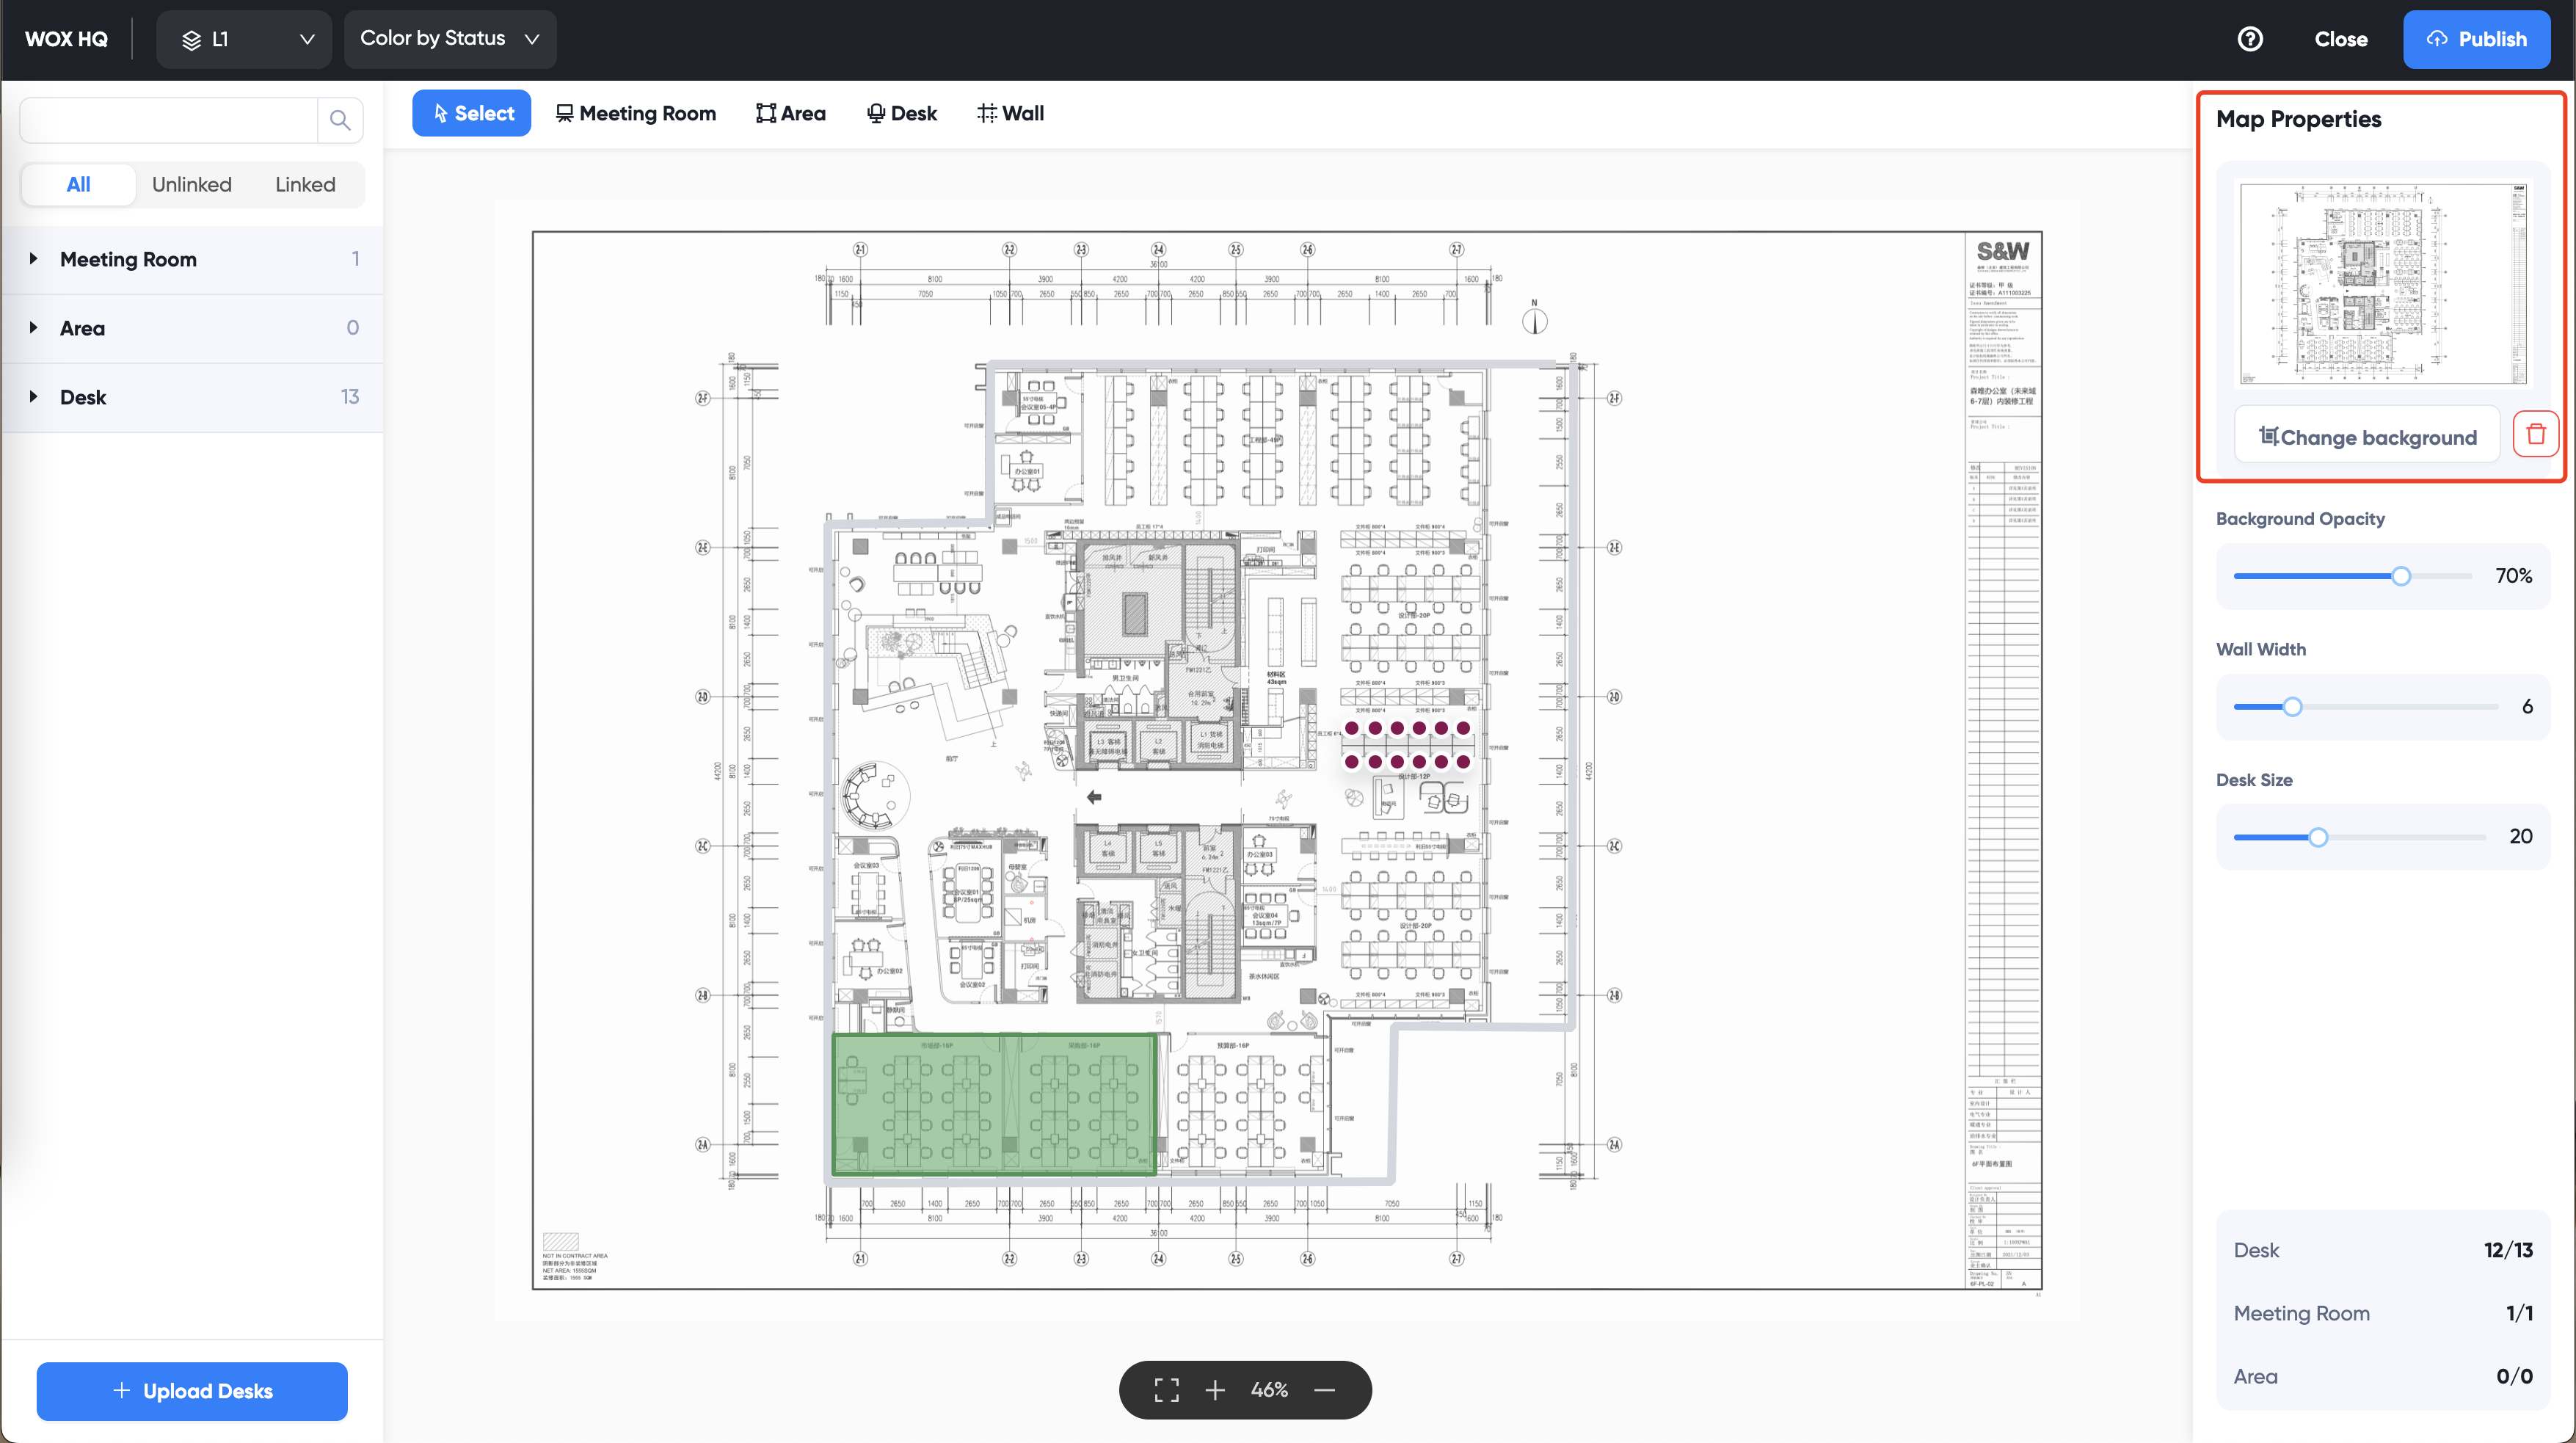
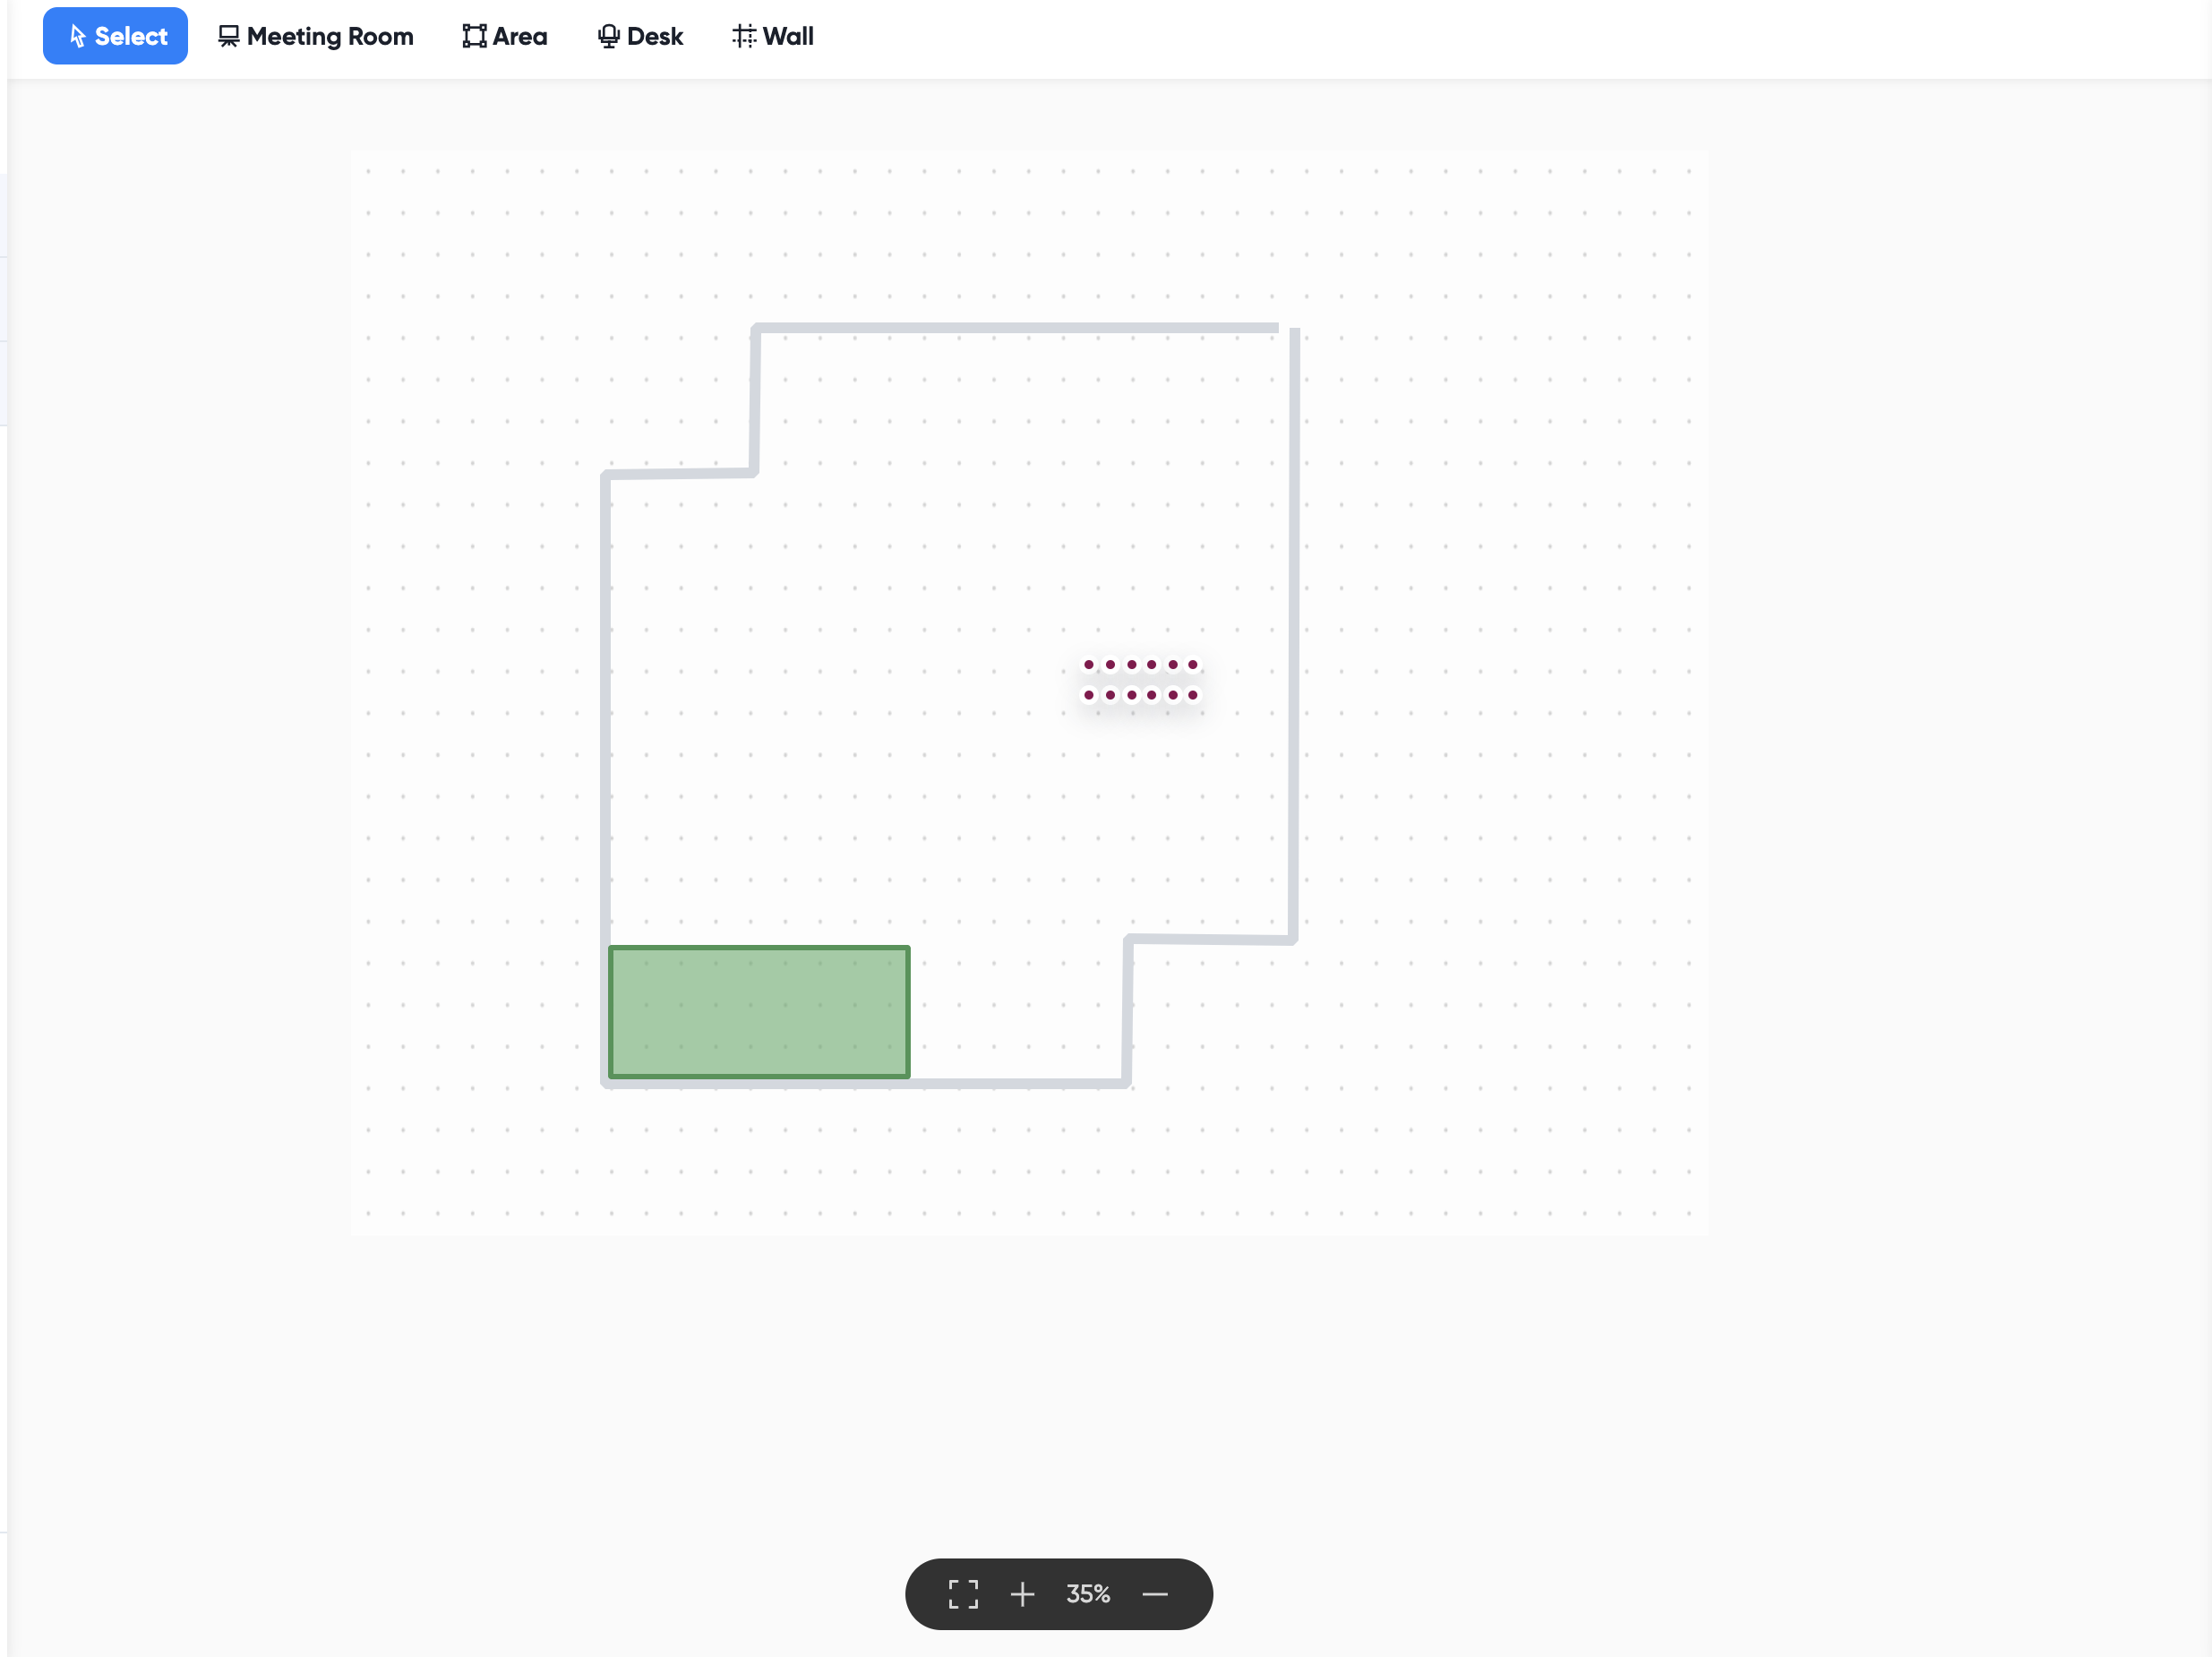
- Click Trash button to remove background. A grid will display as background in place of the original floor map.
- If you'd like to use a different floor map, click Change background, drag and drop new floor map image and click OK button to upload.
TIP
Because map background image may have different size and aspect ratio, if there are desks and resources on the map, they may appear dispositioned. Adjust them accordingly using move and alignment tools so they're perfectly aligned with new map image.