Azure AD
Microsoft Azure Active Directory (Azure AD) is a cloud-based identity and access management service offered by Microsoft to allow employees to login services using Single Sign-on.
What this does?
- Synchronize employee accounts from Azure AD to WOX
- Allow employees to login WOX using Single Sign-On.
Pre-requisites
- Microsoft Azure Active Directory Administrator account
- WOX Space Administrator account
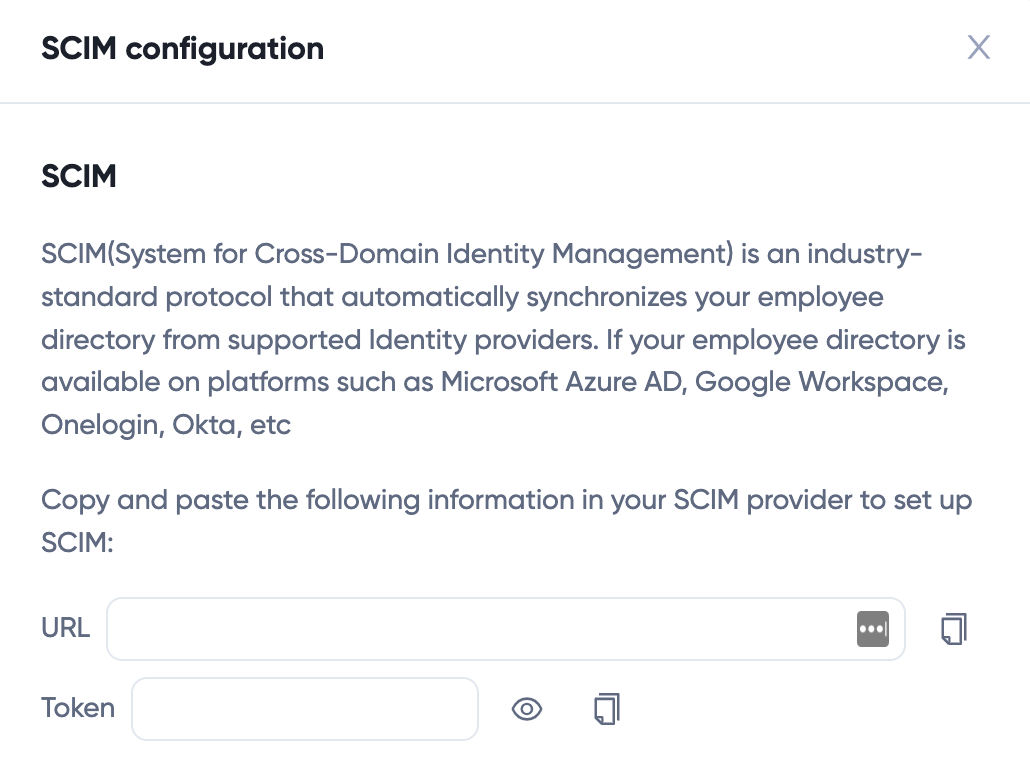
SCIM Tenant URL and Token
In order to set up SCIM, you need to get Tenant URL and Token from WOX. You can login to WOX as a space administrator, click Space > Integrations > SCIM, click Configure button to get Tenant URL and Token. Take a note of these values.
Microsoft Azure AD
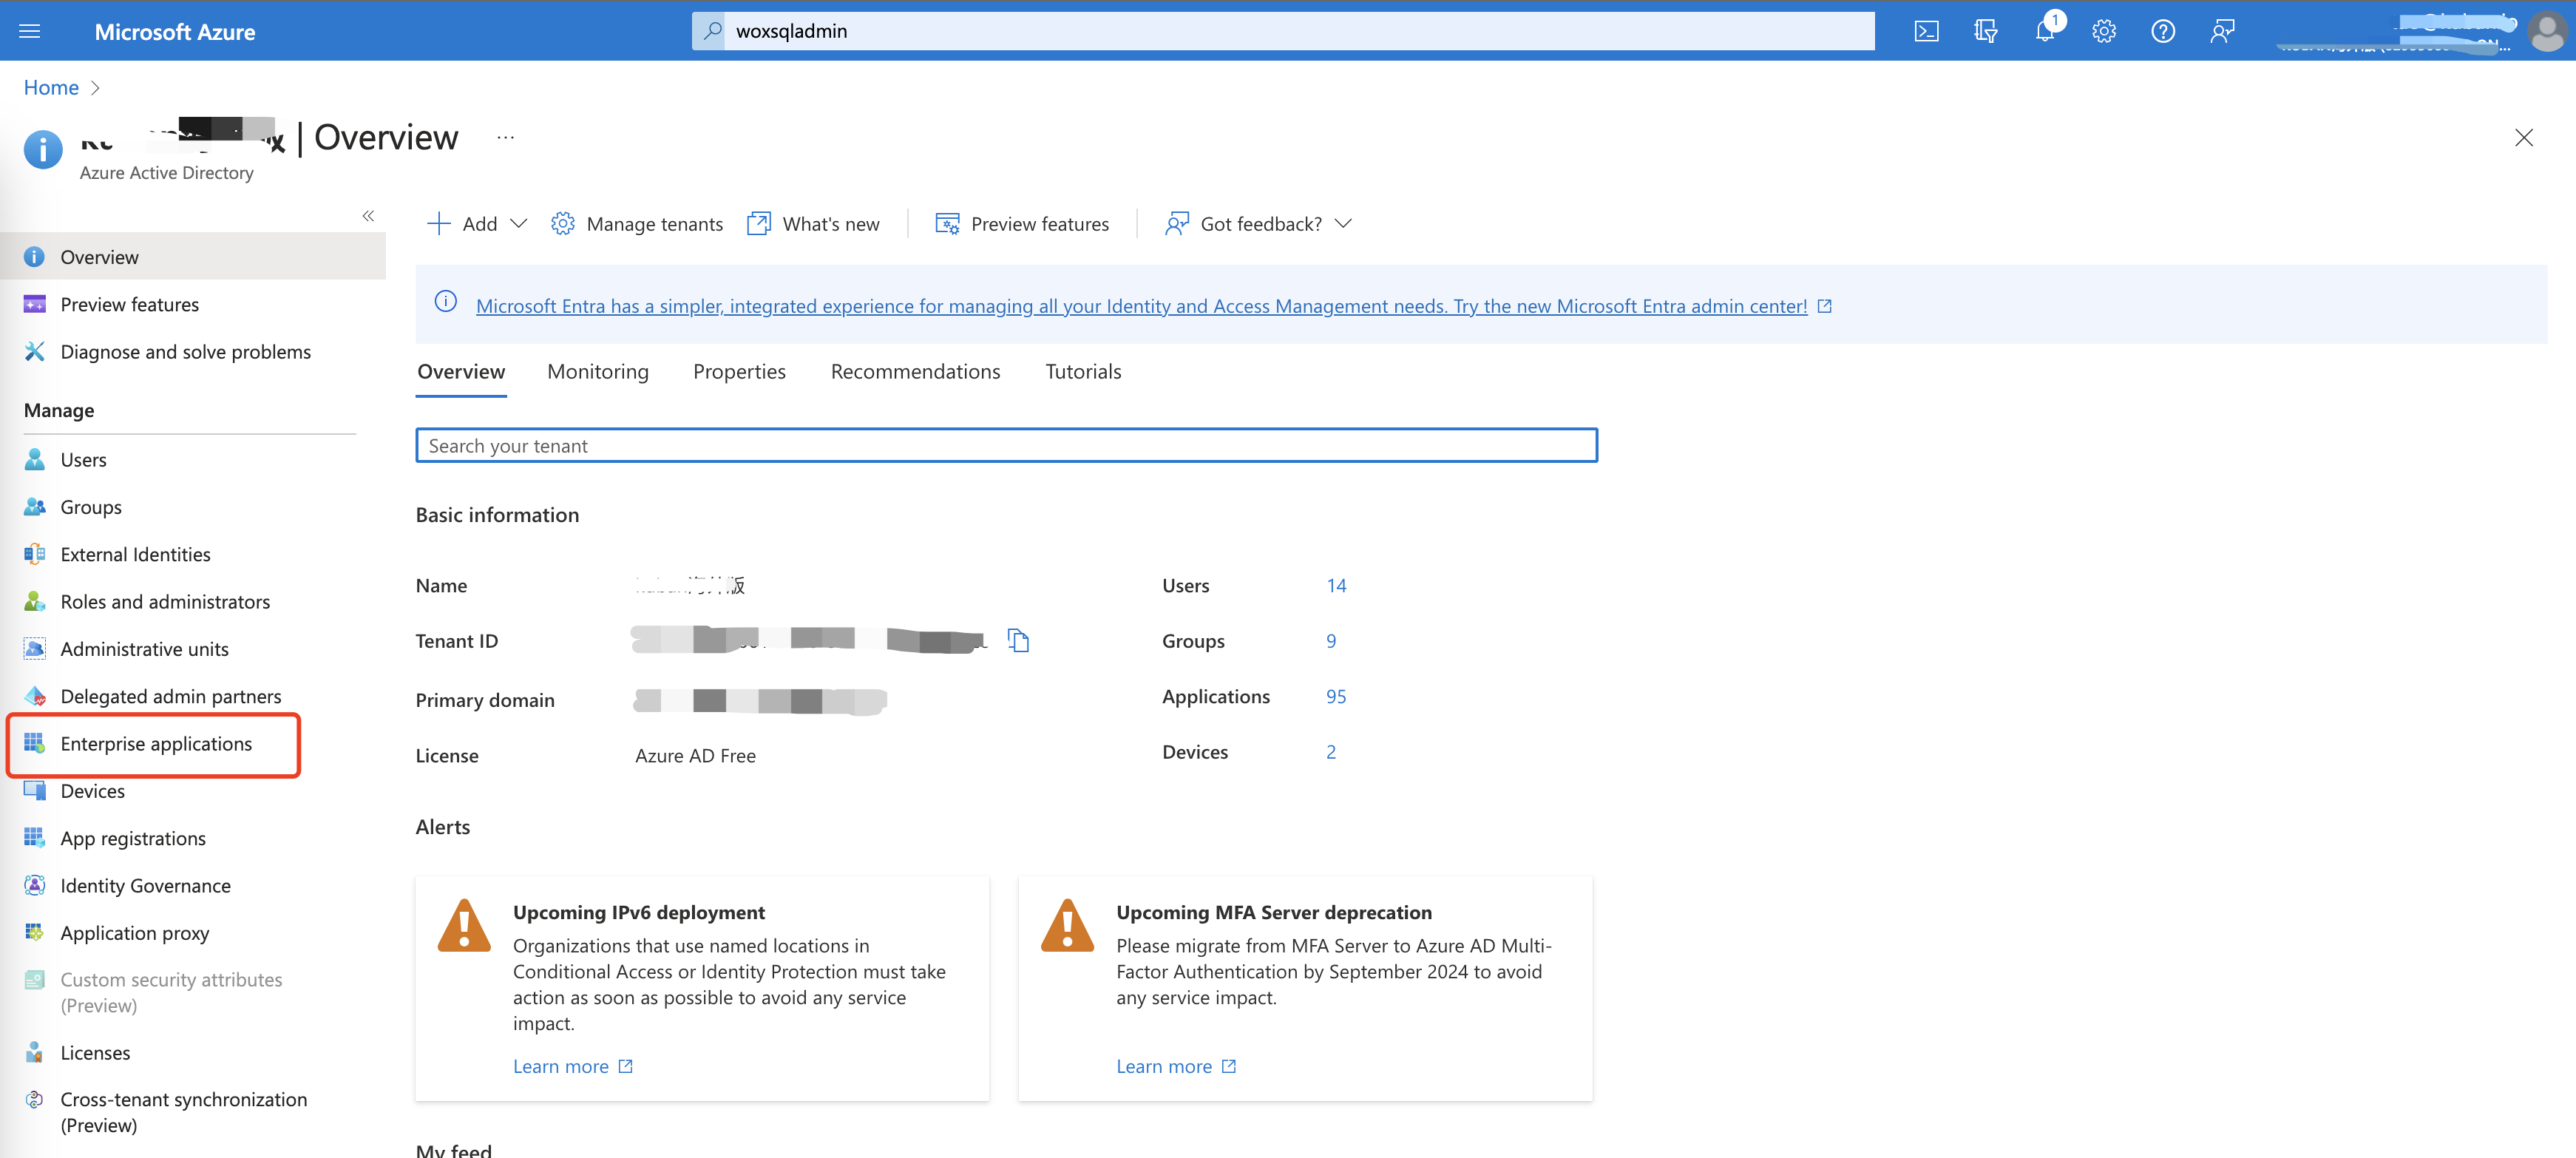
Login Azure Portal using Azure AD Administrator account. Or click here: https://portal.azure.com/#view/Microsoft_AAD_IAM/ActiveDirectoryMenuBlade/~/Overview
Click Azure Active Directory

- Click Enterprise applications
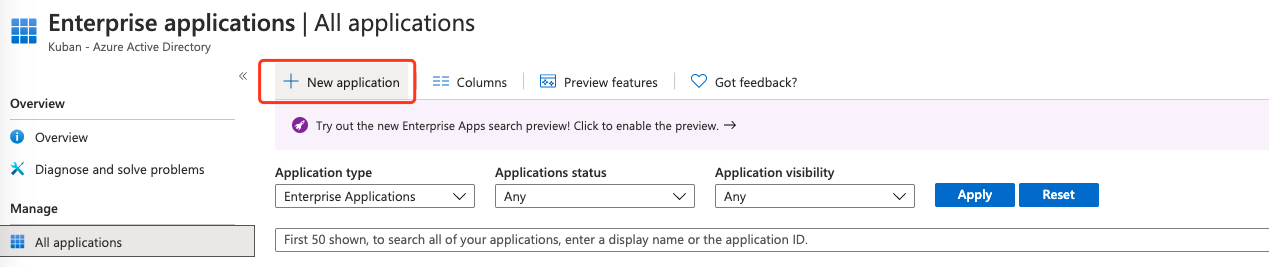
- Click New application to create a new application
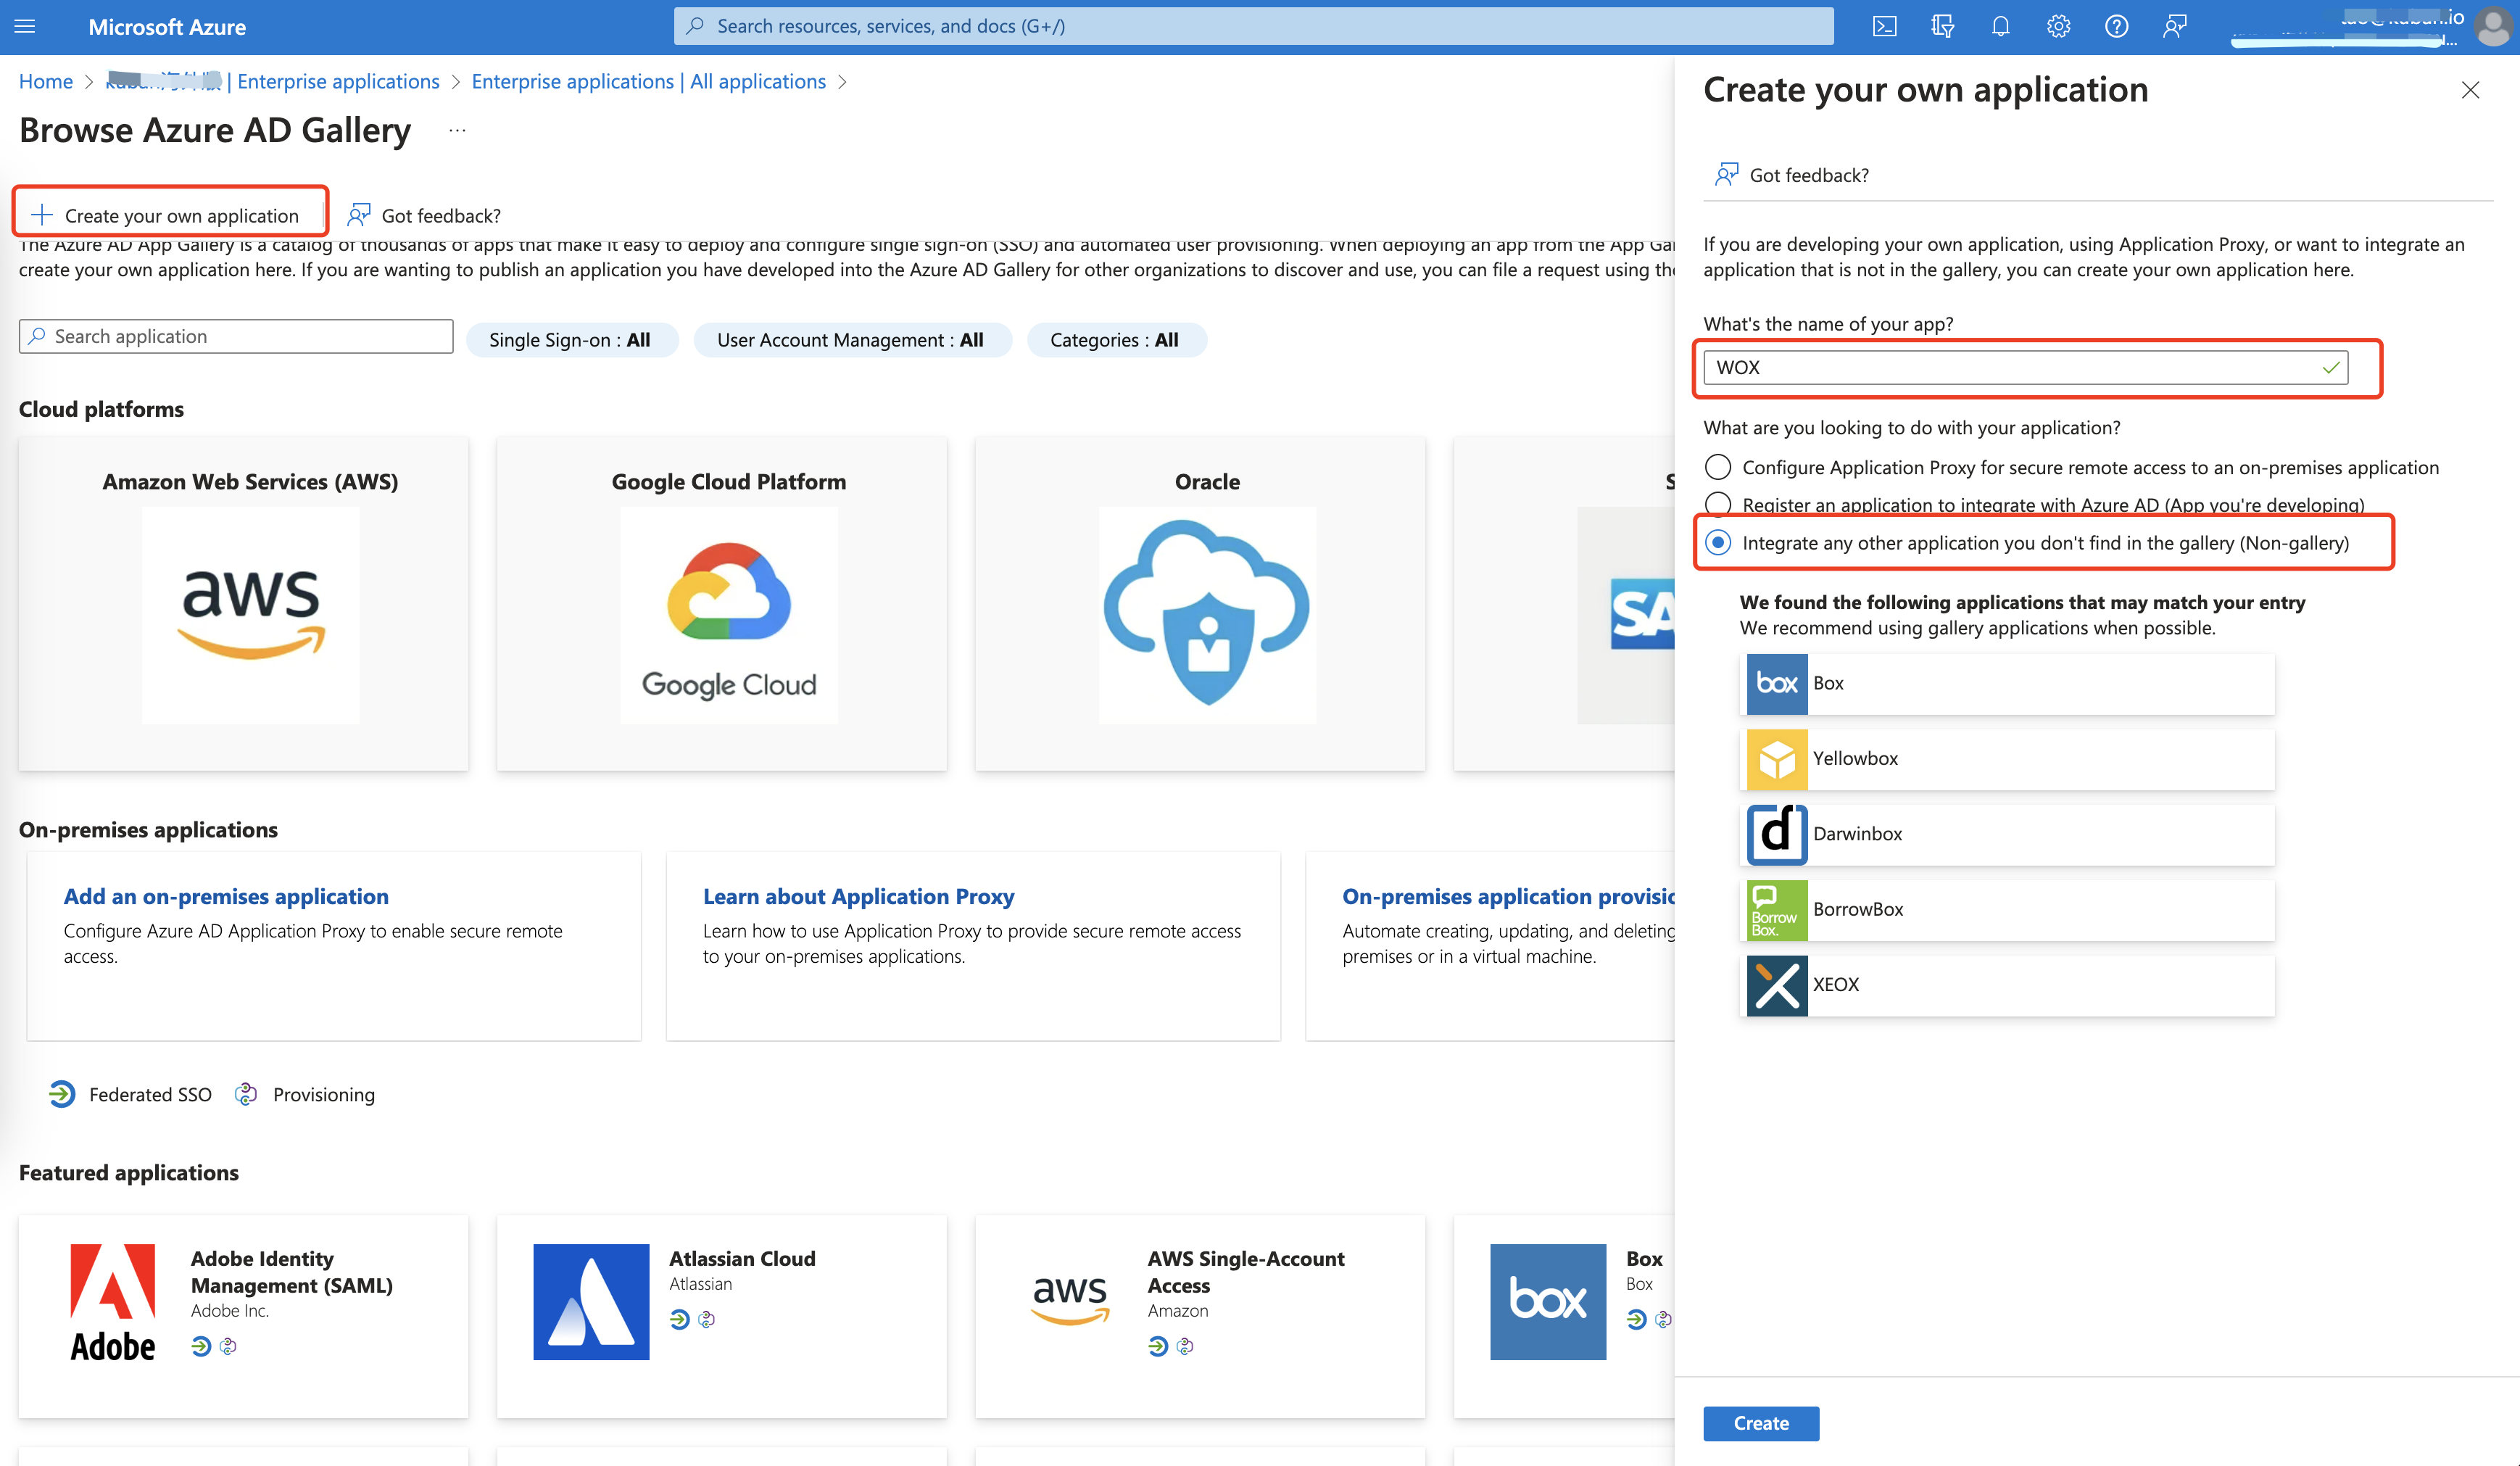
- Click Create your own application on the menu
Enter application name, such as WOX on the right drawer,
Select "Integrate any other application you don't find in the gallery (Non-gallery)" and click "Save"
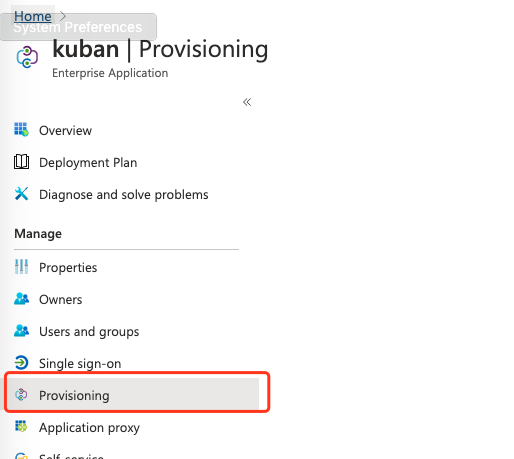
- Click Provisioning
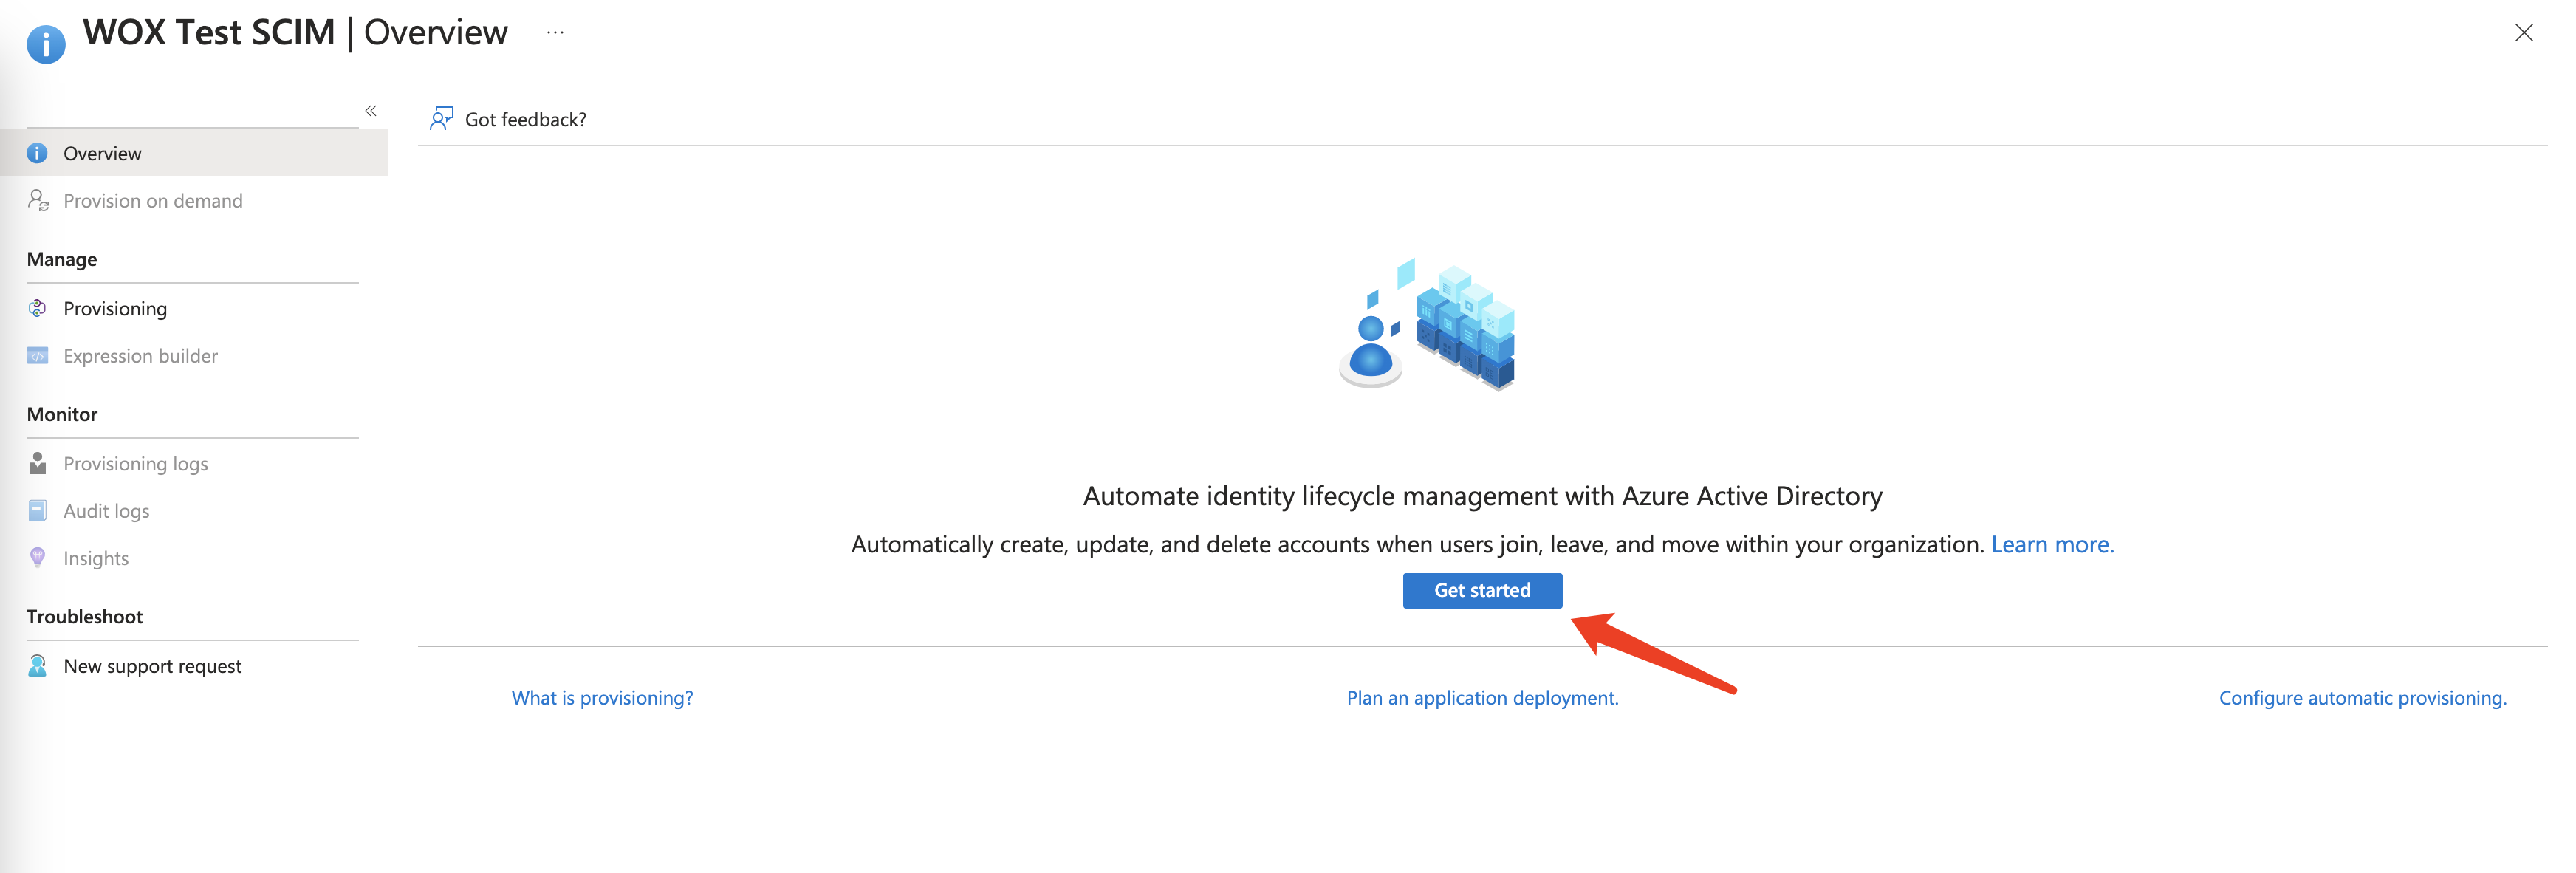
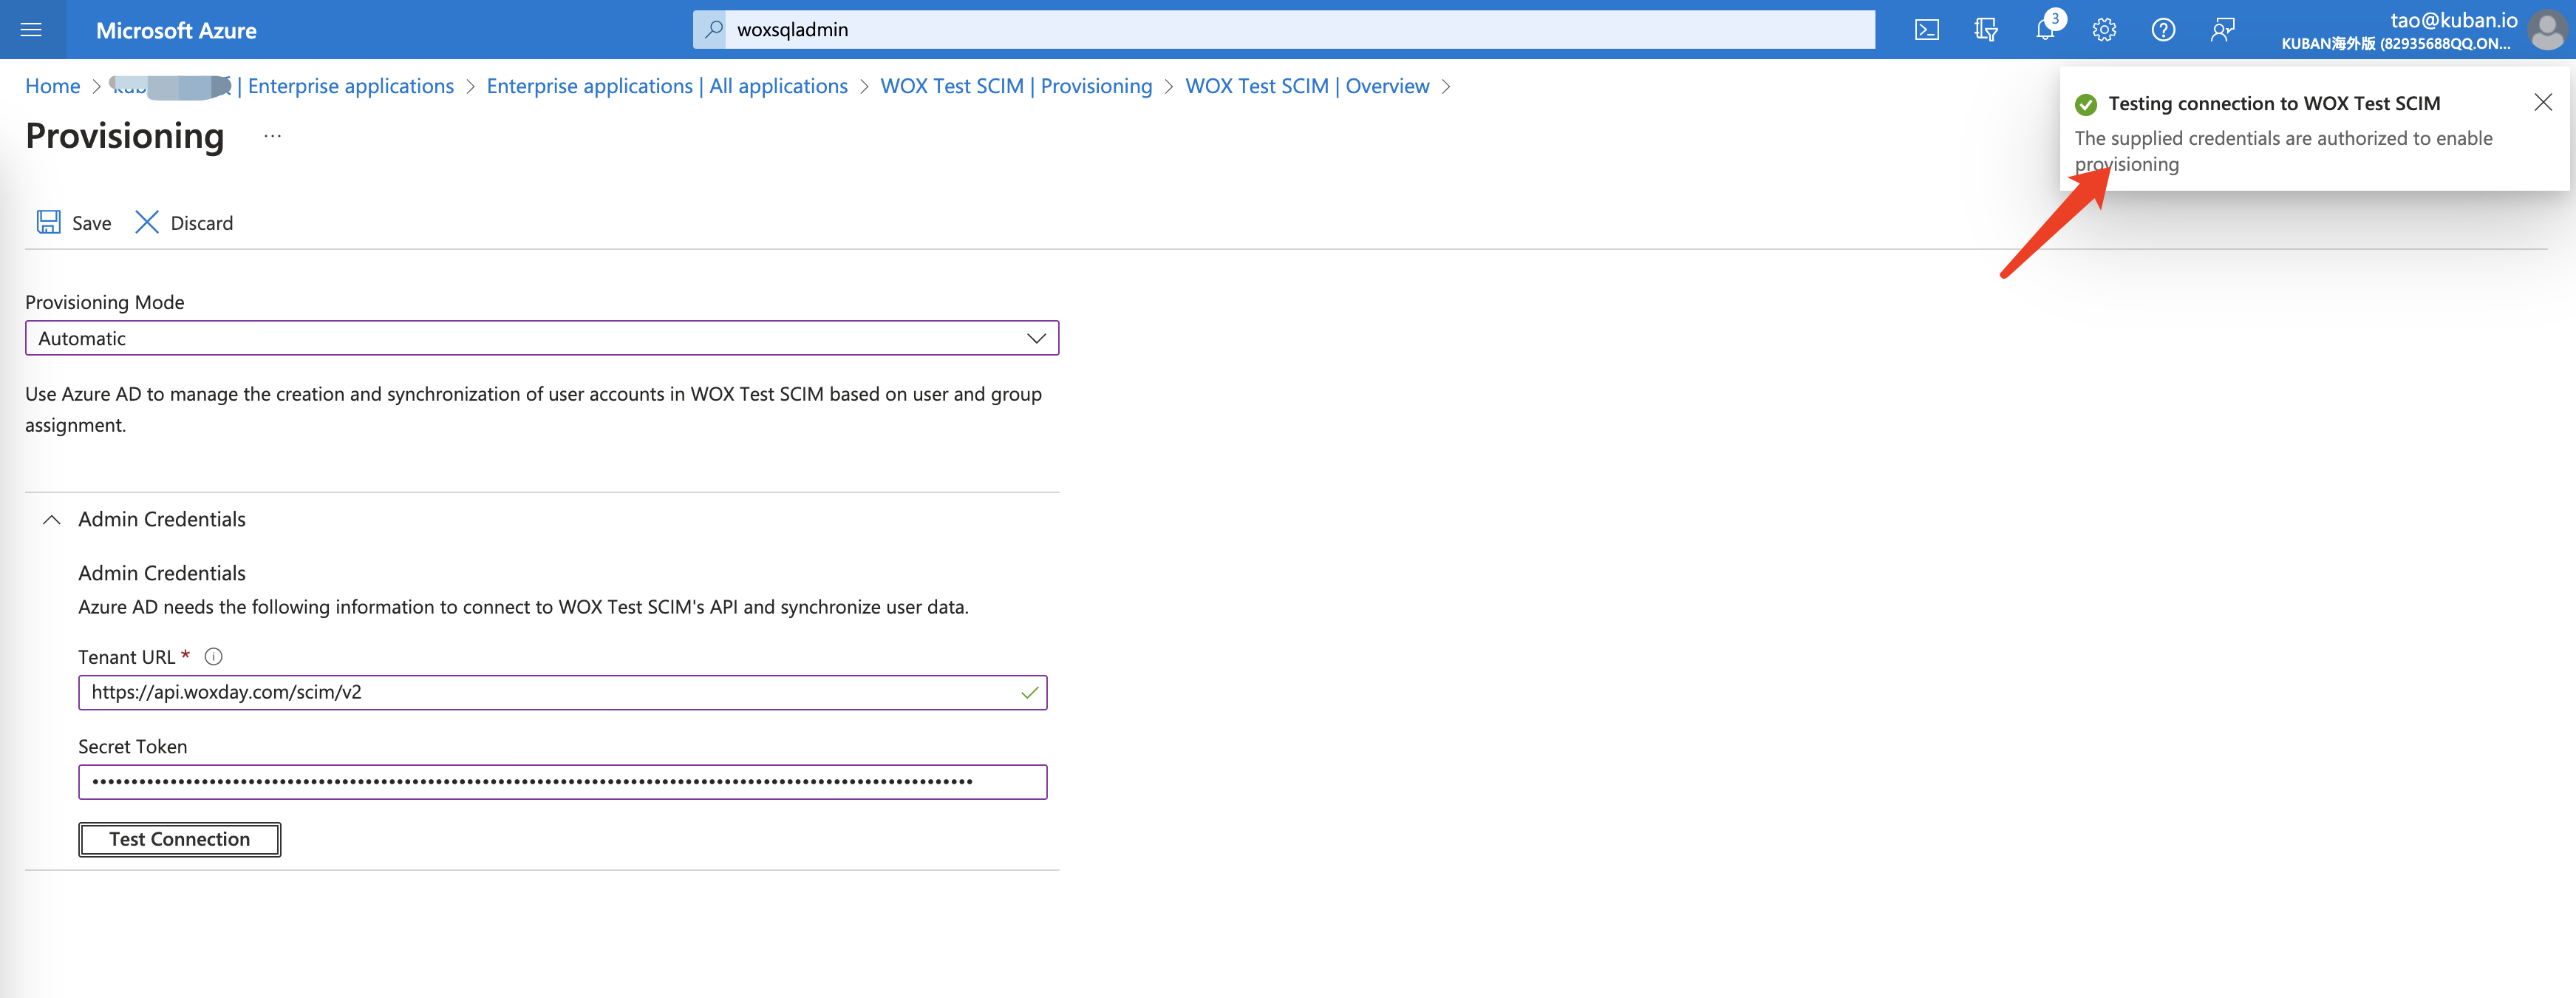
- Click "Get Started", select Provisioniong Mode to Automatic. Enter Tenant URL and Secret Token obtained at step 1.
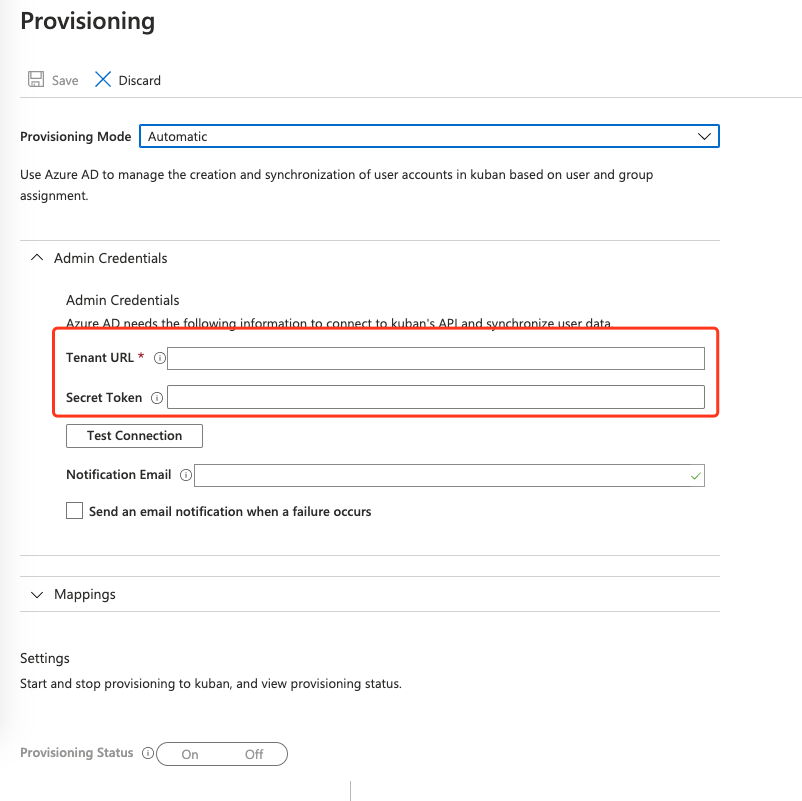
- Click Test Connection button to verify it's successful. Then click Save
::: tips
You may change Settings to receive an email notification when synchronization fails. This helps you to get alerted when there is something wrong with directory synchronzation:
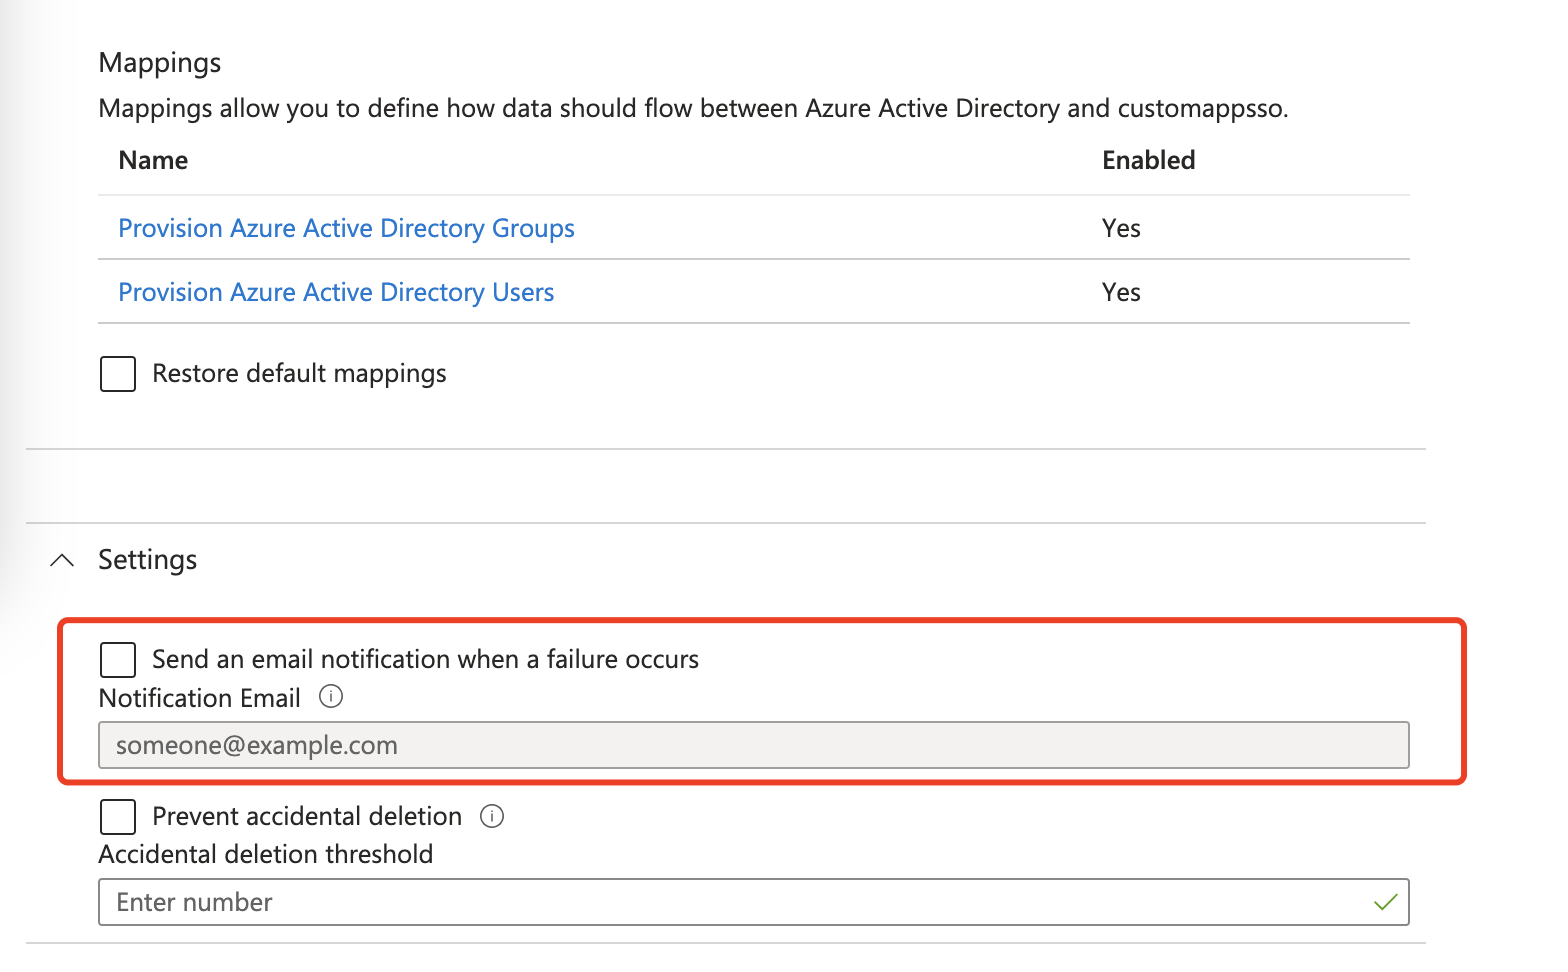
:::
- Next you need to assign Users and Groups to the newly created application. To do so, click "Users and Groups" menu, click Add user/group

Add users or groups to application, and click Assign.
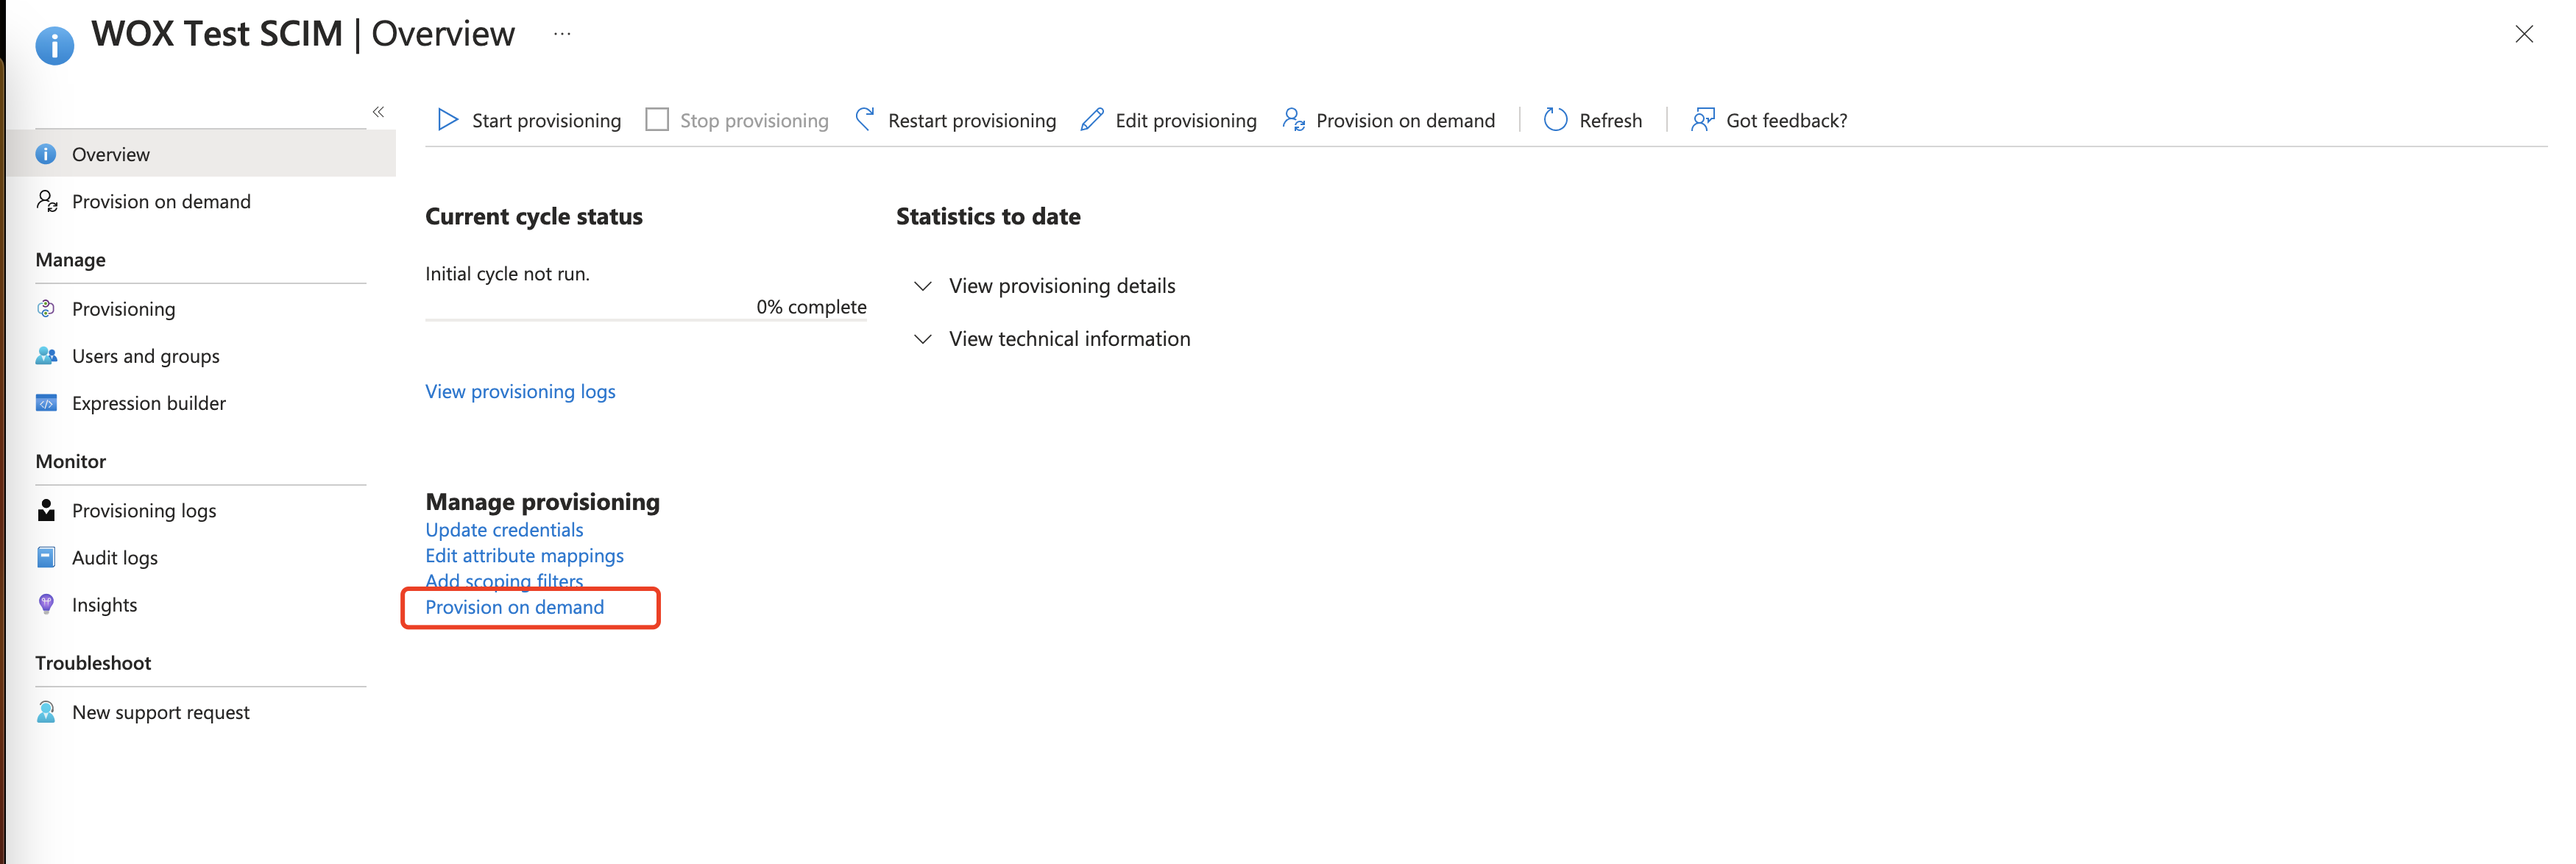
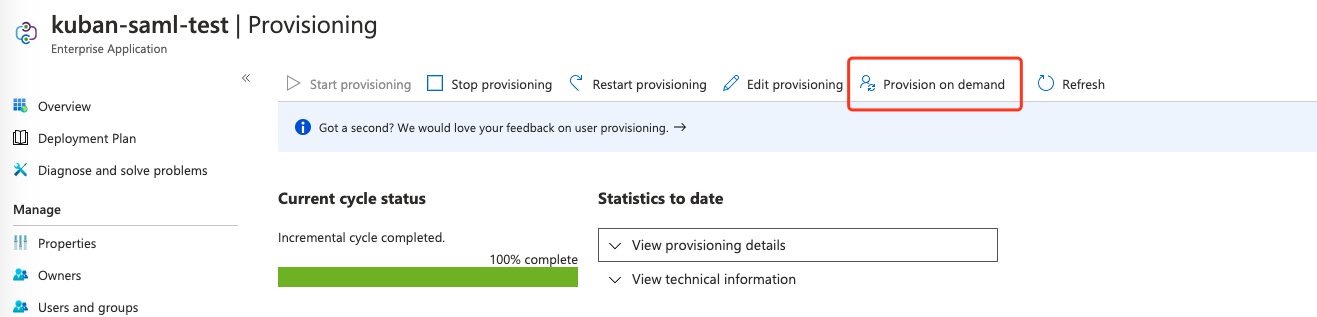
Click Provisioning menu. To verify, you can click Provision on demand button, select a user to provision it manually. If the account is synchronized successfully, you're set.
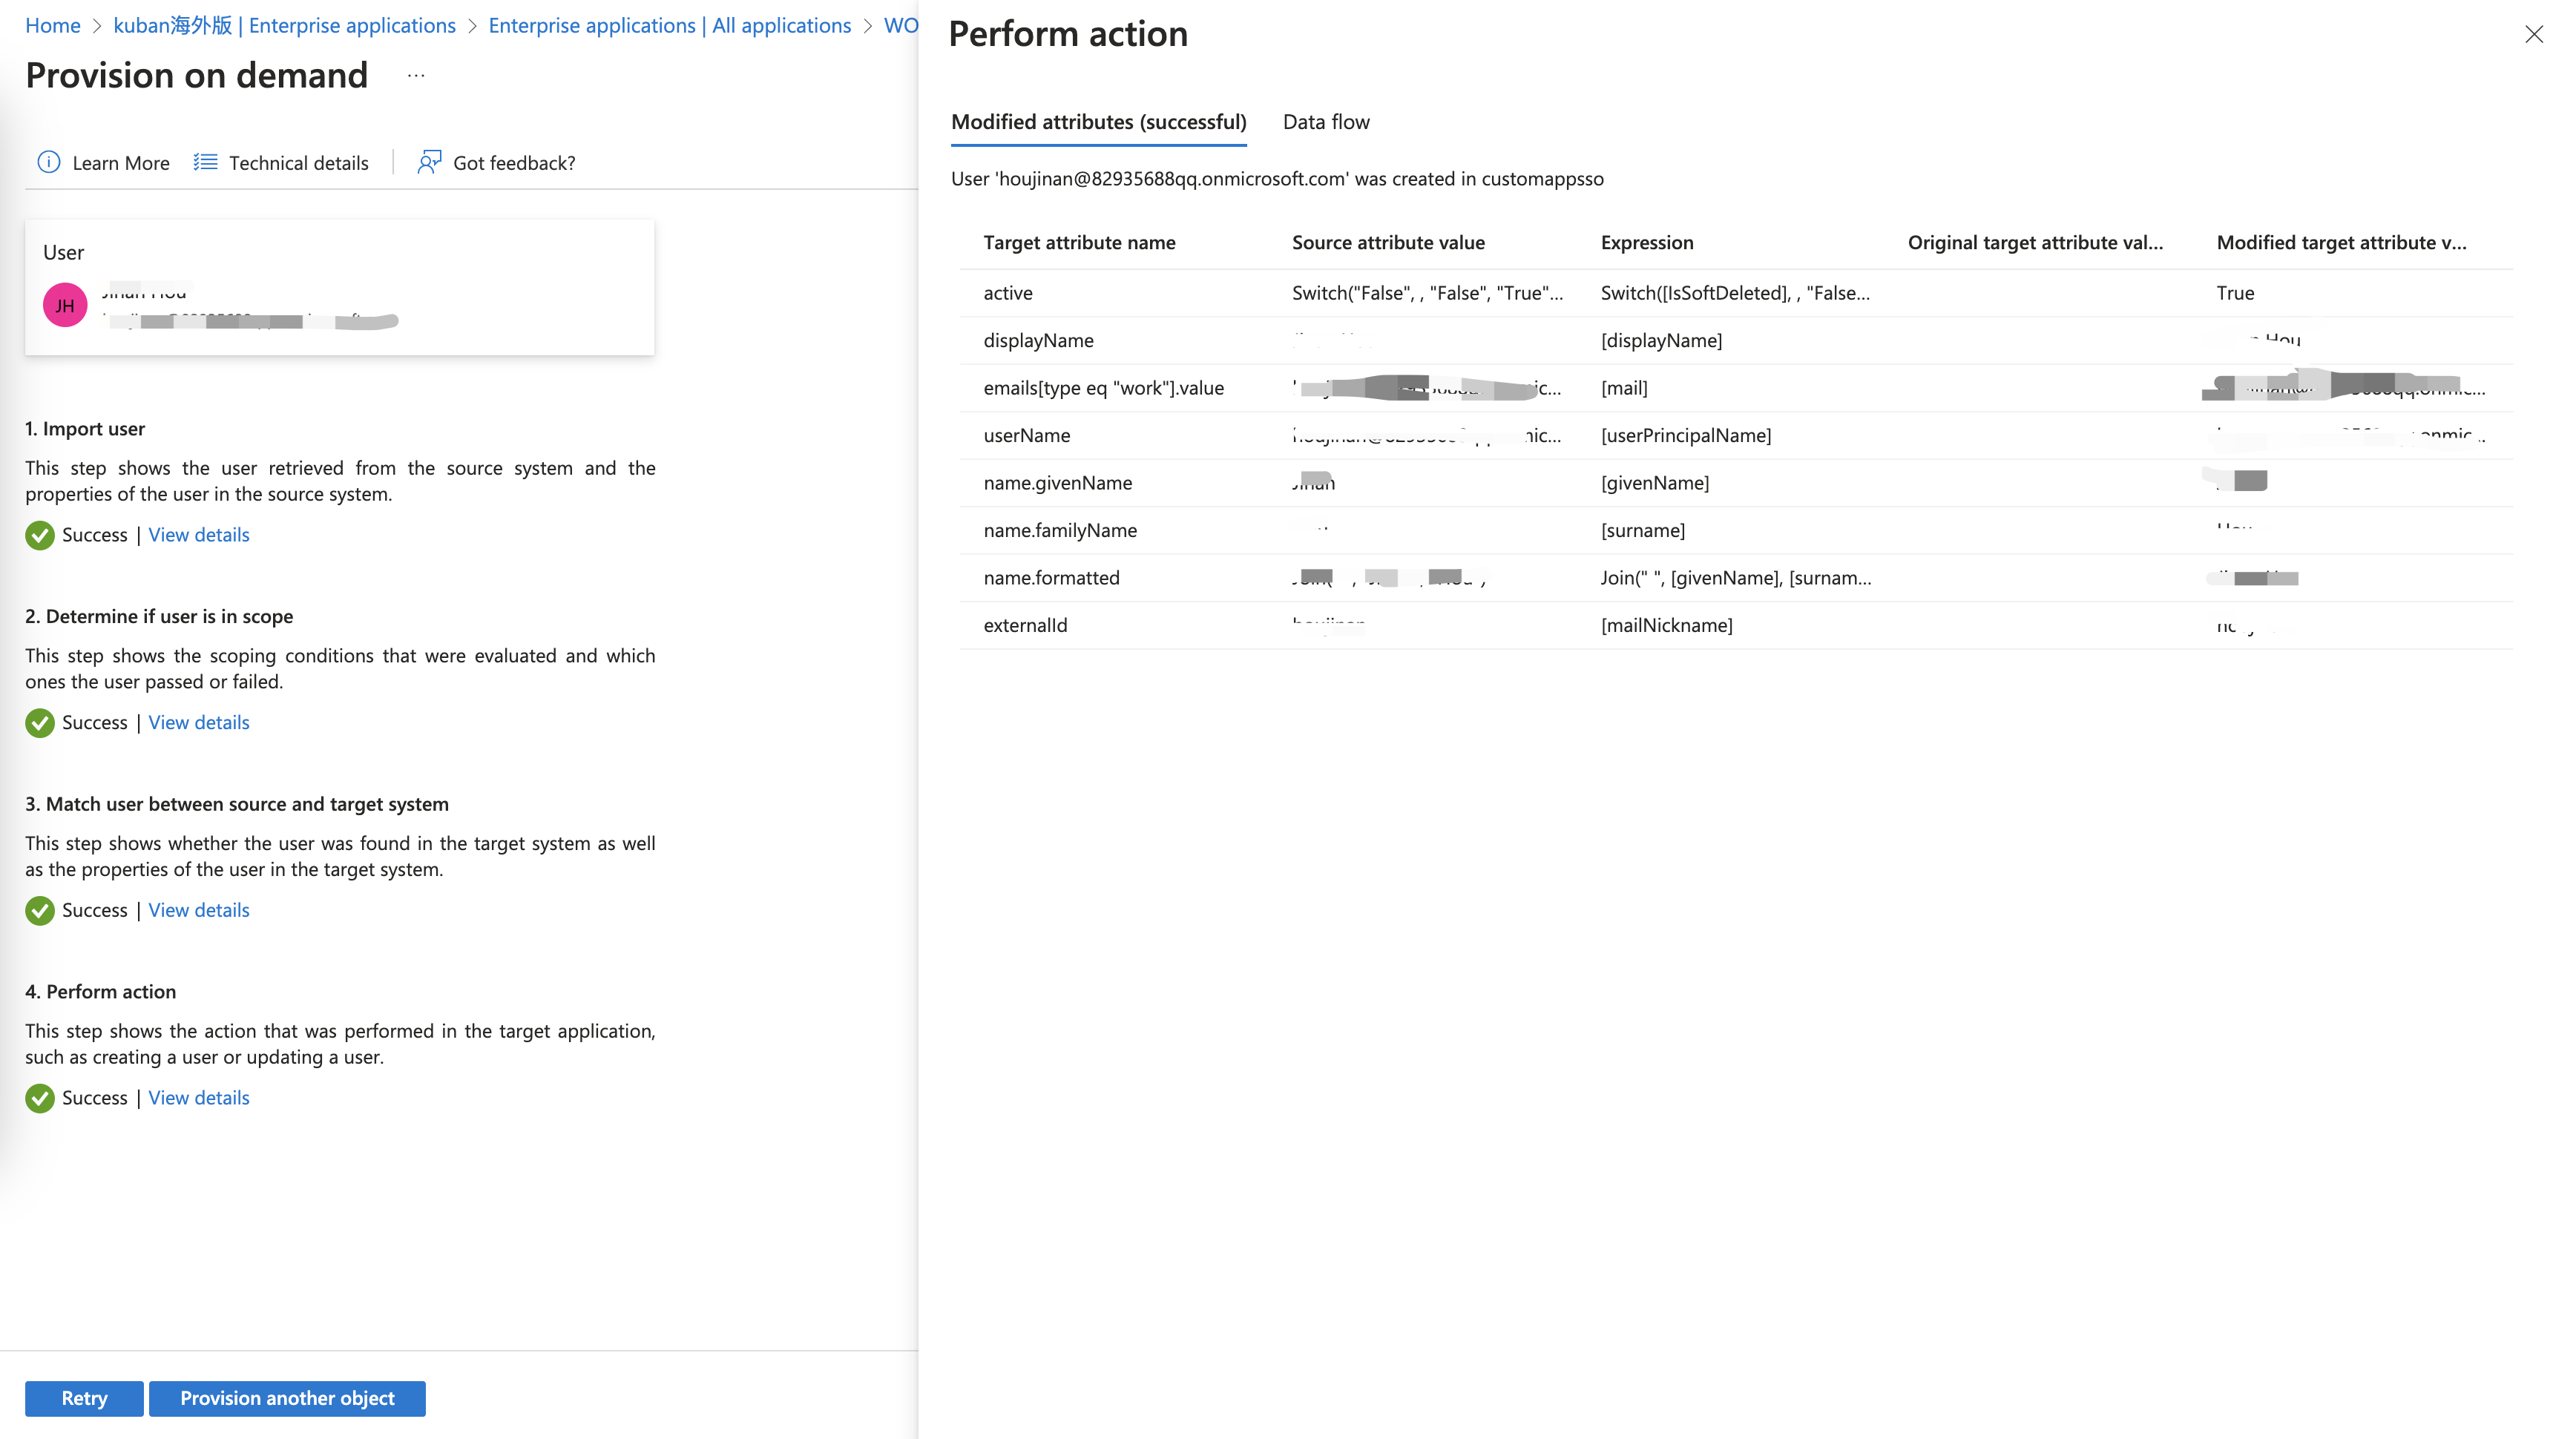
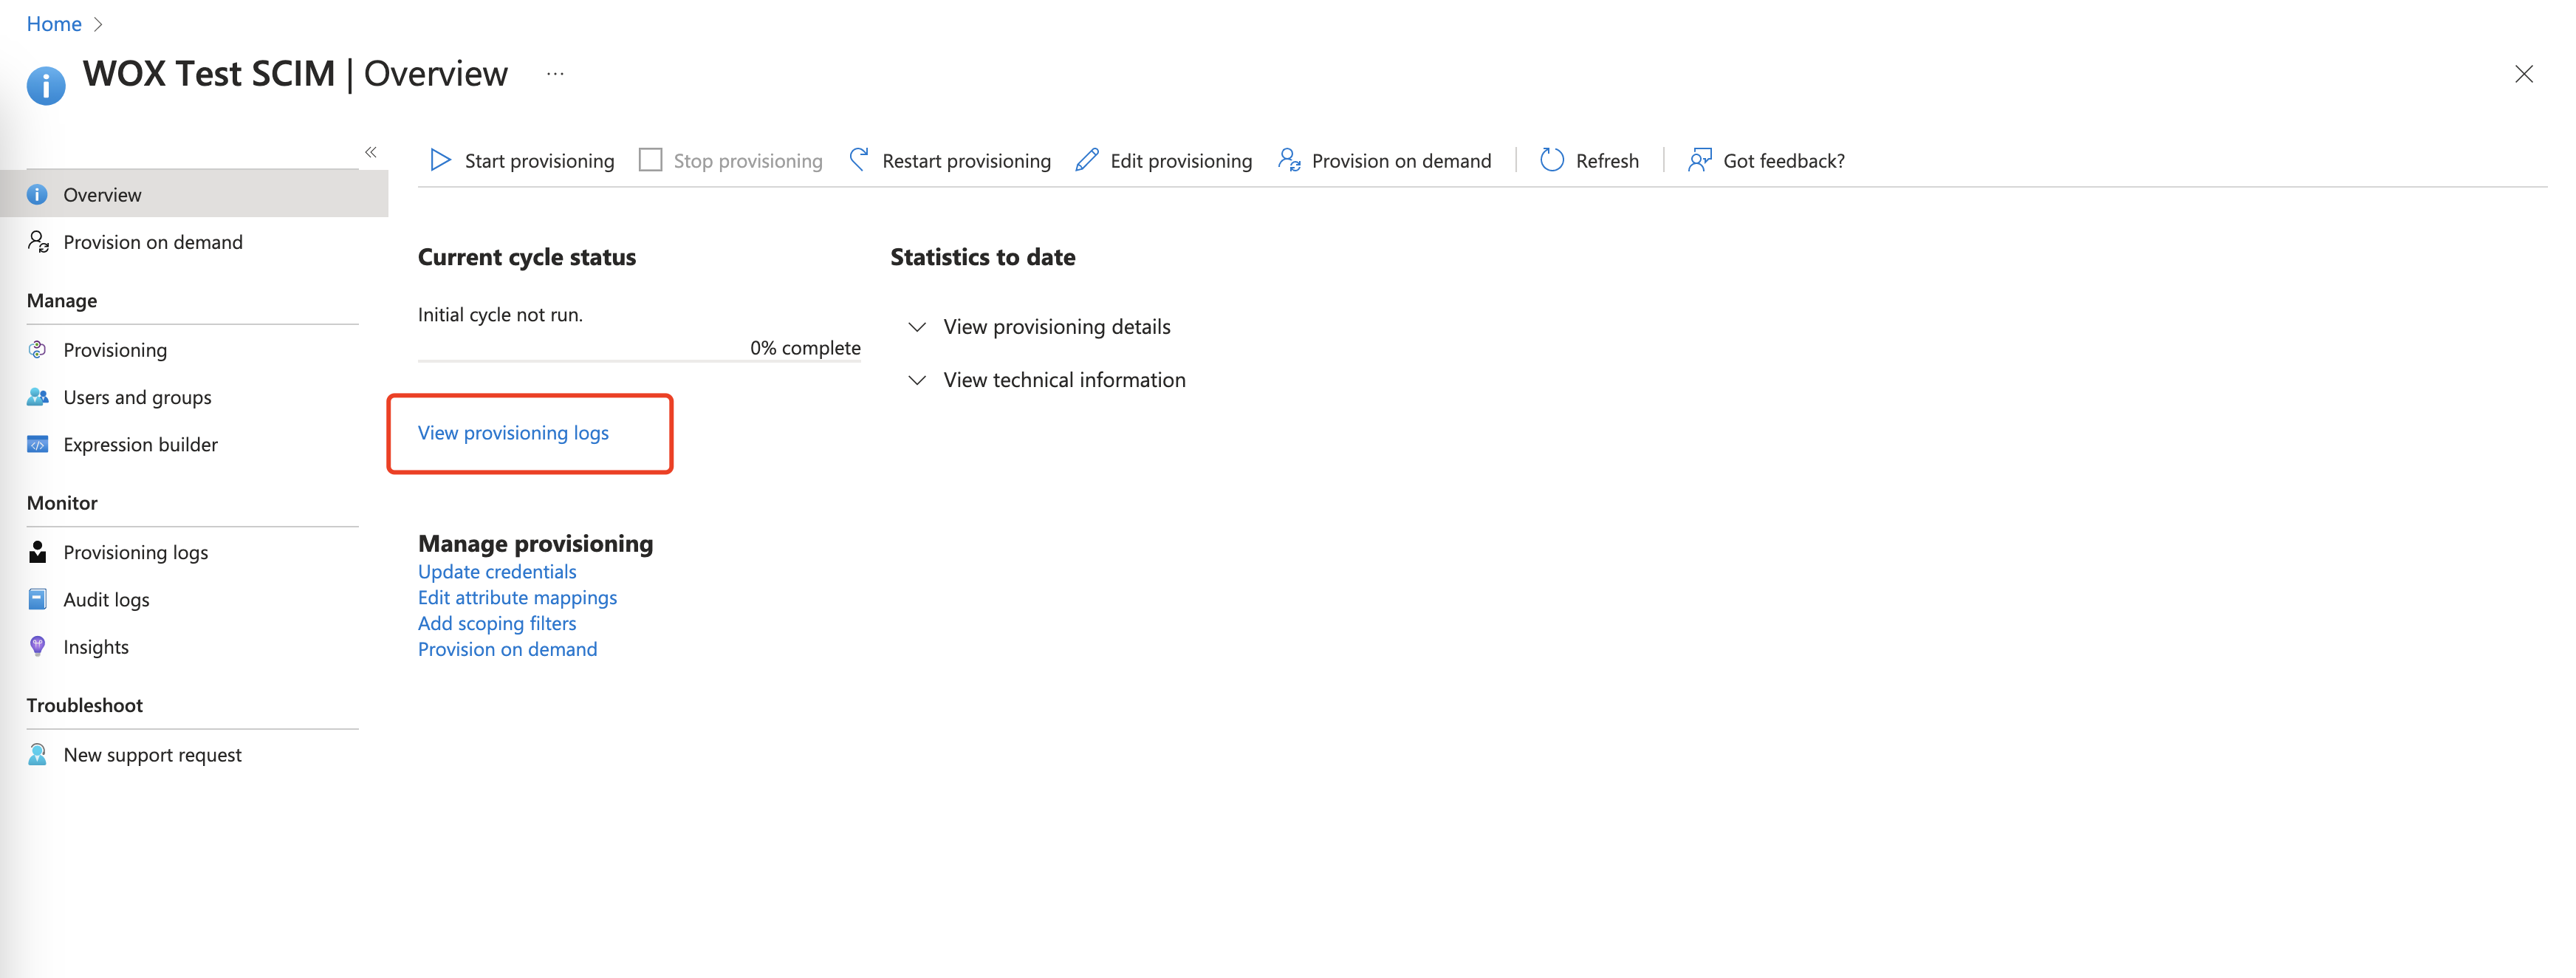
View Provisioning Logs
Provisioning logs are helpful for identifying if the provisioning was successful, what properties are modified, and if there were any failures.
You can check error information by clicking View provisioning logs.
Properties added and modified successfully will be visible by clicking into the log event and entering the Modified Properties tab.
Failure or skip information will be visible by clicking into the log event and entering the Troubleshooting & Recommendations tab.
Custom Attribute Mapping
Azure allows users to map additional user object attributes to WOX through custom attribute mappings. Custom attributes in WOX can be populated with data through the Azure AD user provisioning cycles that are regularly processed.
An important usage of custom mapping is automatically assign users to a Location when the user account is created in WOX. This is especially critical if your Space has multiple Locations.
INFO
In order to know which Location a user is assigned to, you should have a known Azure AD user attribute that can be used to determine user Location. If there's no such attribute, a User will be assigned to the default Location of your Space, which can be configured in Space Settings.
Before you start
First add WOX custom attributes.
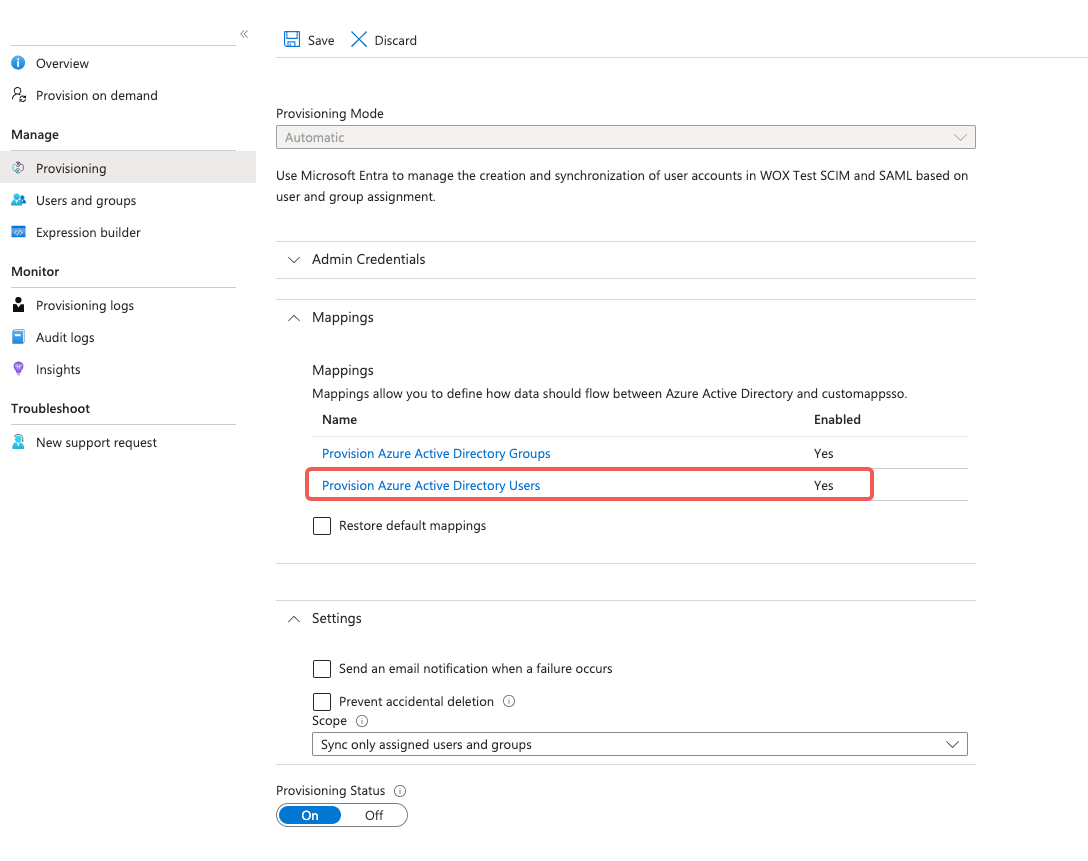
Click "Mappings" -> "Provision Azure Active Directory Users":
Check "Show advanced options":
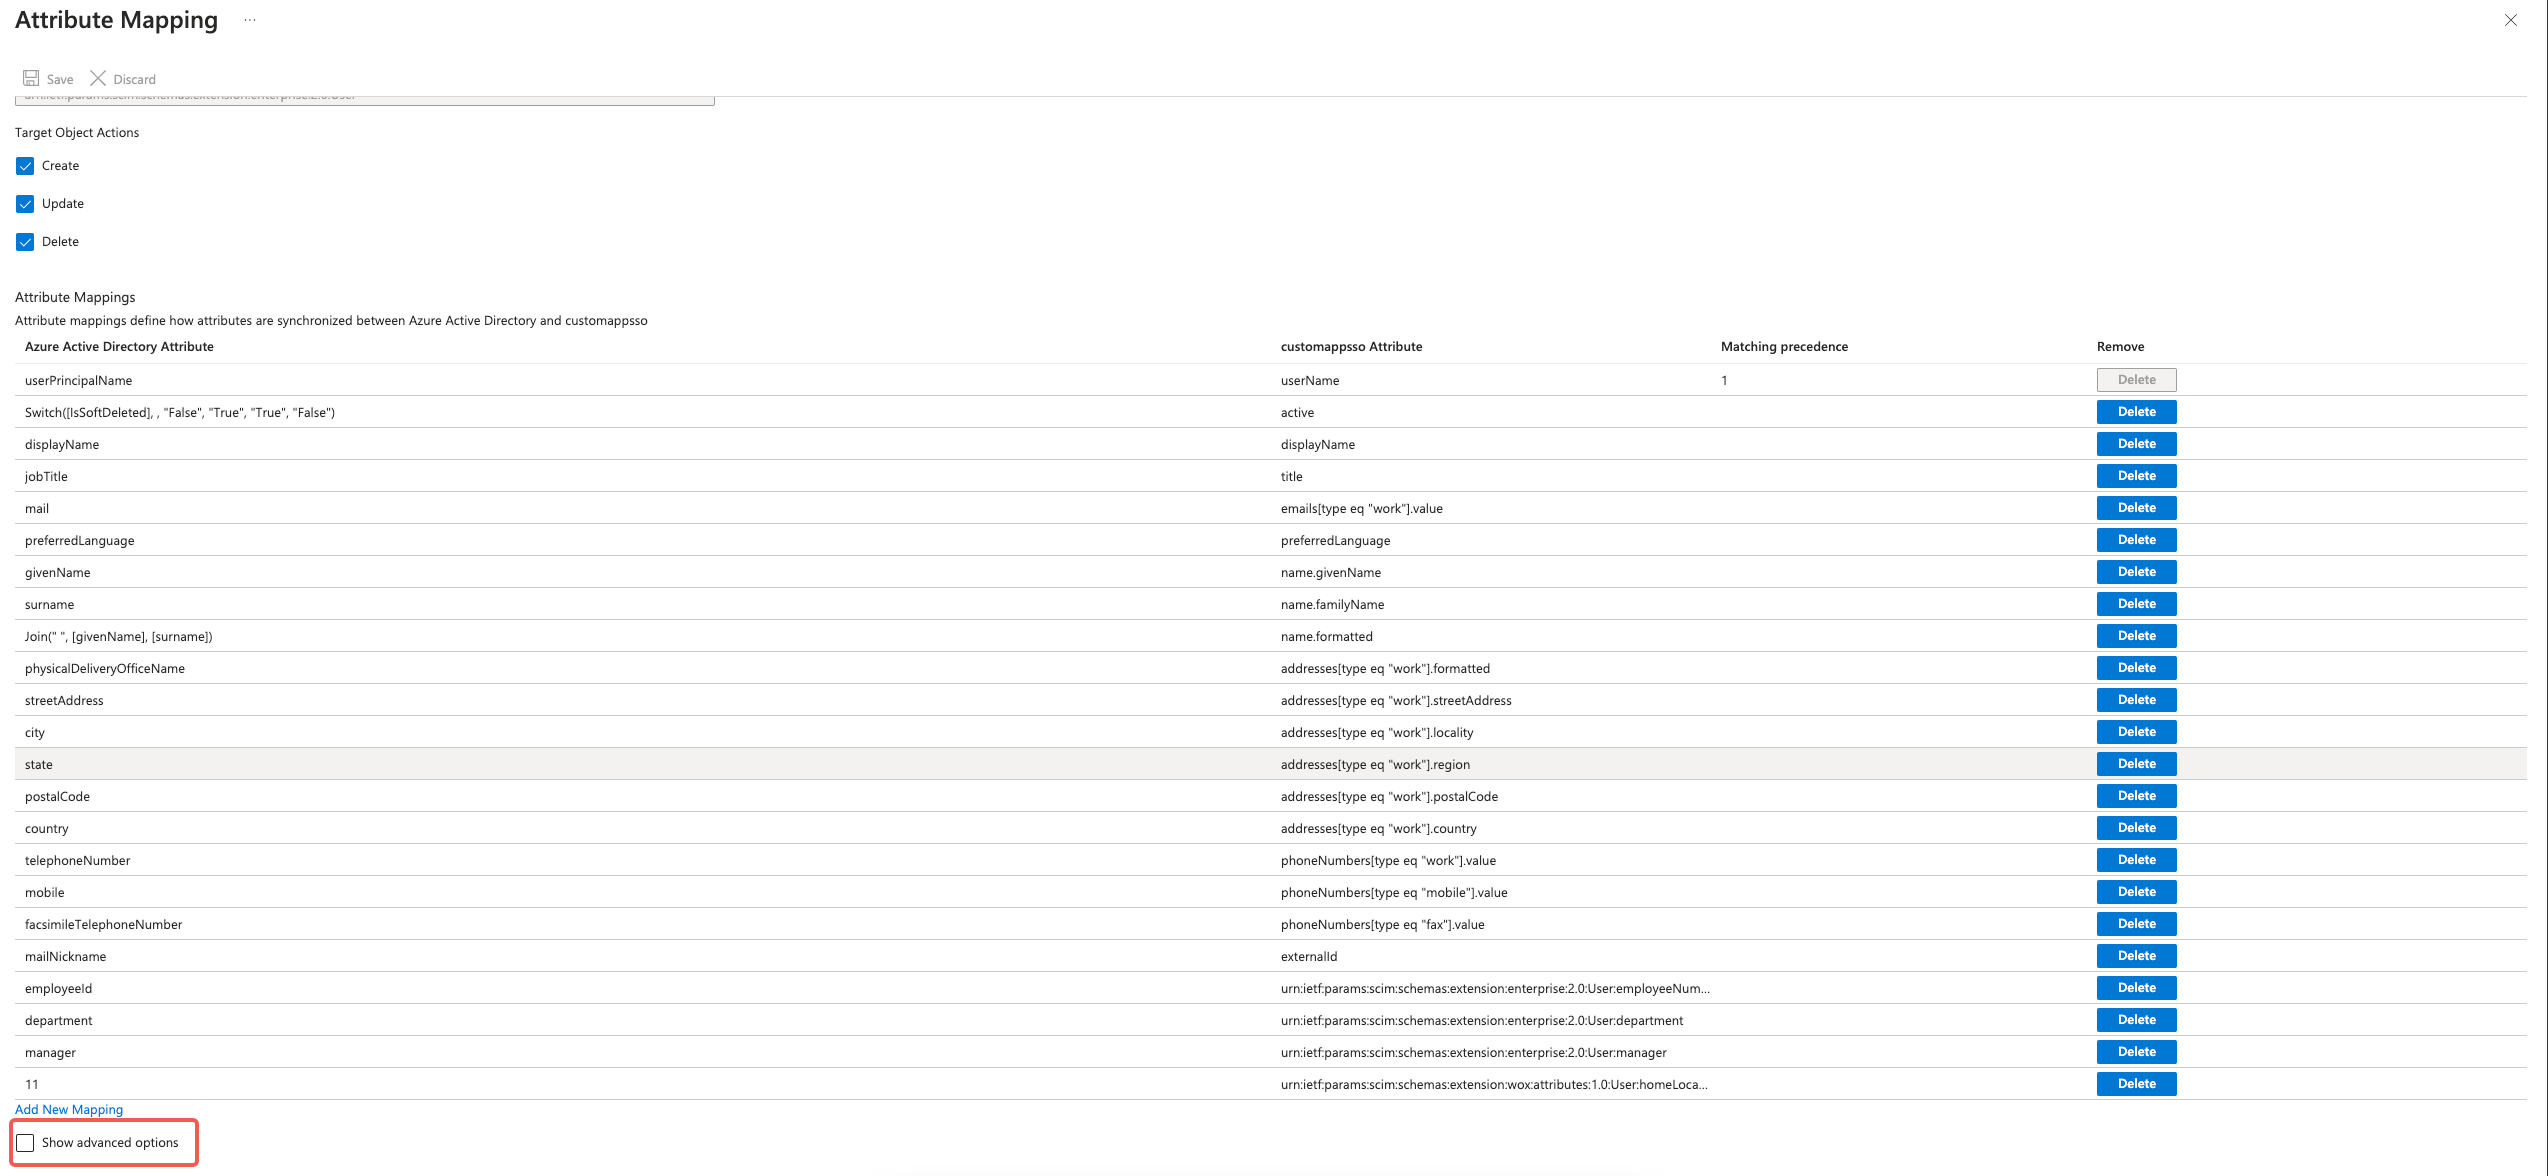
Then click "Edit attribute list for customappsso":
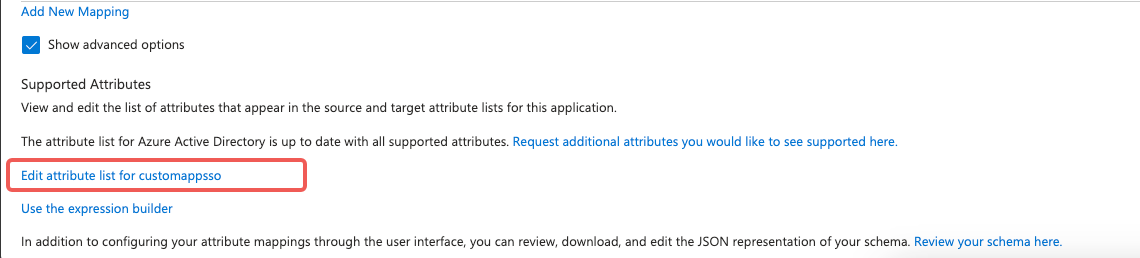
Add a new custom attribute by entering the appropriate Attribute Name and Type into the blank input text box at the bottom of the table.
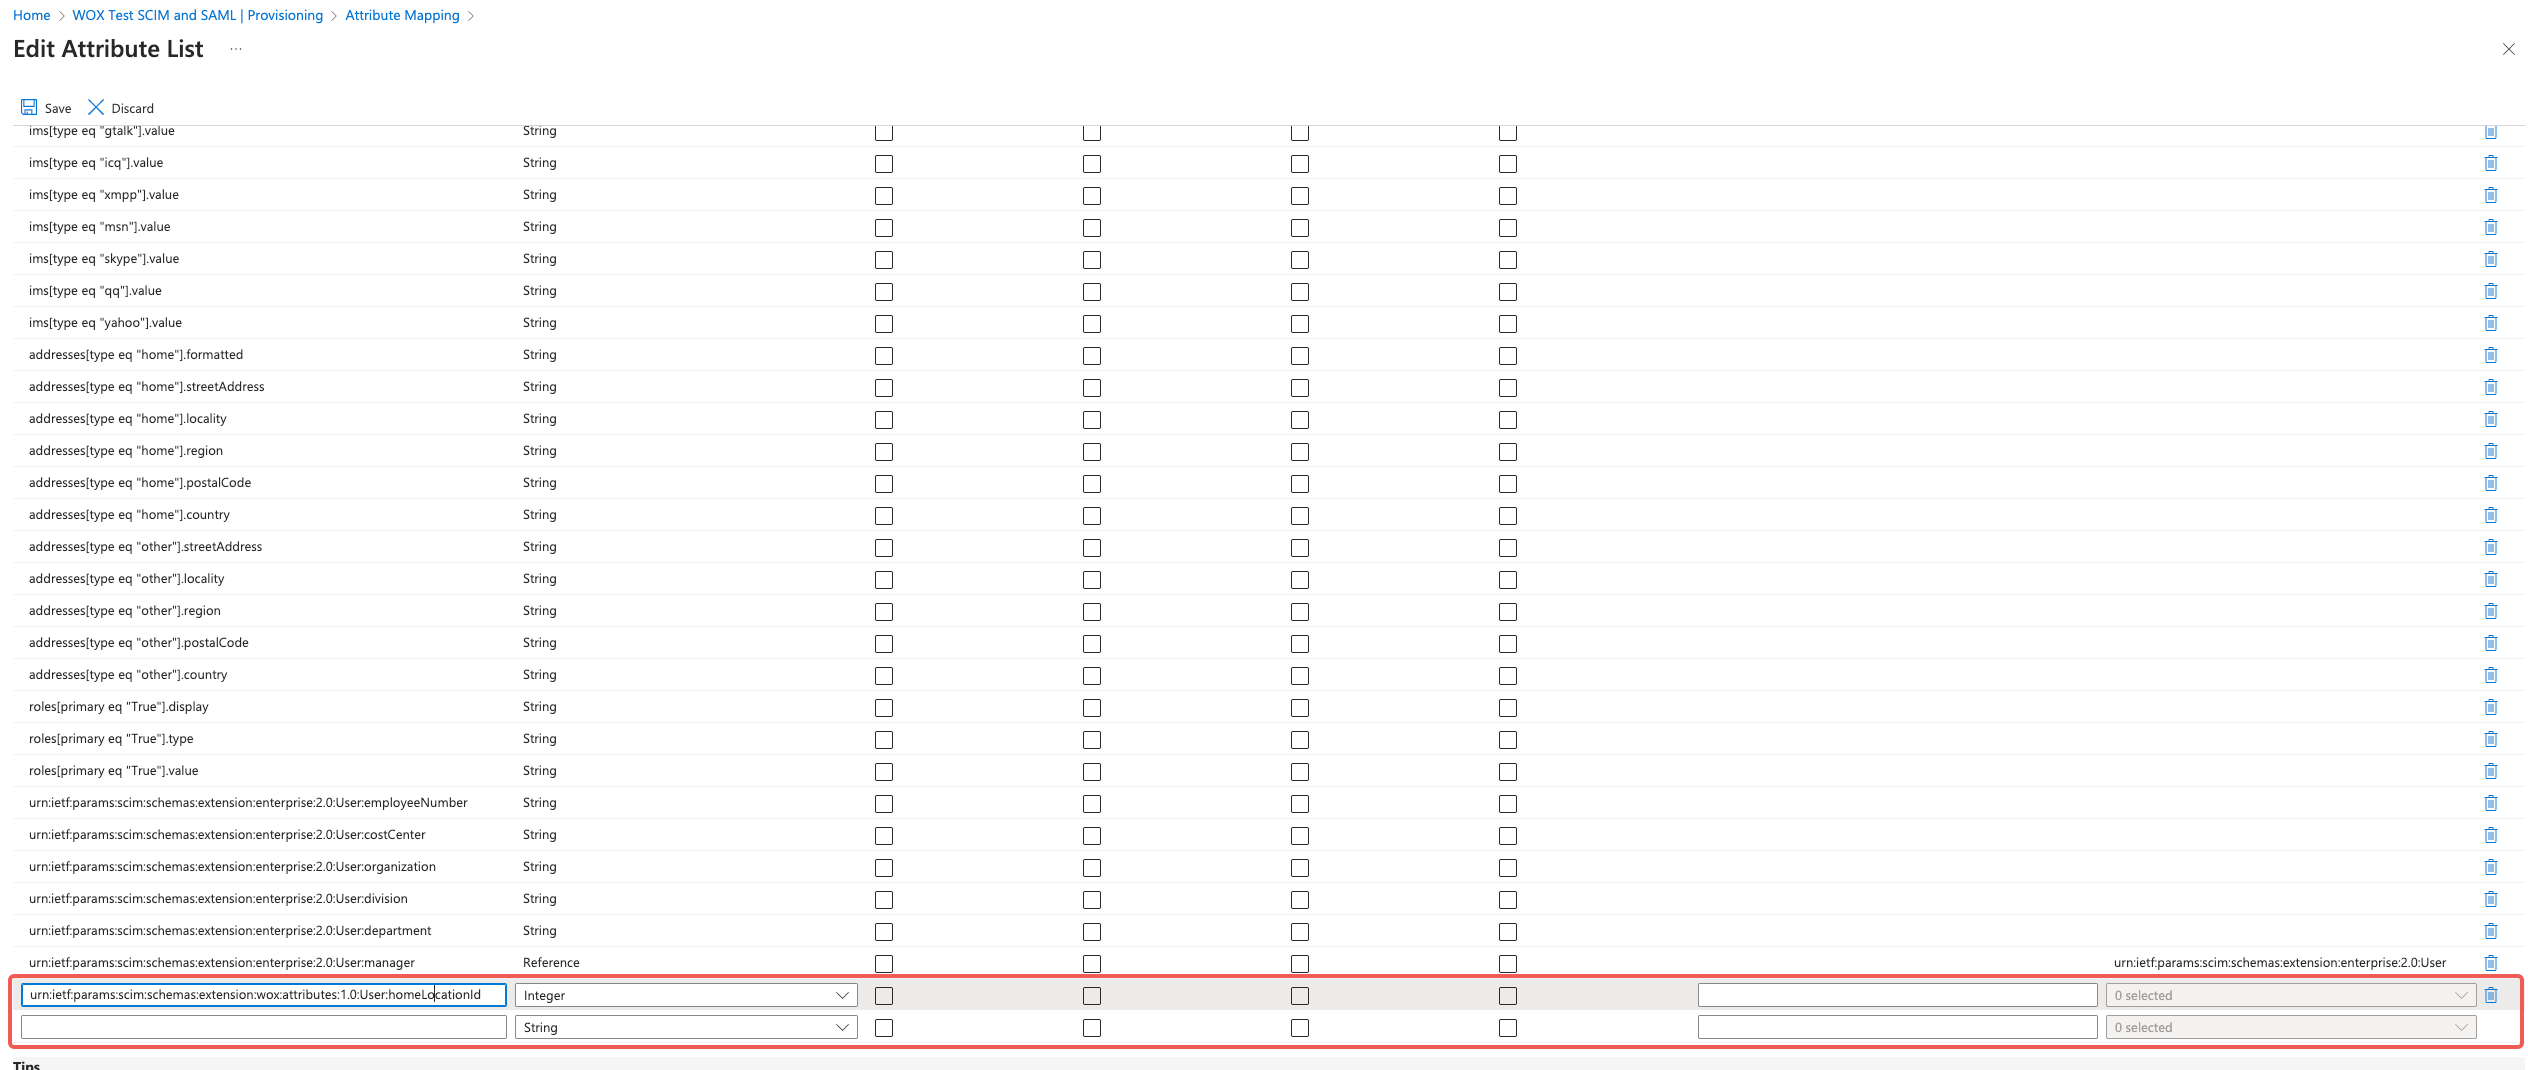
Below are supported attributes supported custom attributes. You can choose one or some of the attributes to synchronize. In particular, homeLocationId is useful for assigning a user into a constant(default) Location.
| Attribute Name | Type |
|---|---|
| urn:ietf:params:scim:schemas:extension:wox:attributes:1.0:User:homeLocationId | Integer |
| urn:ietf:params:scim:schemas:extension:wox:attributes:1.0:User:isVip | Boolean |
| urn:ietf:params:scim:schemas:extension:wox:attributes:1.0:User:isFirstAid | Boolean |
| urn:ietf:params:scim:schemas:extension:wox:attributes:1.0:User:isFireWarden | Boolean |
| urn:ietf:params:scim:schemas:extension:wox:attributes:1.0:User:jobNumber | String |
Click "Save".
Now we can add custom attribute mapping for synchronized user.
Mapping user to a constant location
This solution only works if you want to map all users to a location. It can also be achieved by assigning a "Default Location" in your Space.
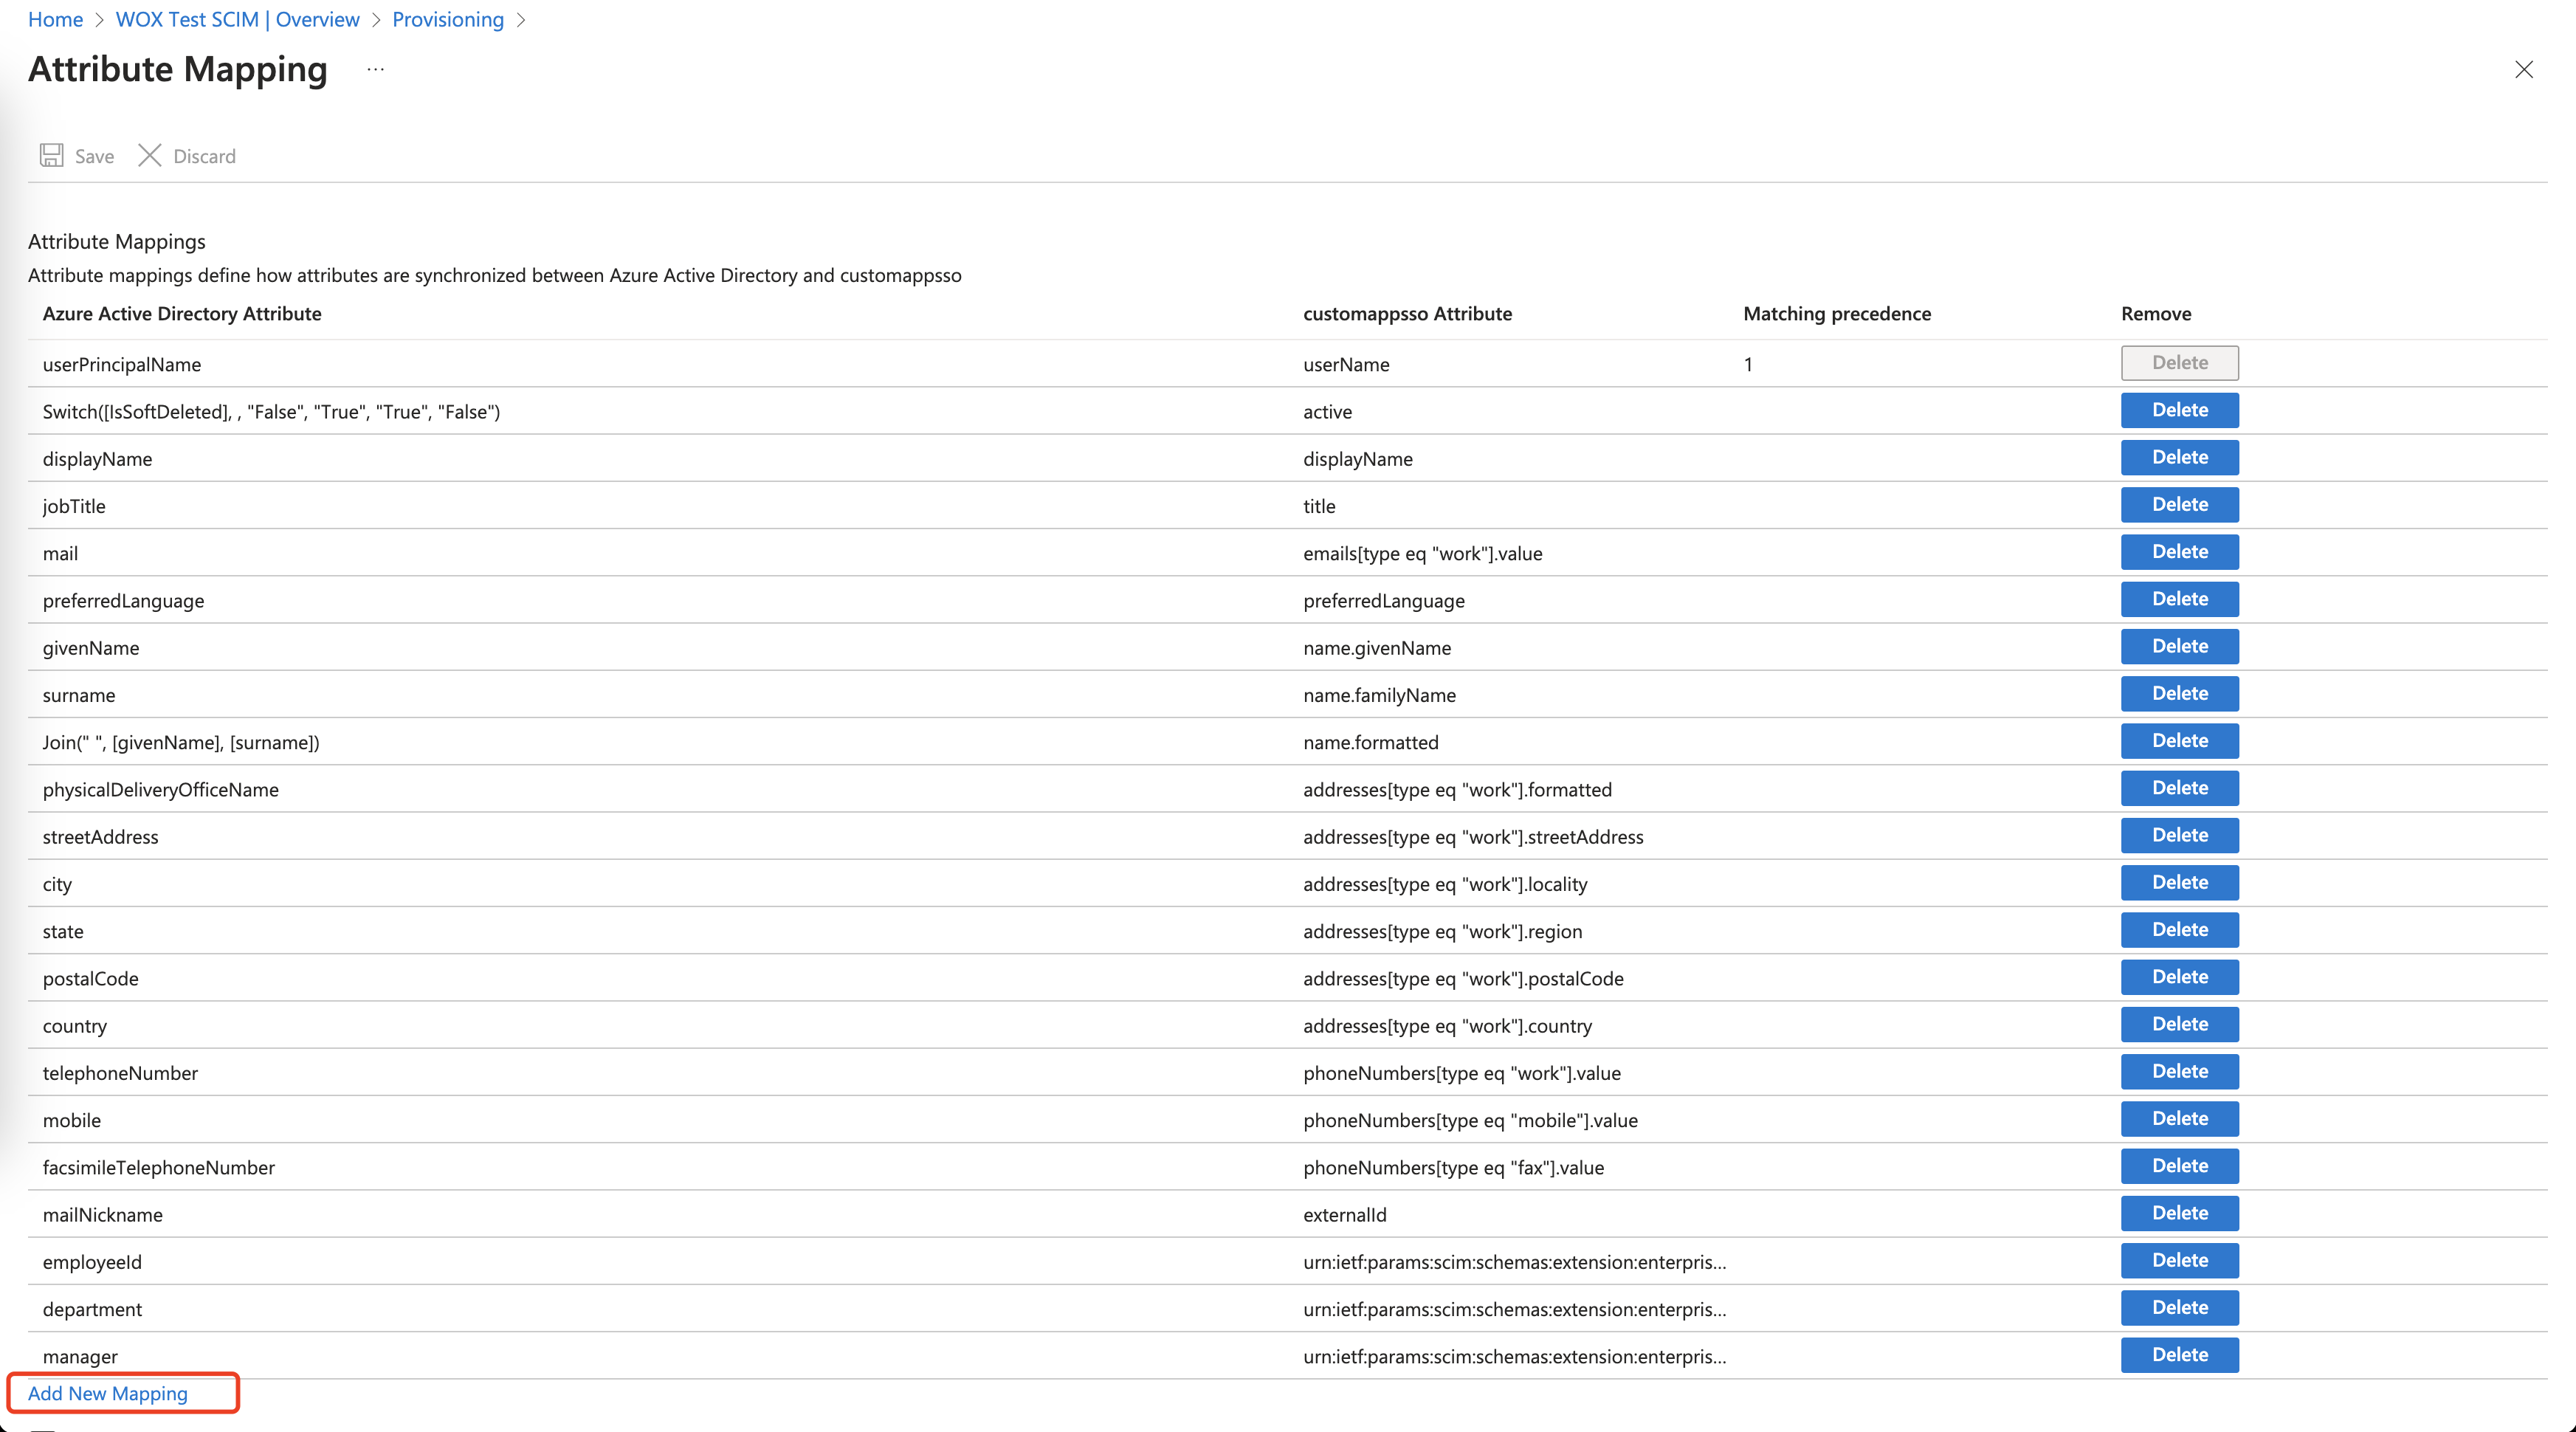
Click "Add New Mapping" at the bottom of "Attribute Mapping" page:
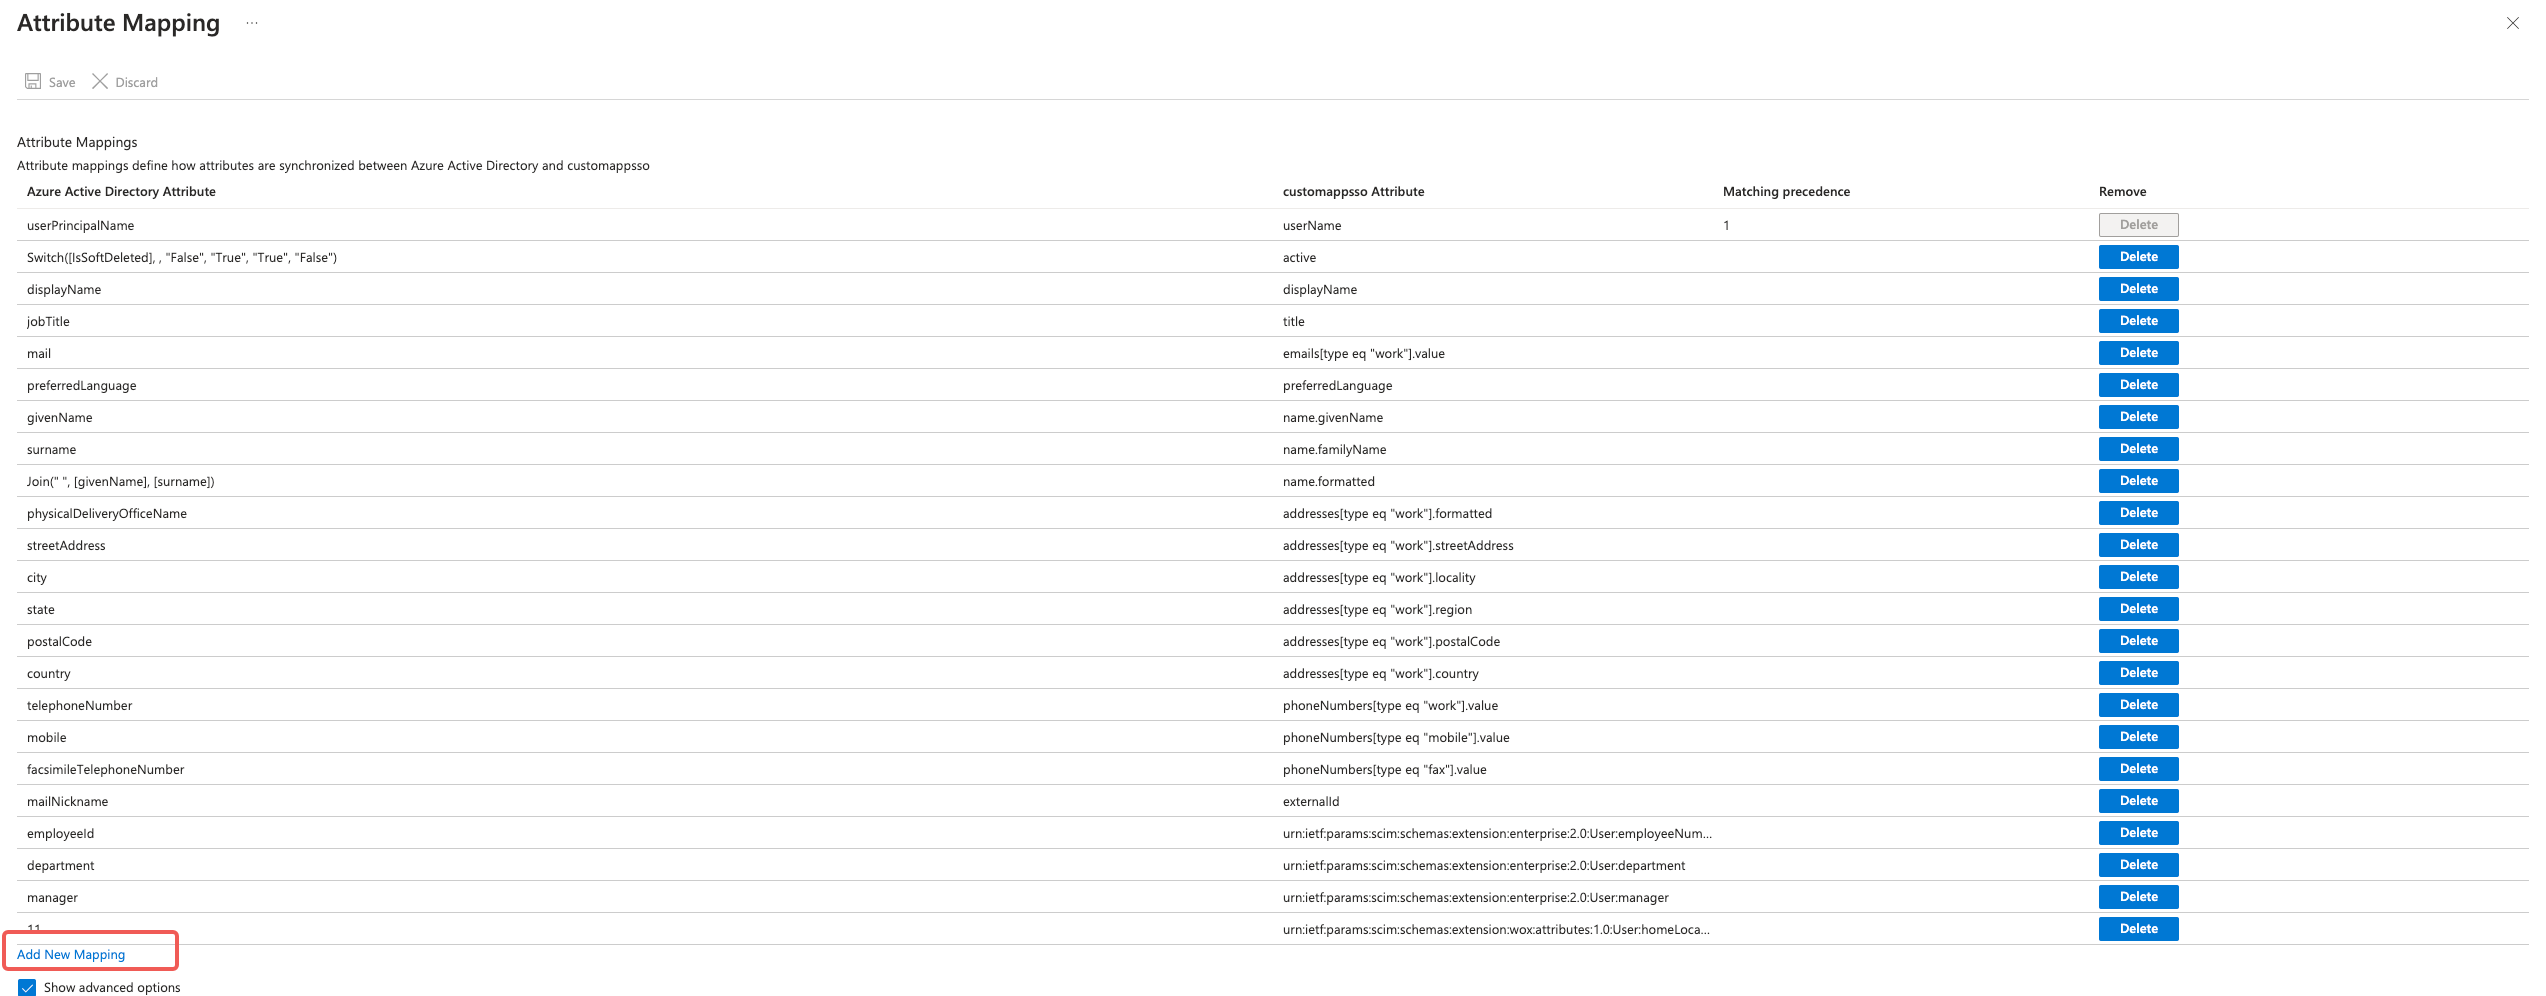
Click on the dropdown next to the target attribute name to match the attribute type with the attribute type in WOX. Ex: Use a Constant LocationId when mapping target attribute "urn:ietf:params:scim:schemas:extension:wox:attributes:1.0:User:homeLocationId"
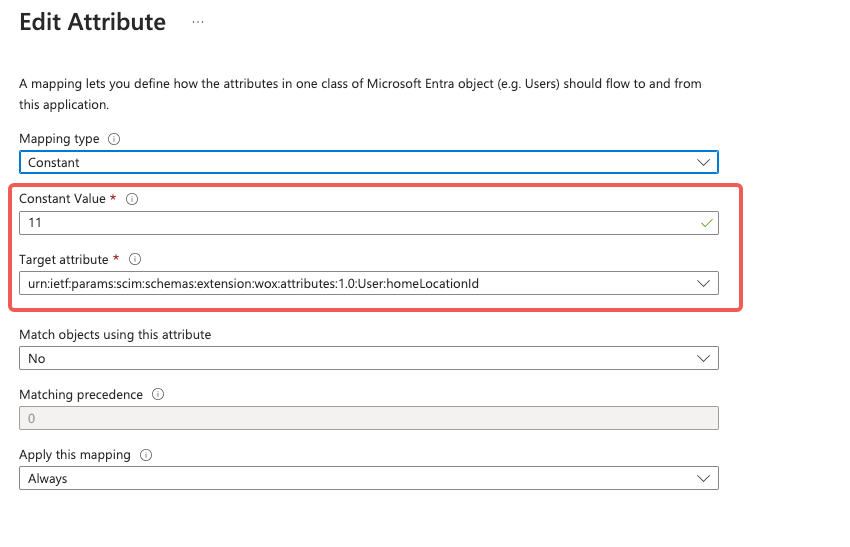
click Save.
Mapping user to different location according to other attribute
Sometimes you want to assign user to different location. In this case, some of your Azure AD user attribute should be used to uniquely identify which location the user belongs to.
For example, suppose [companyName] is an attribute that denotes Location in your system. Below is an imaginary mapping between [companyName] and Location:
| [companyName] | Location Id |
|---|---|
| A | 57 |
| B | 58 |
In this example, if [companyName] is A, the user should be assigned to Location Id 57. If it's B, the user should be assigned to Location Id 58.
We'll use an Expression to set up this mapping:
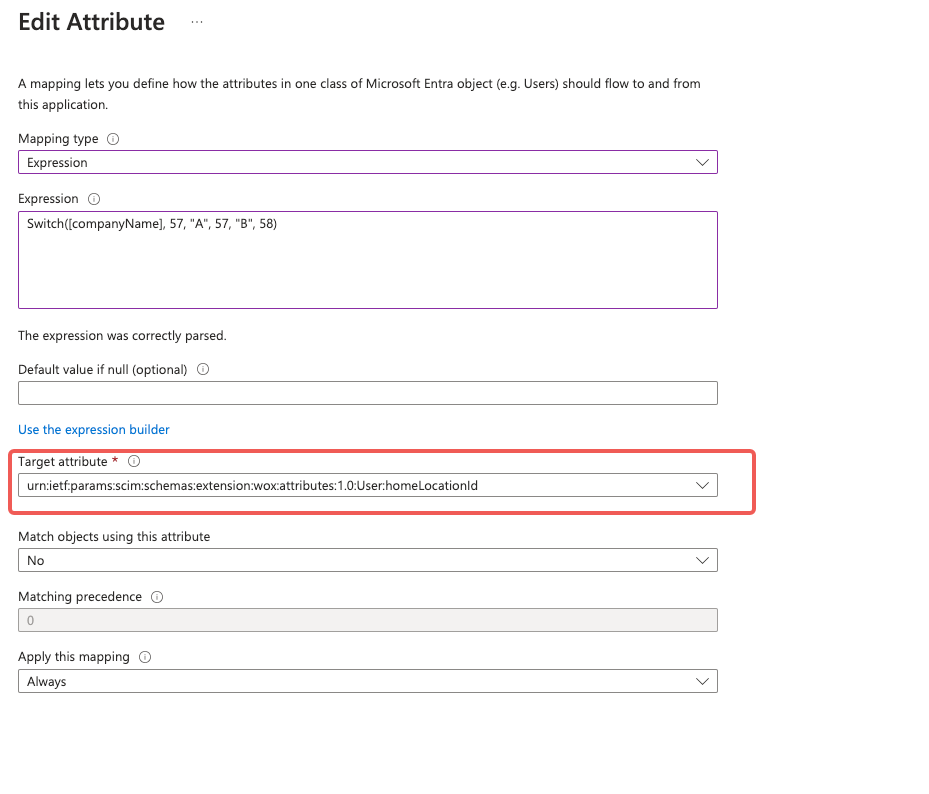
Select "Expression" as "Mapping type", and enter the "Expression" as:
Switch([companyName], 57, "A", 57, "B", 58)
Choose "urn:ietf:params:scim:schemas:extension:wox:attributes:1.0:User:homeLocationId" as "Target attribute":
You can use "Expression Builder" to test if the mapping is correct for some test user:
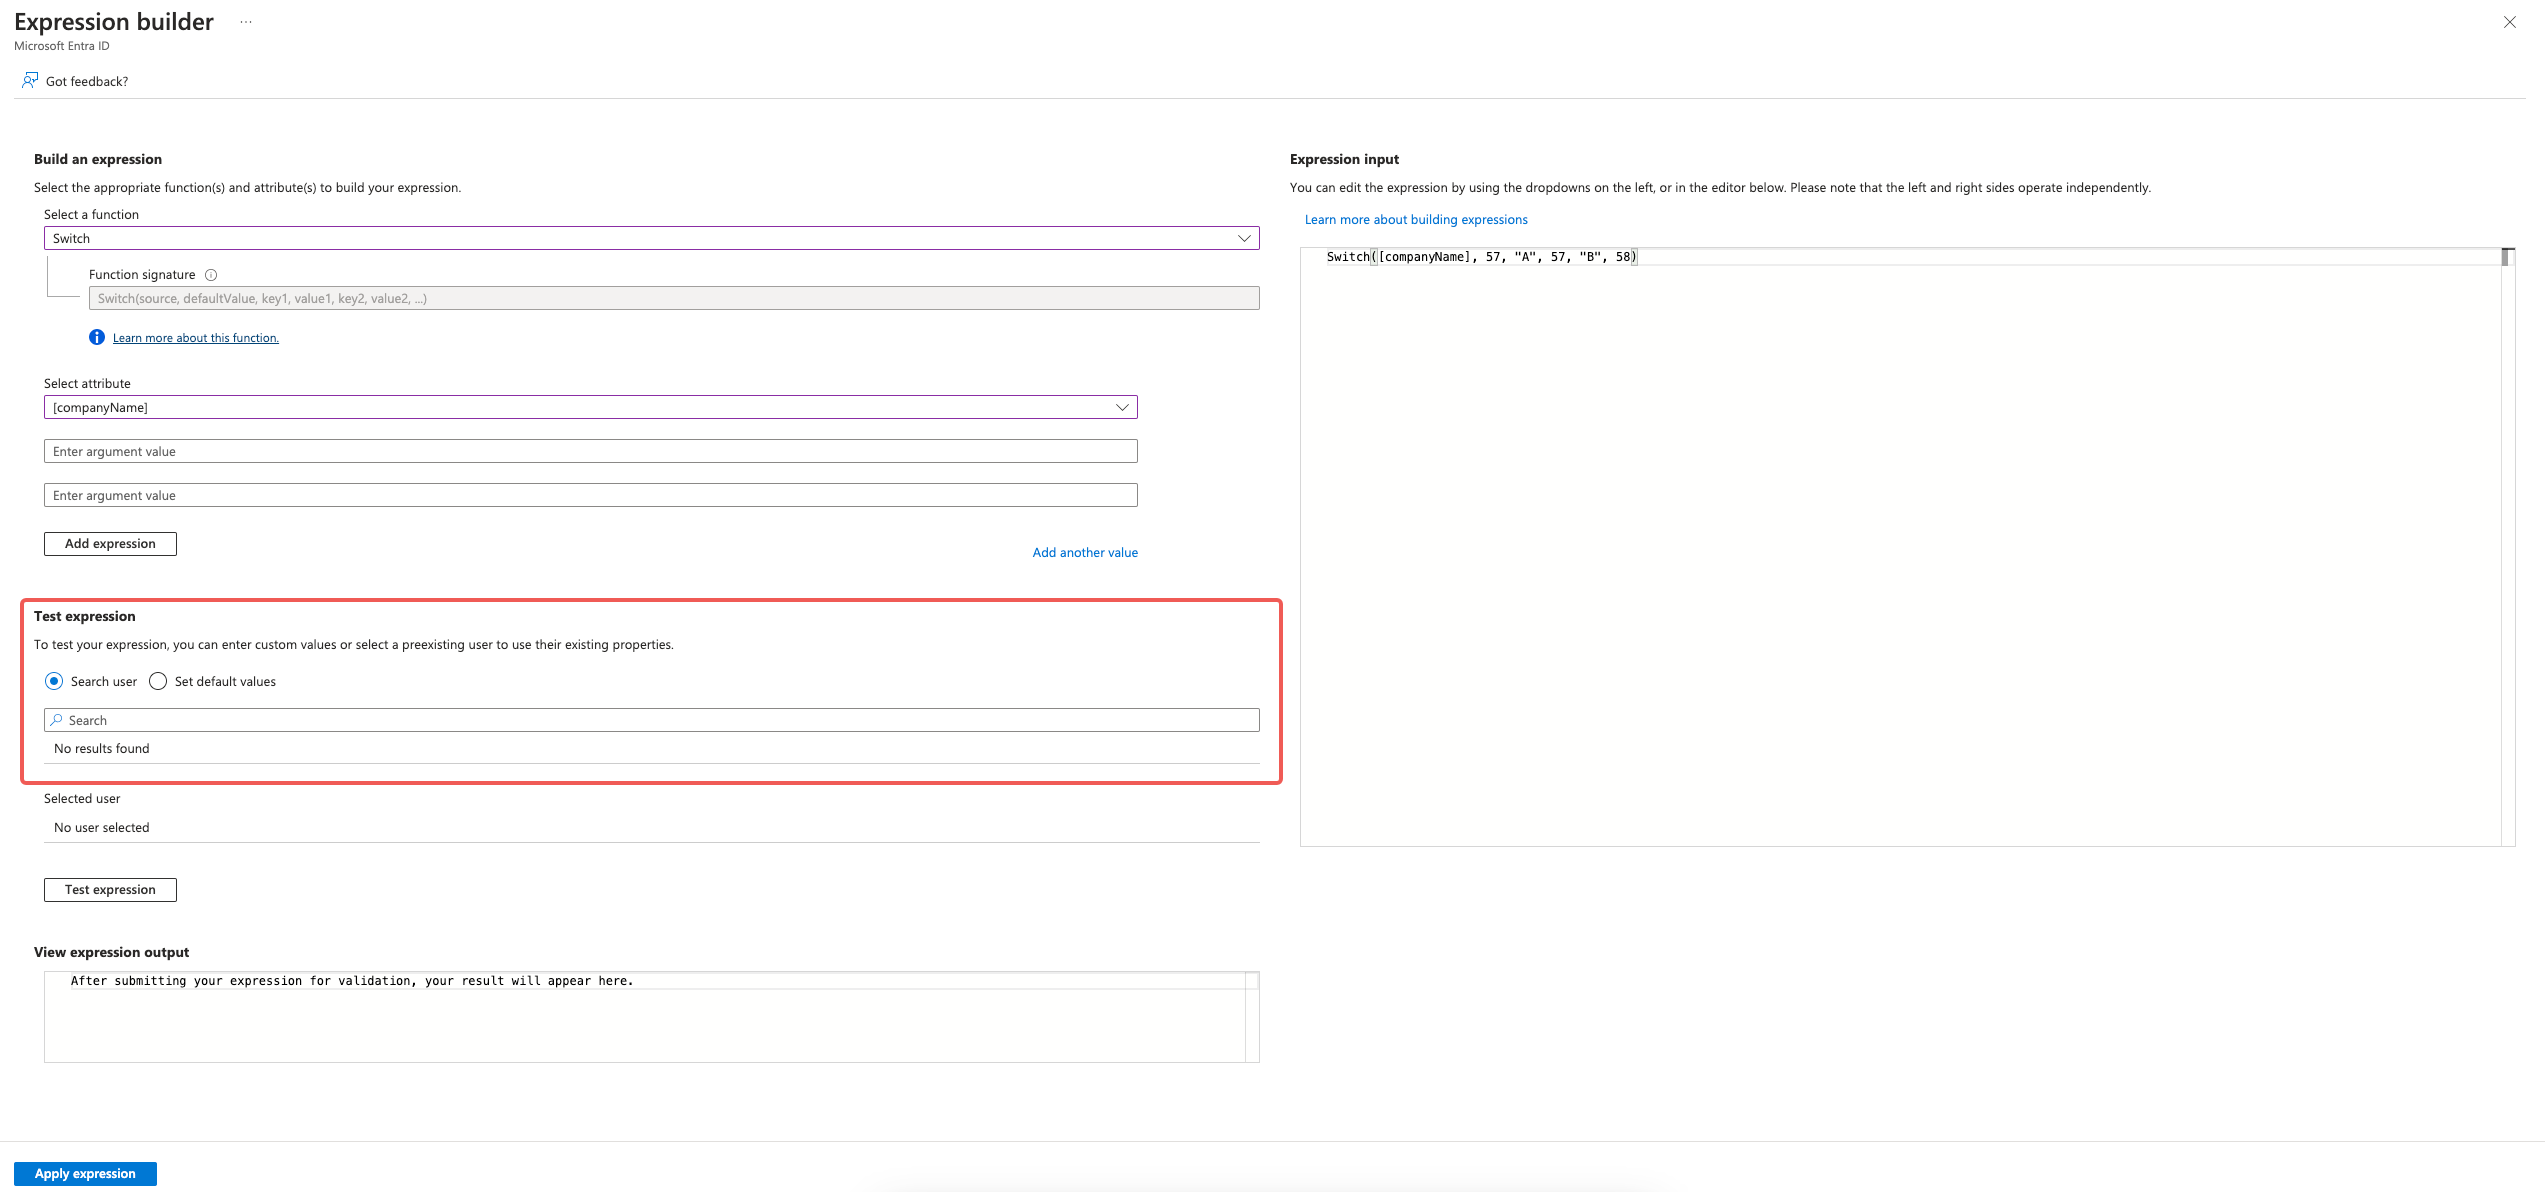
Click "Save". This will map user to home Location Id based on their [companyName].
:::note
References: Microsoft Azure AD SCIM :::
TIP
Set up Single Sign-On when you're done.