Create first location
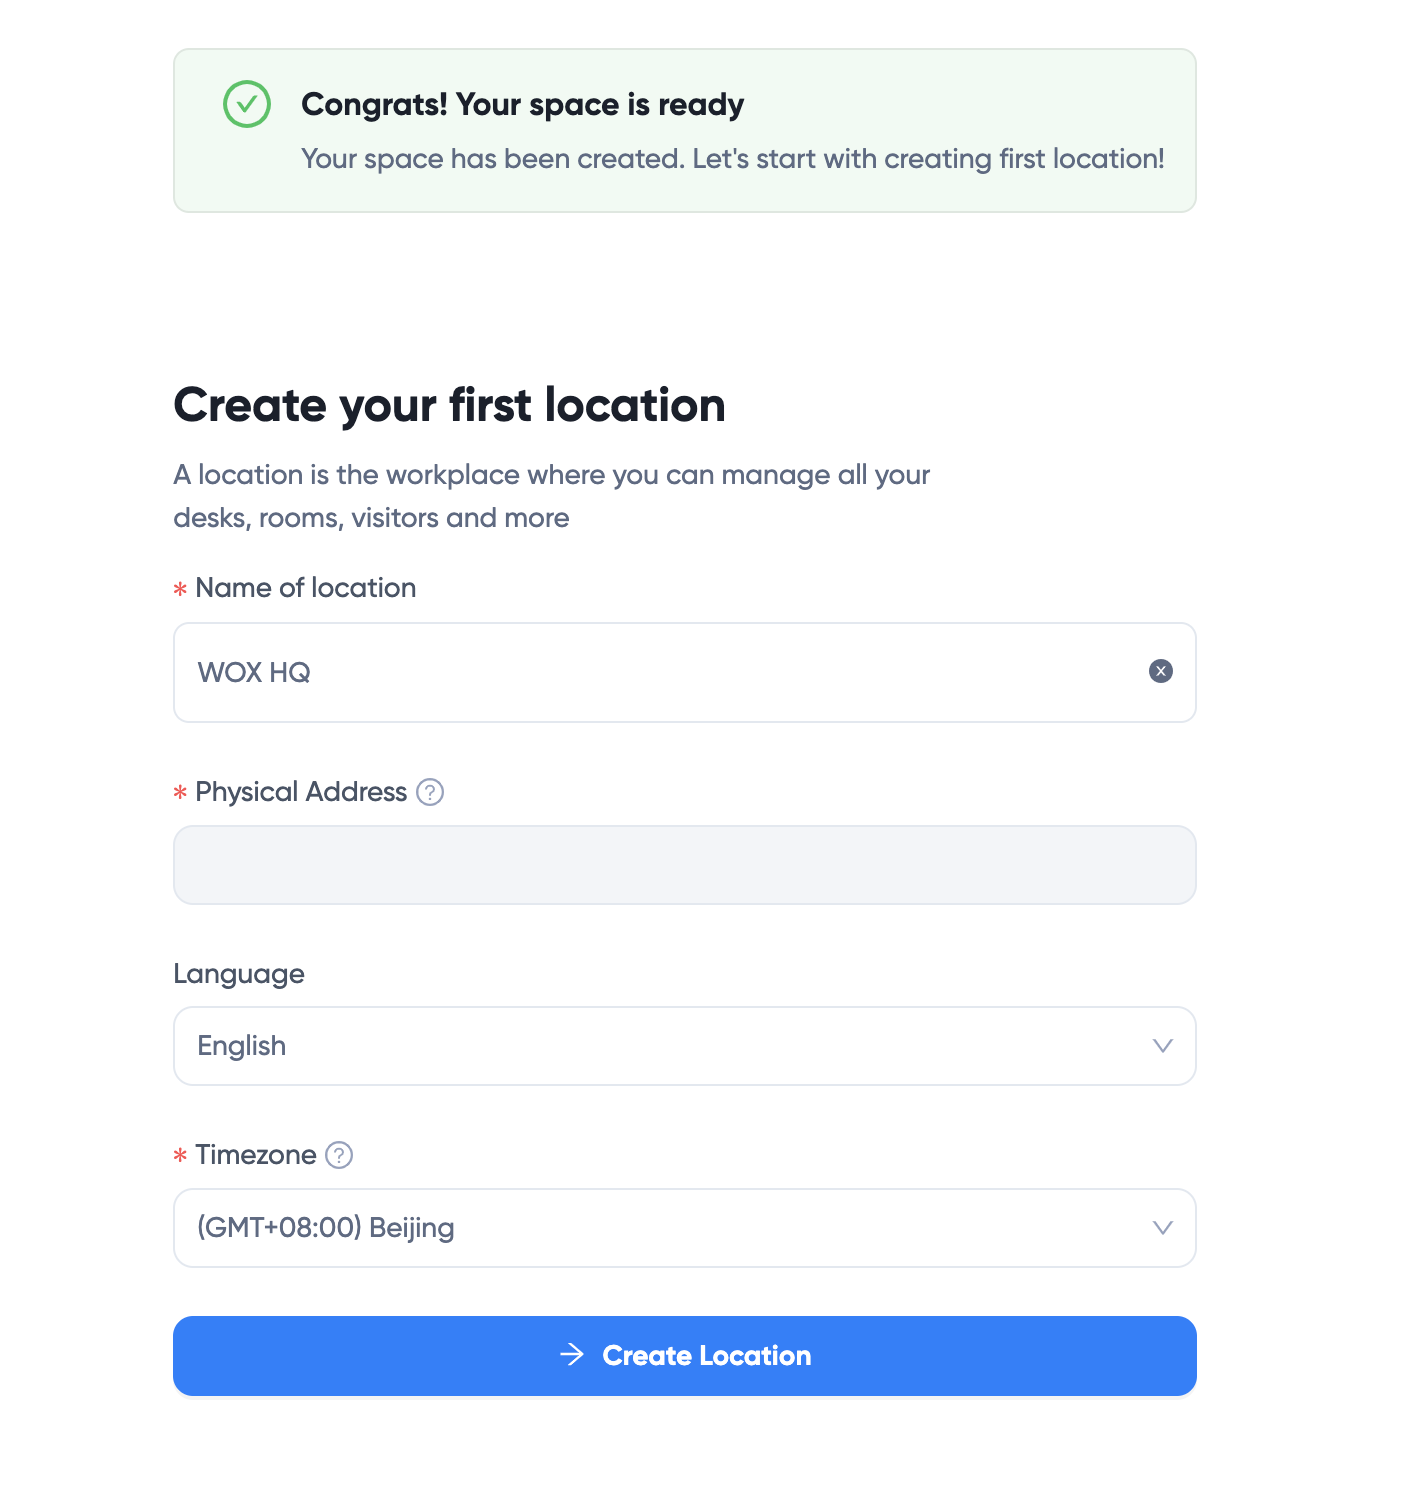
After you sign up a new account, the system guides you to create your first location:

- Enter a name for your location, such as the name of your office building.
- Enter physical address. The system will autocomplete your address using Google Map service.
- Select a language. This is only for system communications. Normal users may use their own languages.
- Select Timezone. This is used for defining location open hours, booking time etc. so make sure it matches your location address.
Click Create Location to continue.
Set up location
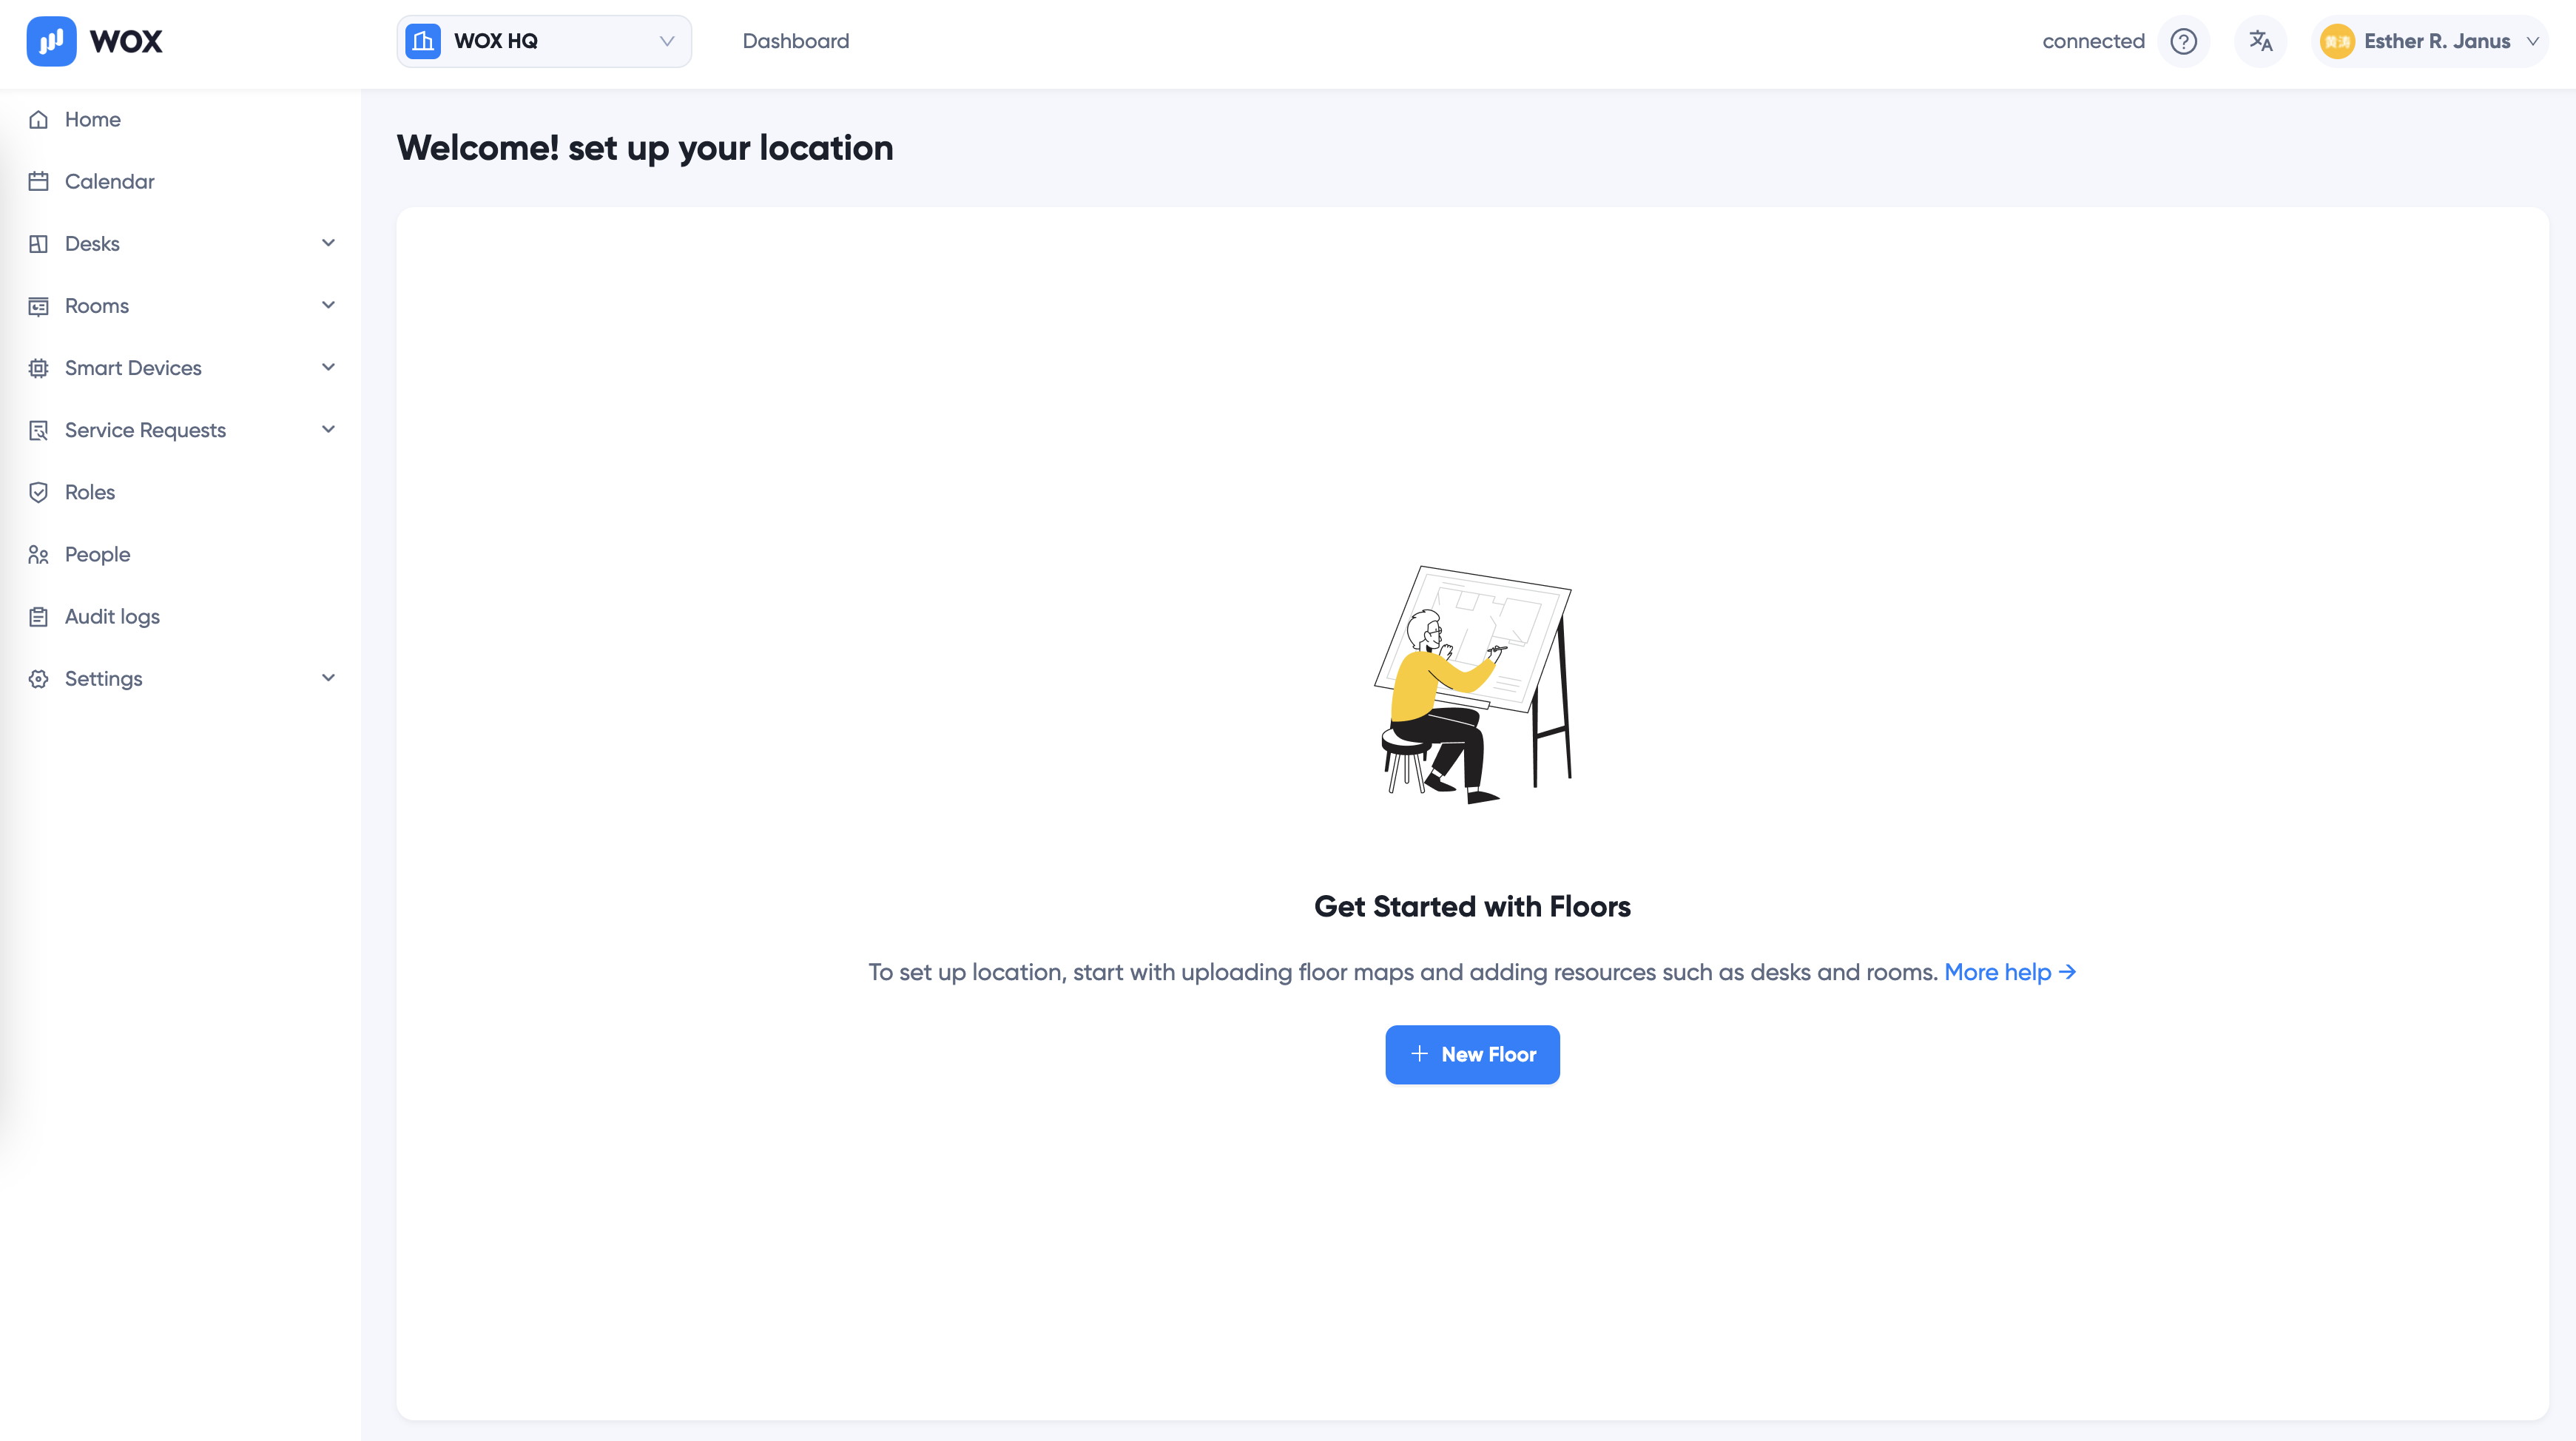
Next, you are ready to set up the newly created location:

Switch between Space and Locations
Note that you're automatically switched into the location just created. You can go back to Space Level using the Location Selector on top bar:

Create first floor
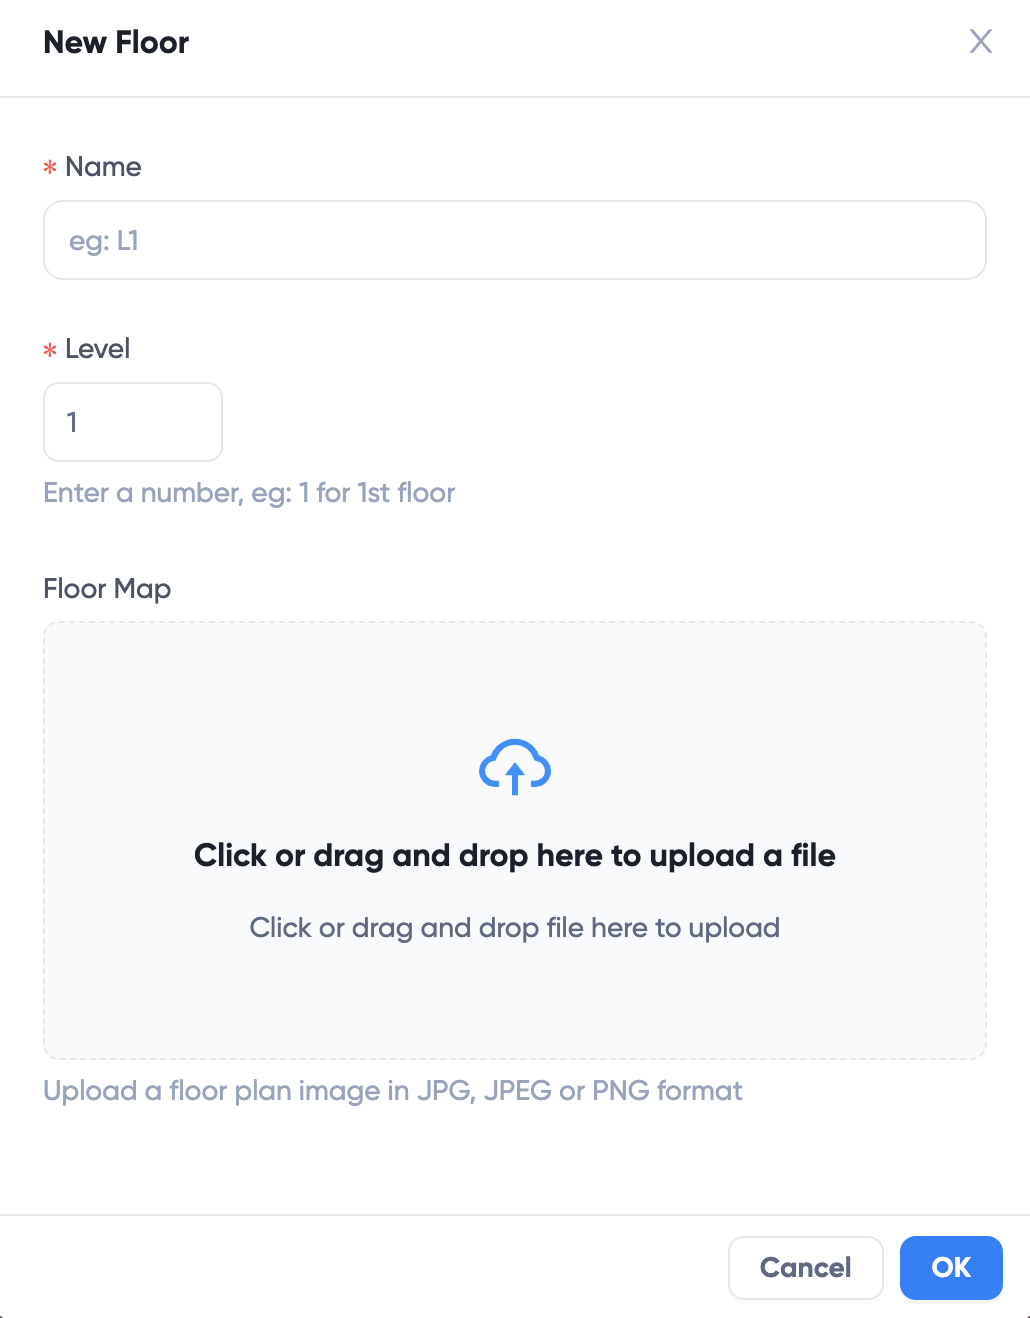
Click +New Floor to create a new floor:

- Name: enter a name for the floor
- Level: enter a number for the floor level, for example, enter 5 for 5th floor. Note that you can also use negative numbers for underground levels, or fractions for mezzanine levels.
- Floor Map: optionally click or drag and drop to upload a floor map. Floor maps are used as reference backgrounds to visually place resources such as desks or rooms. You can use a PNG or JPG file. View here for more details on how to upload and use maps.
Next, add resources such as desks and rooms using maps.