Interactive FloorMap
The most simple and powerful floor map editor makes workplace management easy.
Layouts
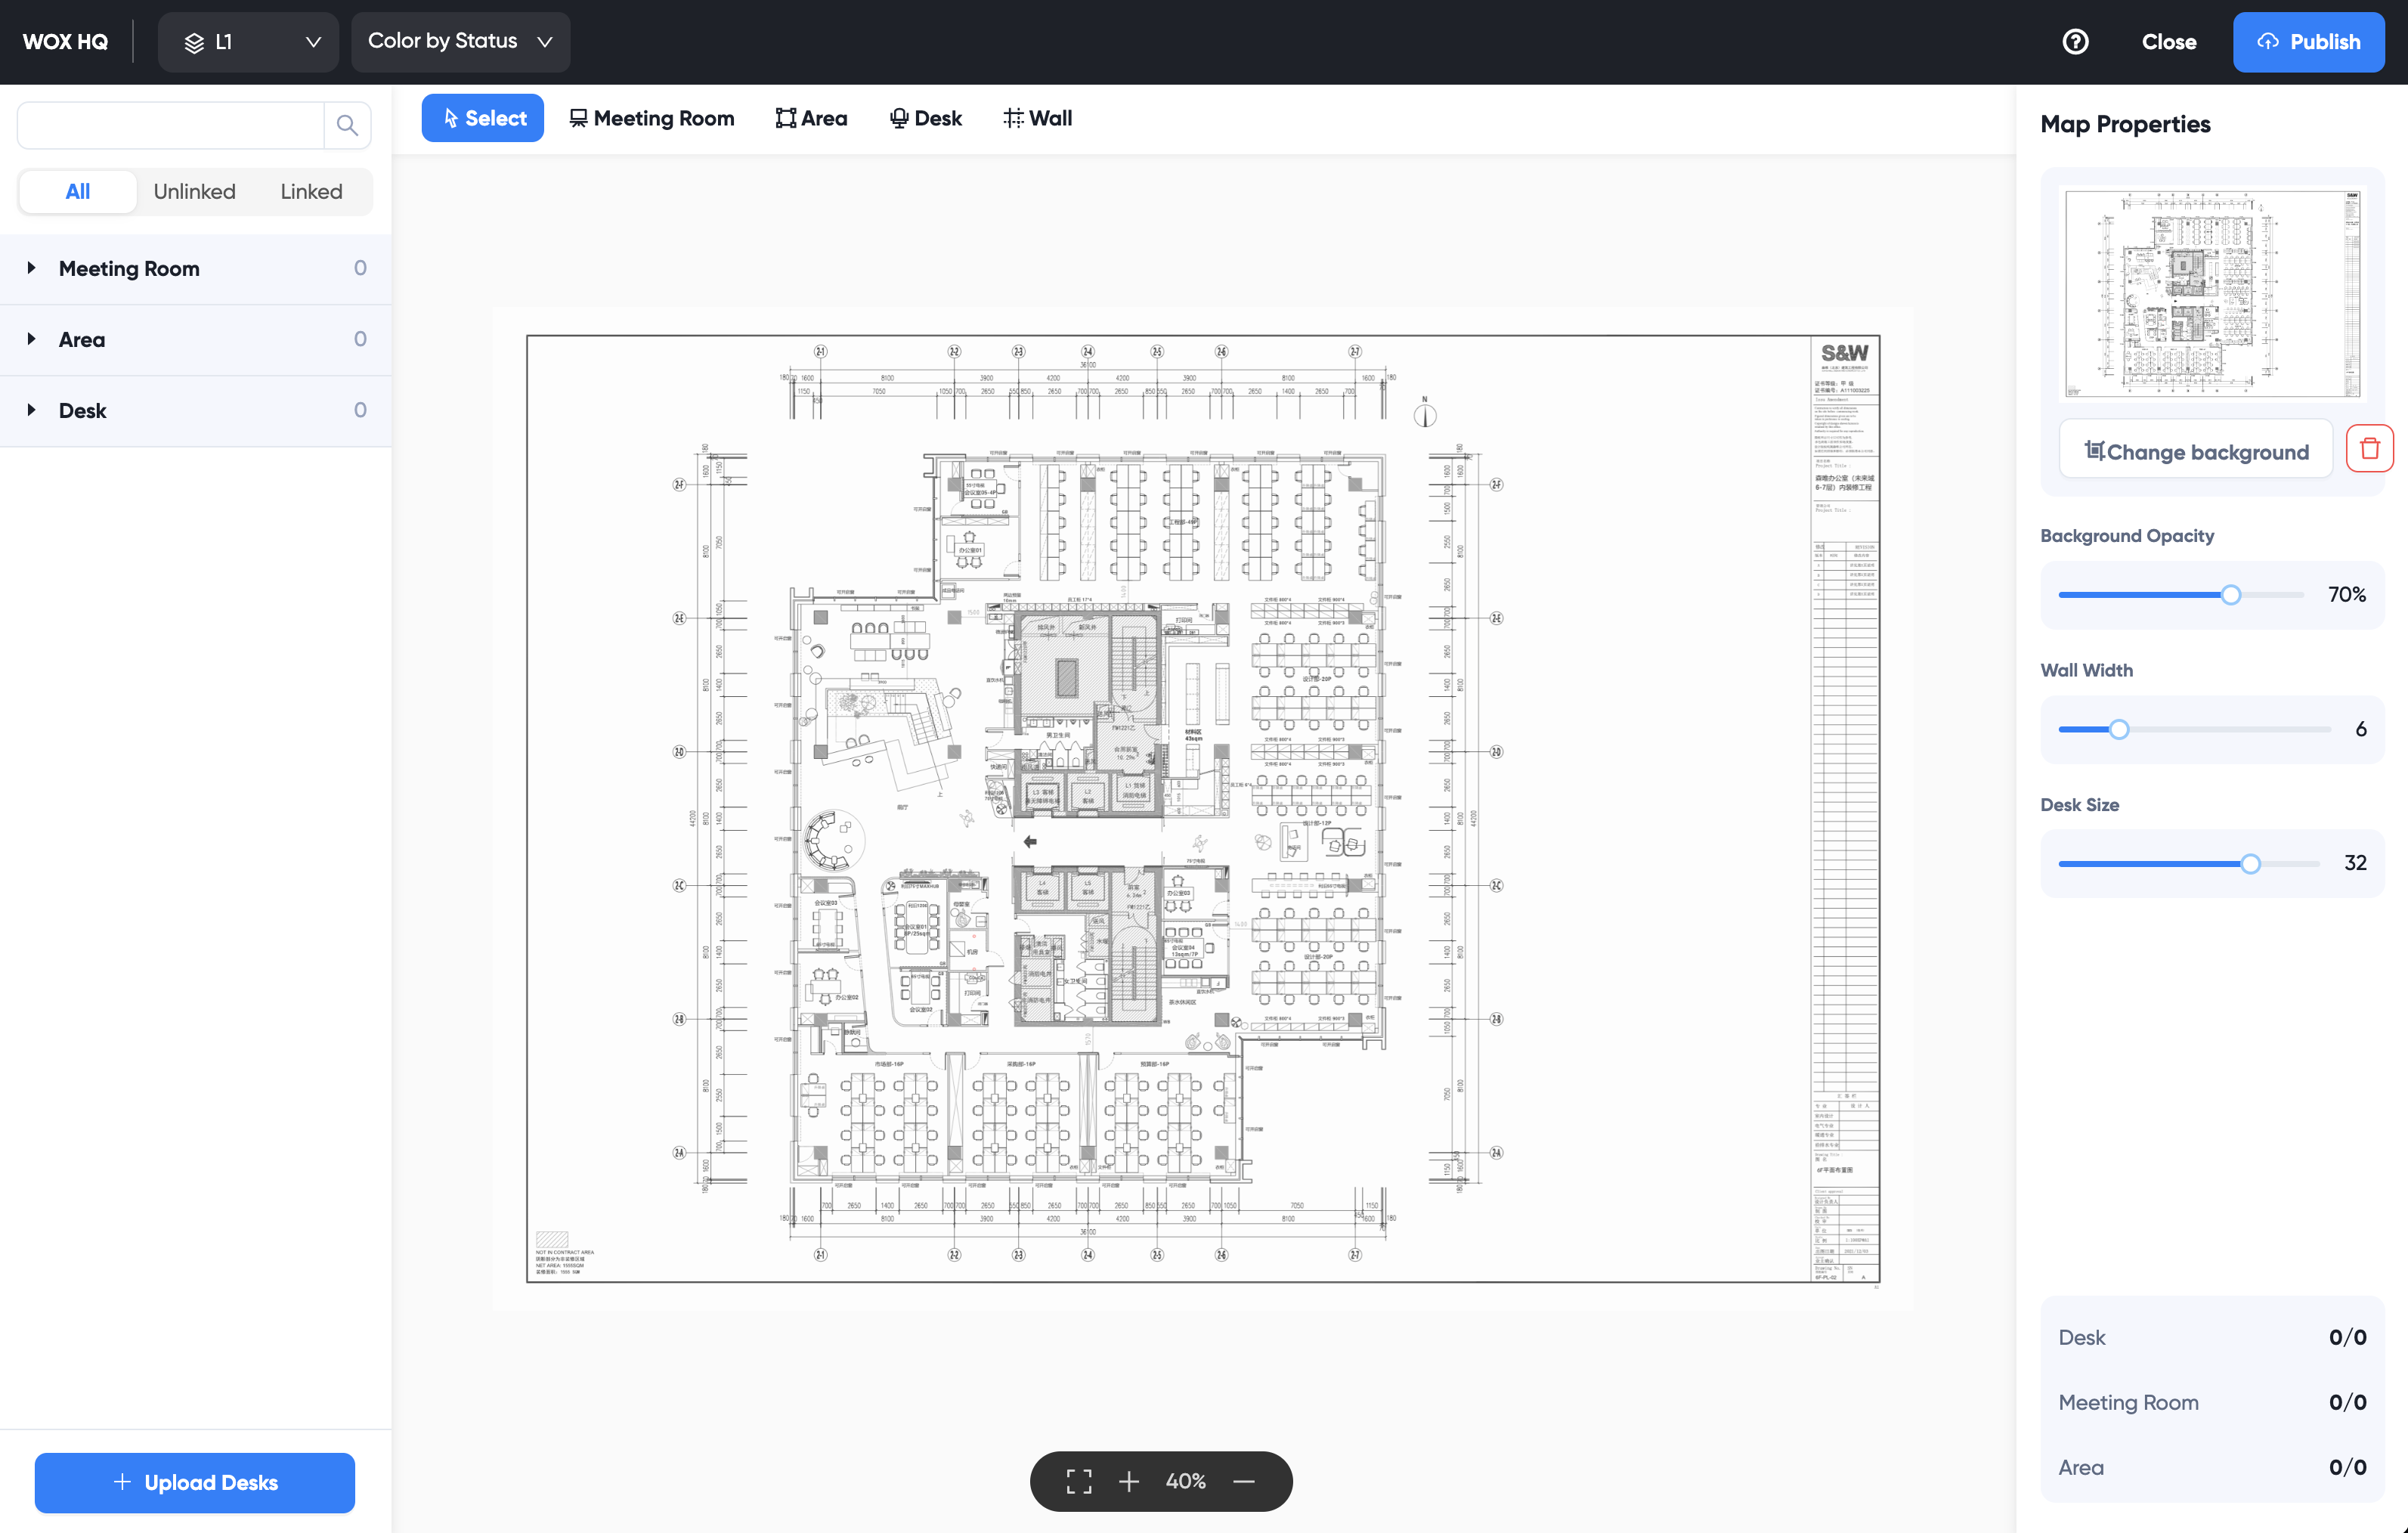
On the top of the Map Editor, it displays current location.
Change Floor
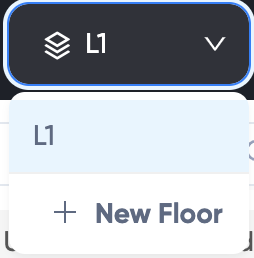
Current editing floor is displayed in the dropdown. If you'd like to change floor or add new floor, click the dropdown to select.
Change Coloring Scheme
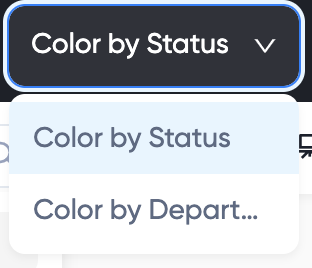
By default, desks are colored by its link status. If you'd like to change coloring by department, click the dropdown to select.
Help
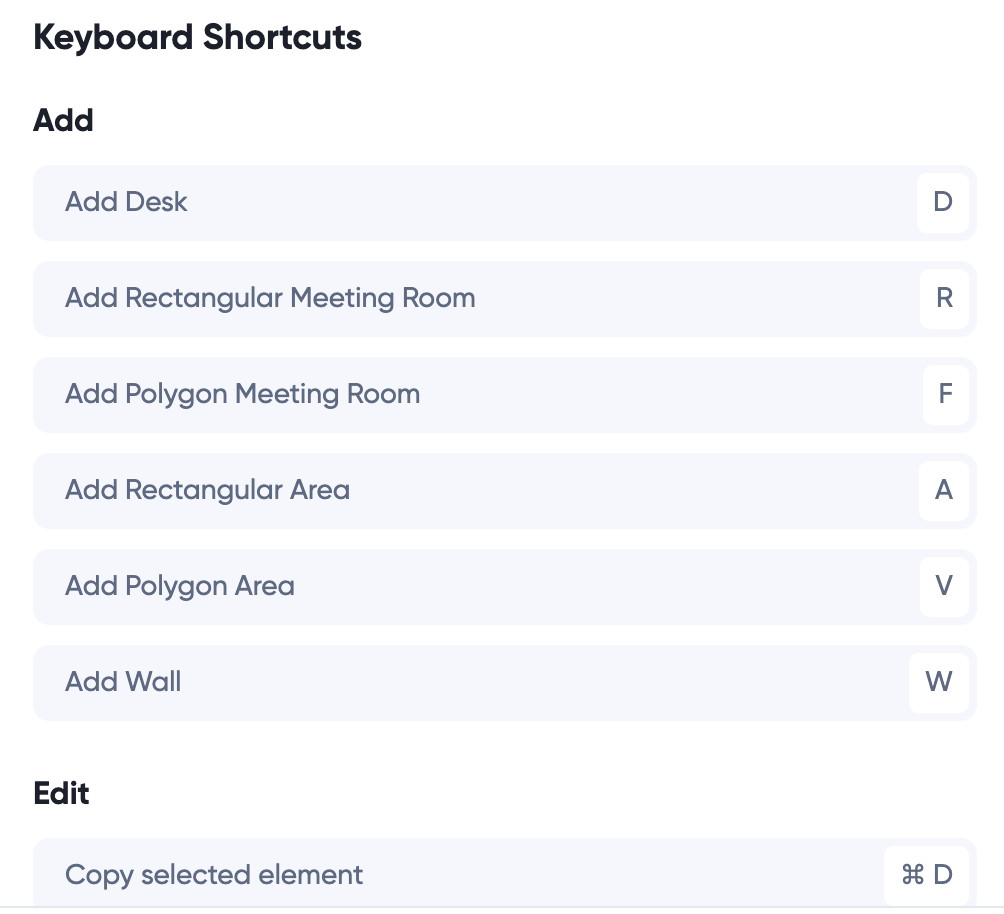
Click the Help icon for shortcuts and link to documentation. You may also use Ctrl+H. It is helpful to know about editor keyboard shortcuts:
Close Editor
Changes on the map are not saved to server. When you finish editing, you may close the editor. If there are changes that need to be saved, a prompt to save is displayed. If you'd like to discard editing and closing editor, click Discard Changes button. Otherwise, cancel closing and continue editing until you are ready to publish changes to server.
Publish Editing
Publishing is saving all your changes to server. Once your publish, your editing is live.
WARNING
Changes on editor are not saved until you click Publish button.
Add Resources
Resources are desks, meeting rooms, areas and walls etc.
Open Map Editor, the buttons to add resources are displayed on top of the map area.

Click the corresponding resource buttons on the top to add resources.
Meeting Rooms & Areas
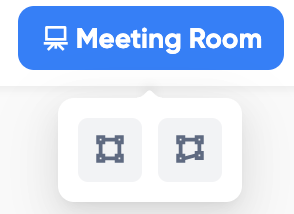
For meeting rooms and areas, you can add as rectangle or polygon shape. By default it is drawn as rectangle.
TIP
Rectangle is a simplified version of polygon. You can only change the position, width and height of rectangle. Most areas are rectangle. But if your areas are irregular shape, use polygon shape for maximum flexibility.
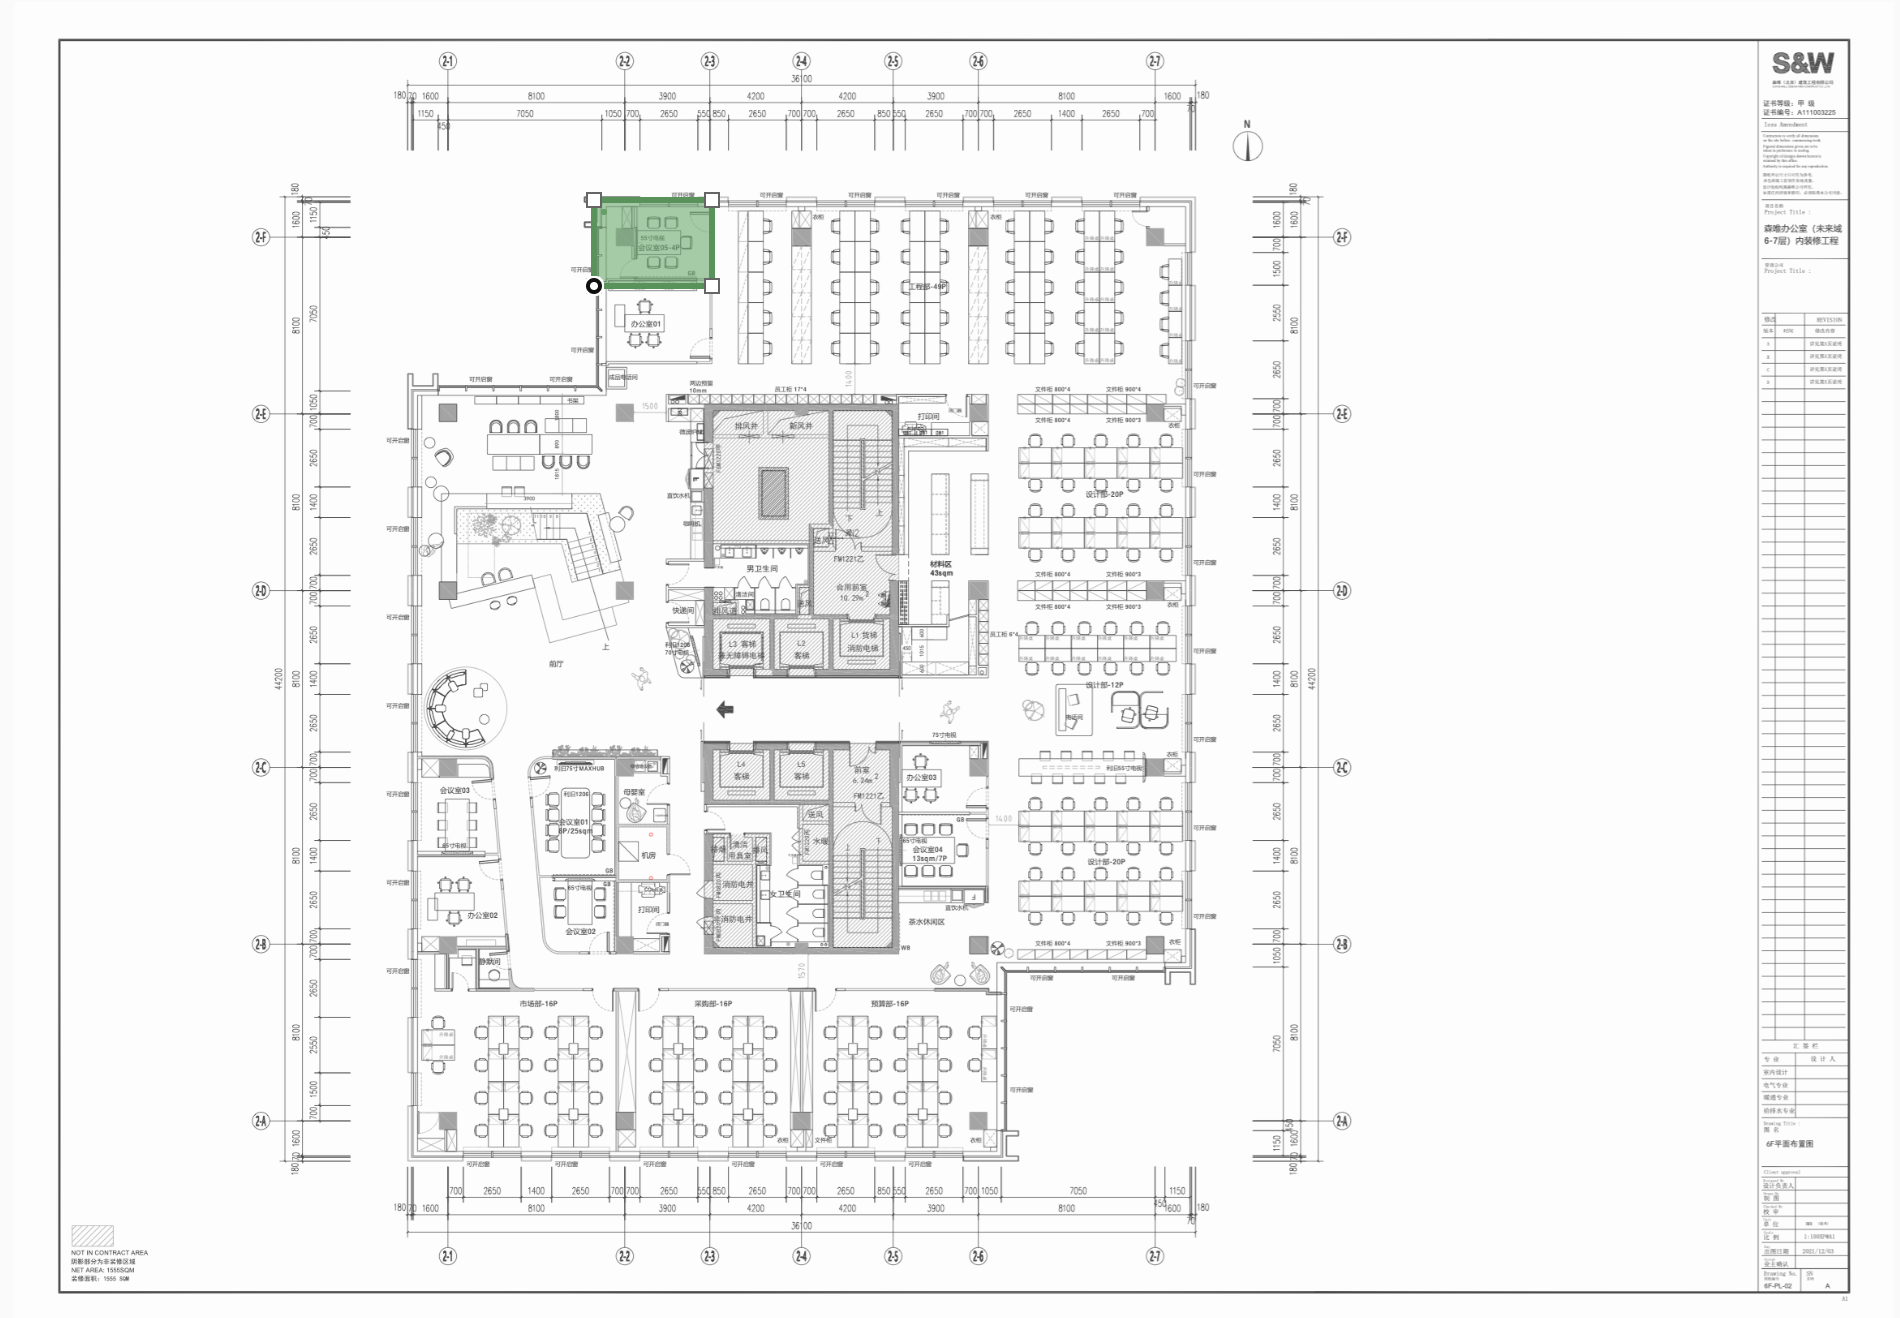
For rectangle, click on the map where you'd like to have the top left position and drag to bottom right position. It does not have to be perfect as you can always edit its position and size later.
For polygon, clicking on the map for first vertex and continue clicking to add more vertices. Clicking on the first vertex again to finish drawing, or press Escape key.
Desks
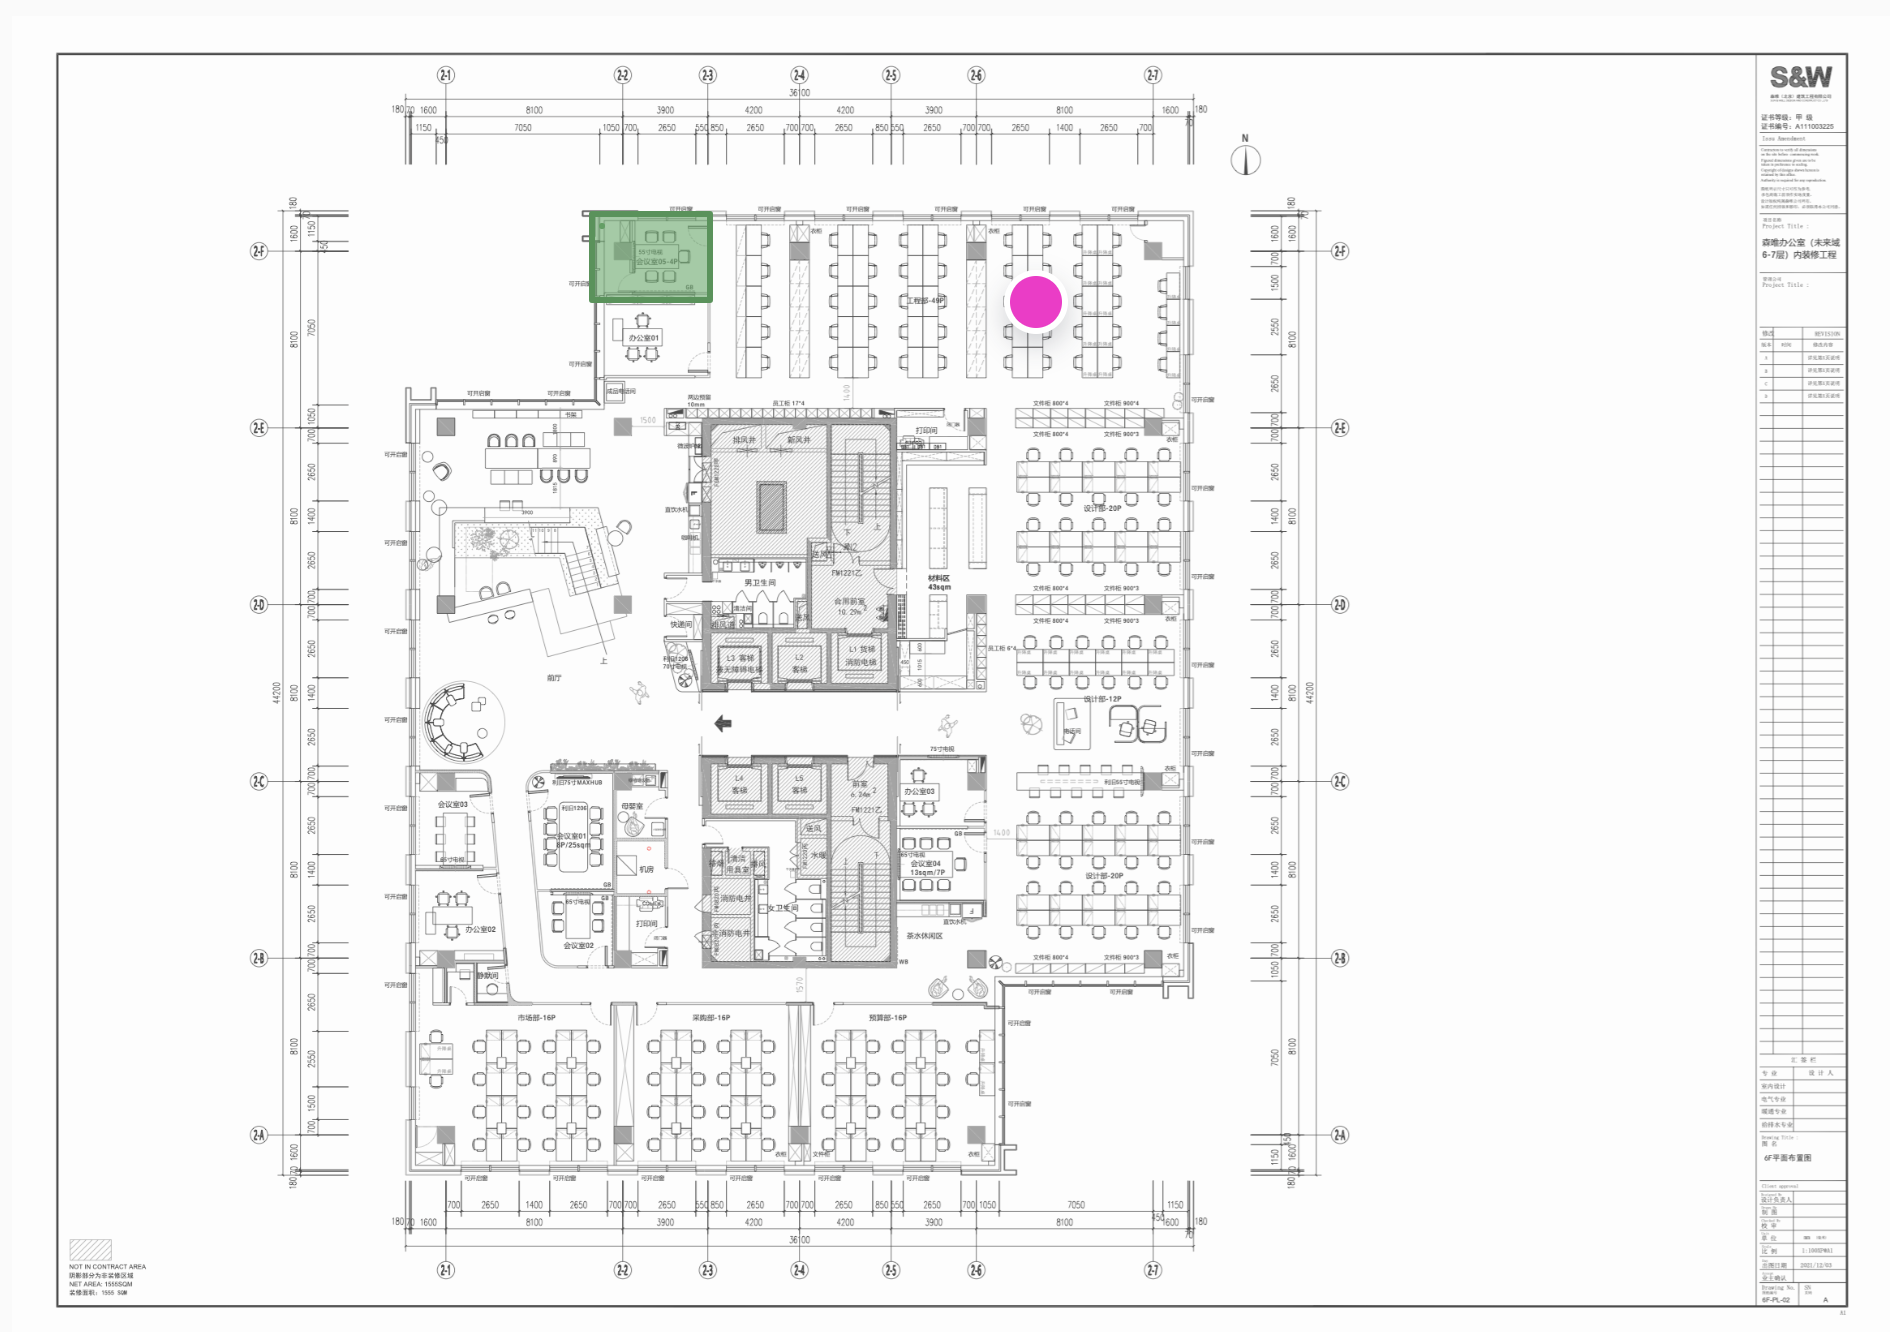
For desks, click Desks icon, click where you want the desk to place on the map. You may adjust the desk position later so you do not have to be exact.
Snapping
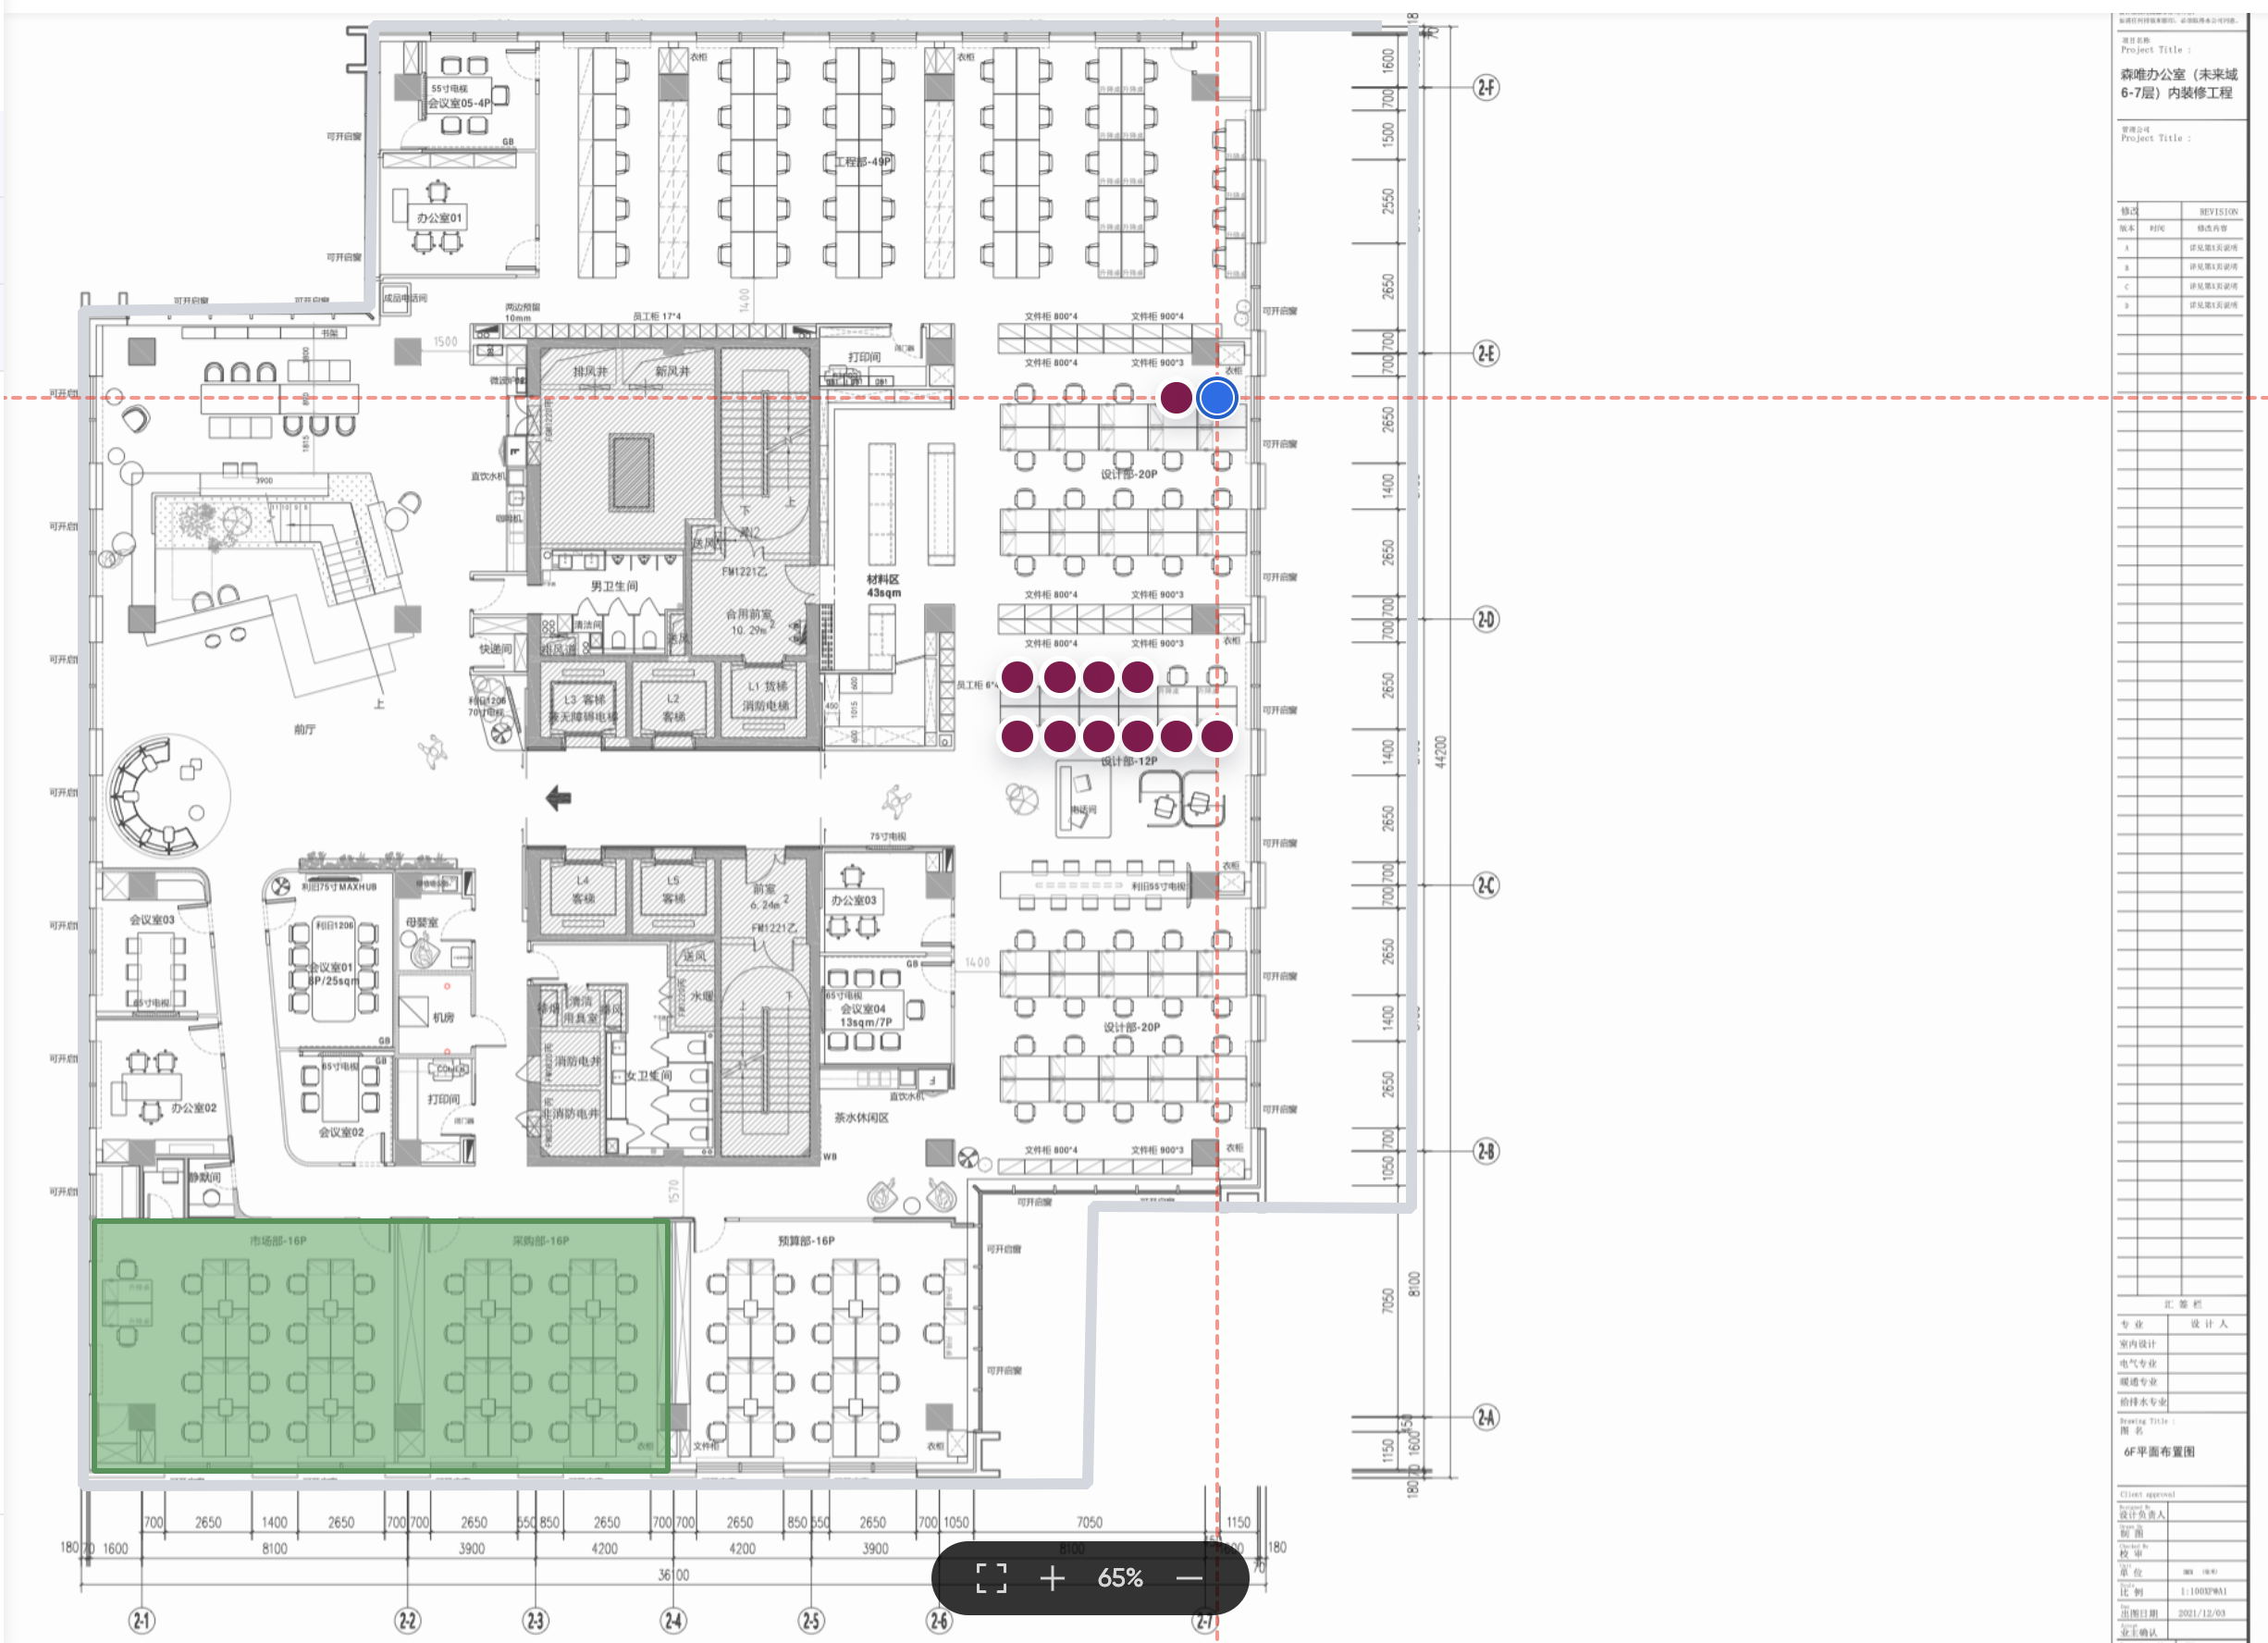
If there're other desks on the map, the new desk will automatically snap to the same horizontal or vertical position to make them perfectly aligned. Horizontal and Vertical red dashed lines indicate the alignment. This is called Snapping.
TIP
If you do not want automatic snapping, you can press down Alt key while moving mouse cursor.
Keyboard
You can also move desks using keyboard. Click on the desk that you want to edit, and it turns blue color:
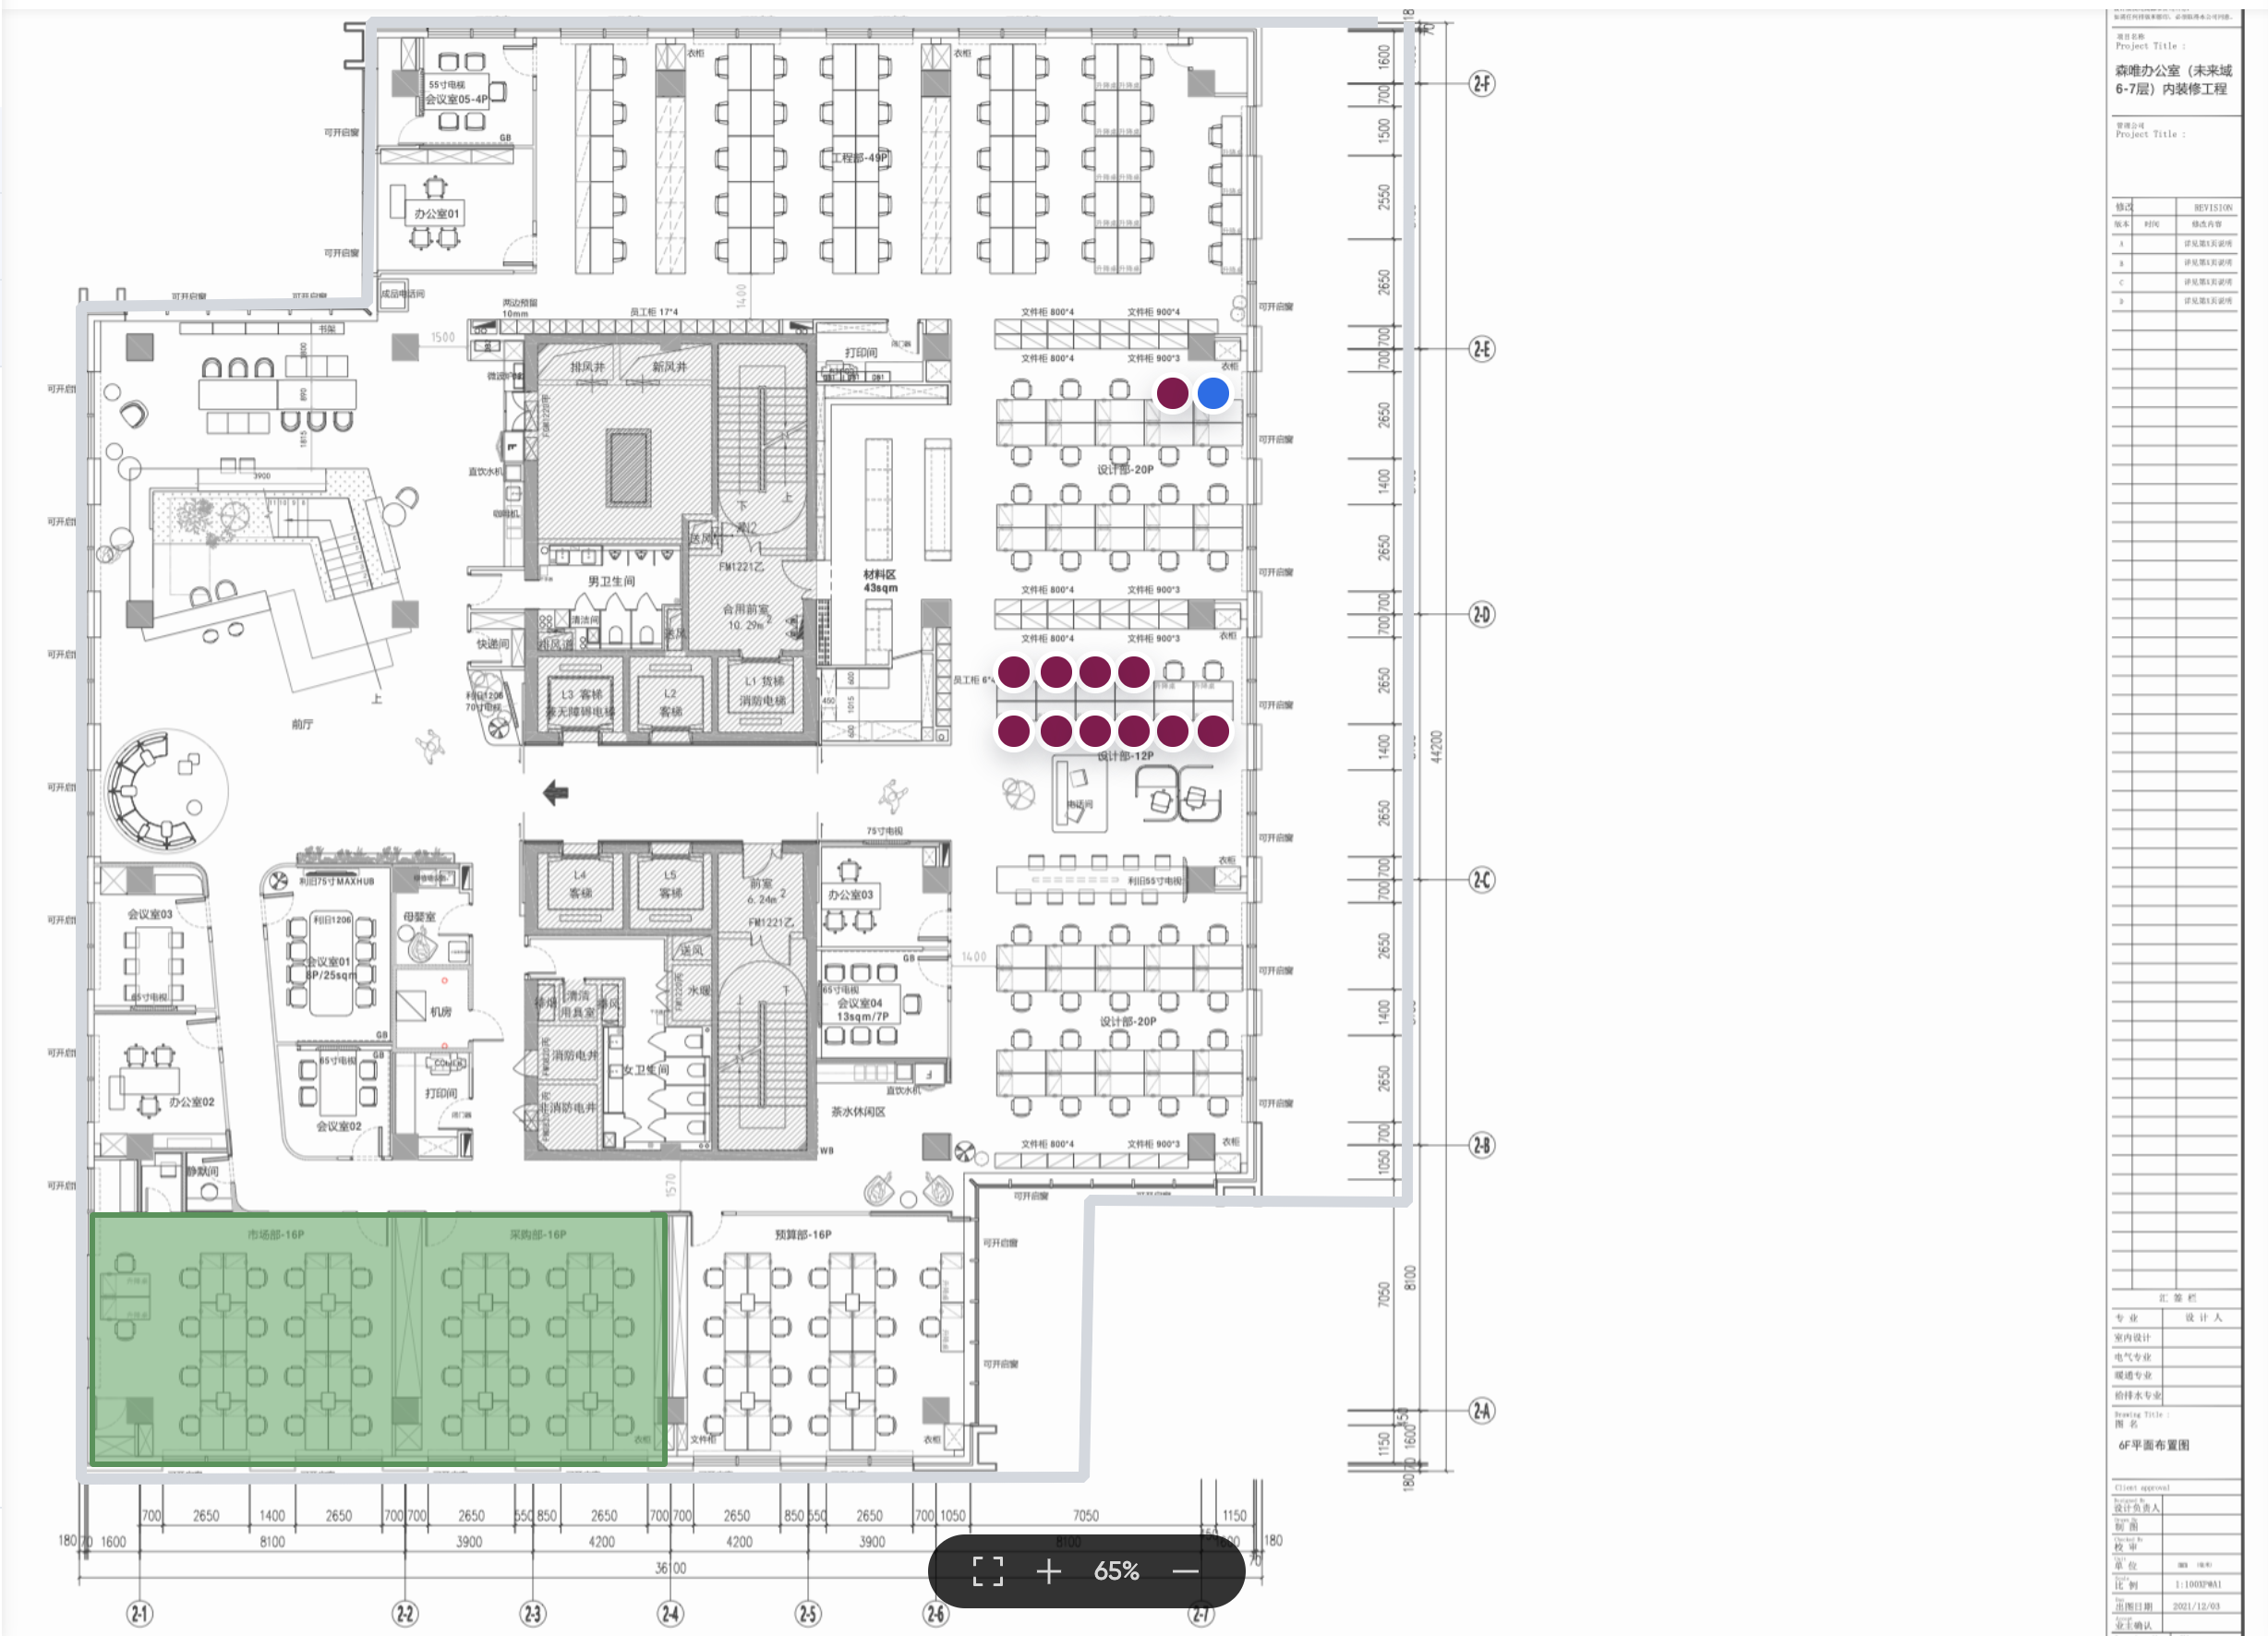
Use keyboard arrow keys to move down, up, left and right. Each press moves the desk slightly.
If you want to move a larger distance, you can press Shift key and arrow key at the same time.
Group Selection
Group selection allows you to move, align and edit multiple desks at the same time.
- Select multiple desks by pressing Shift key and drag. There is a light gray box with blue border indicating selection area:
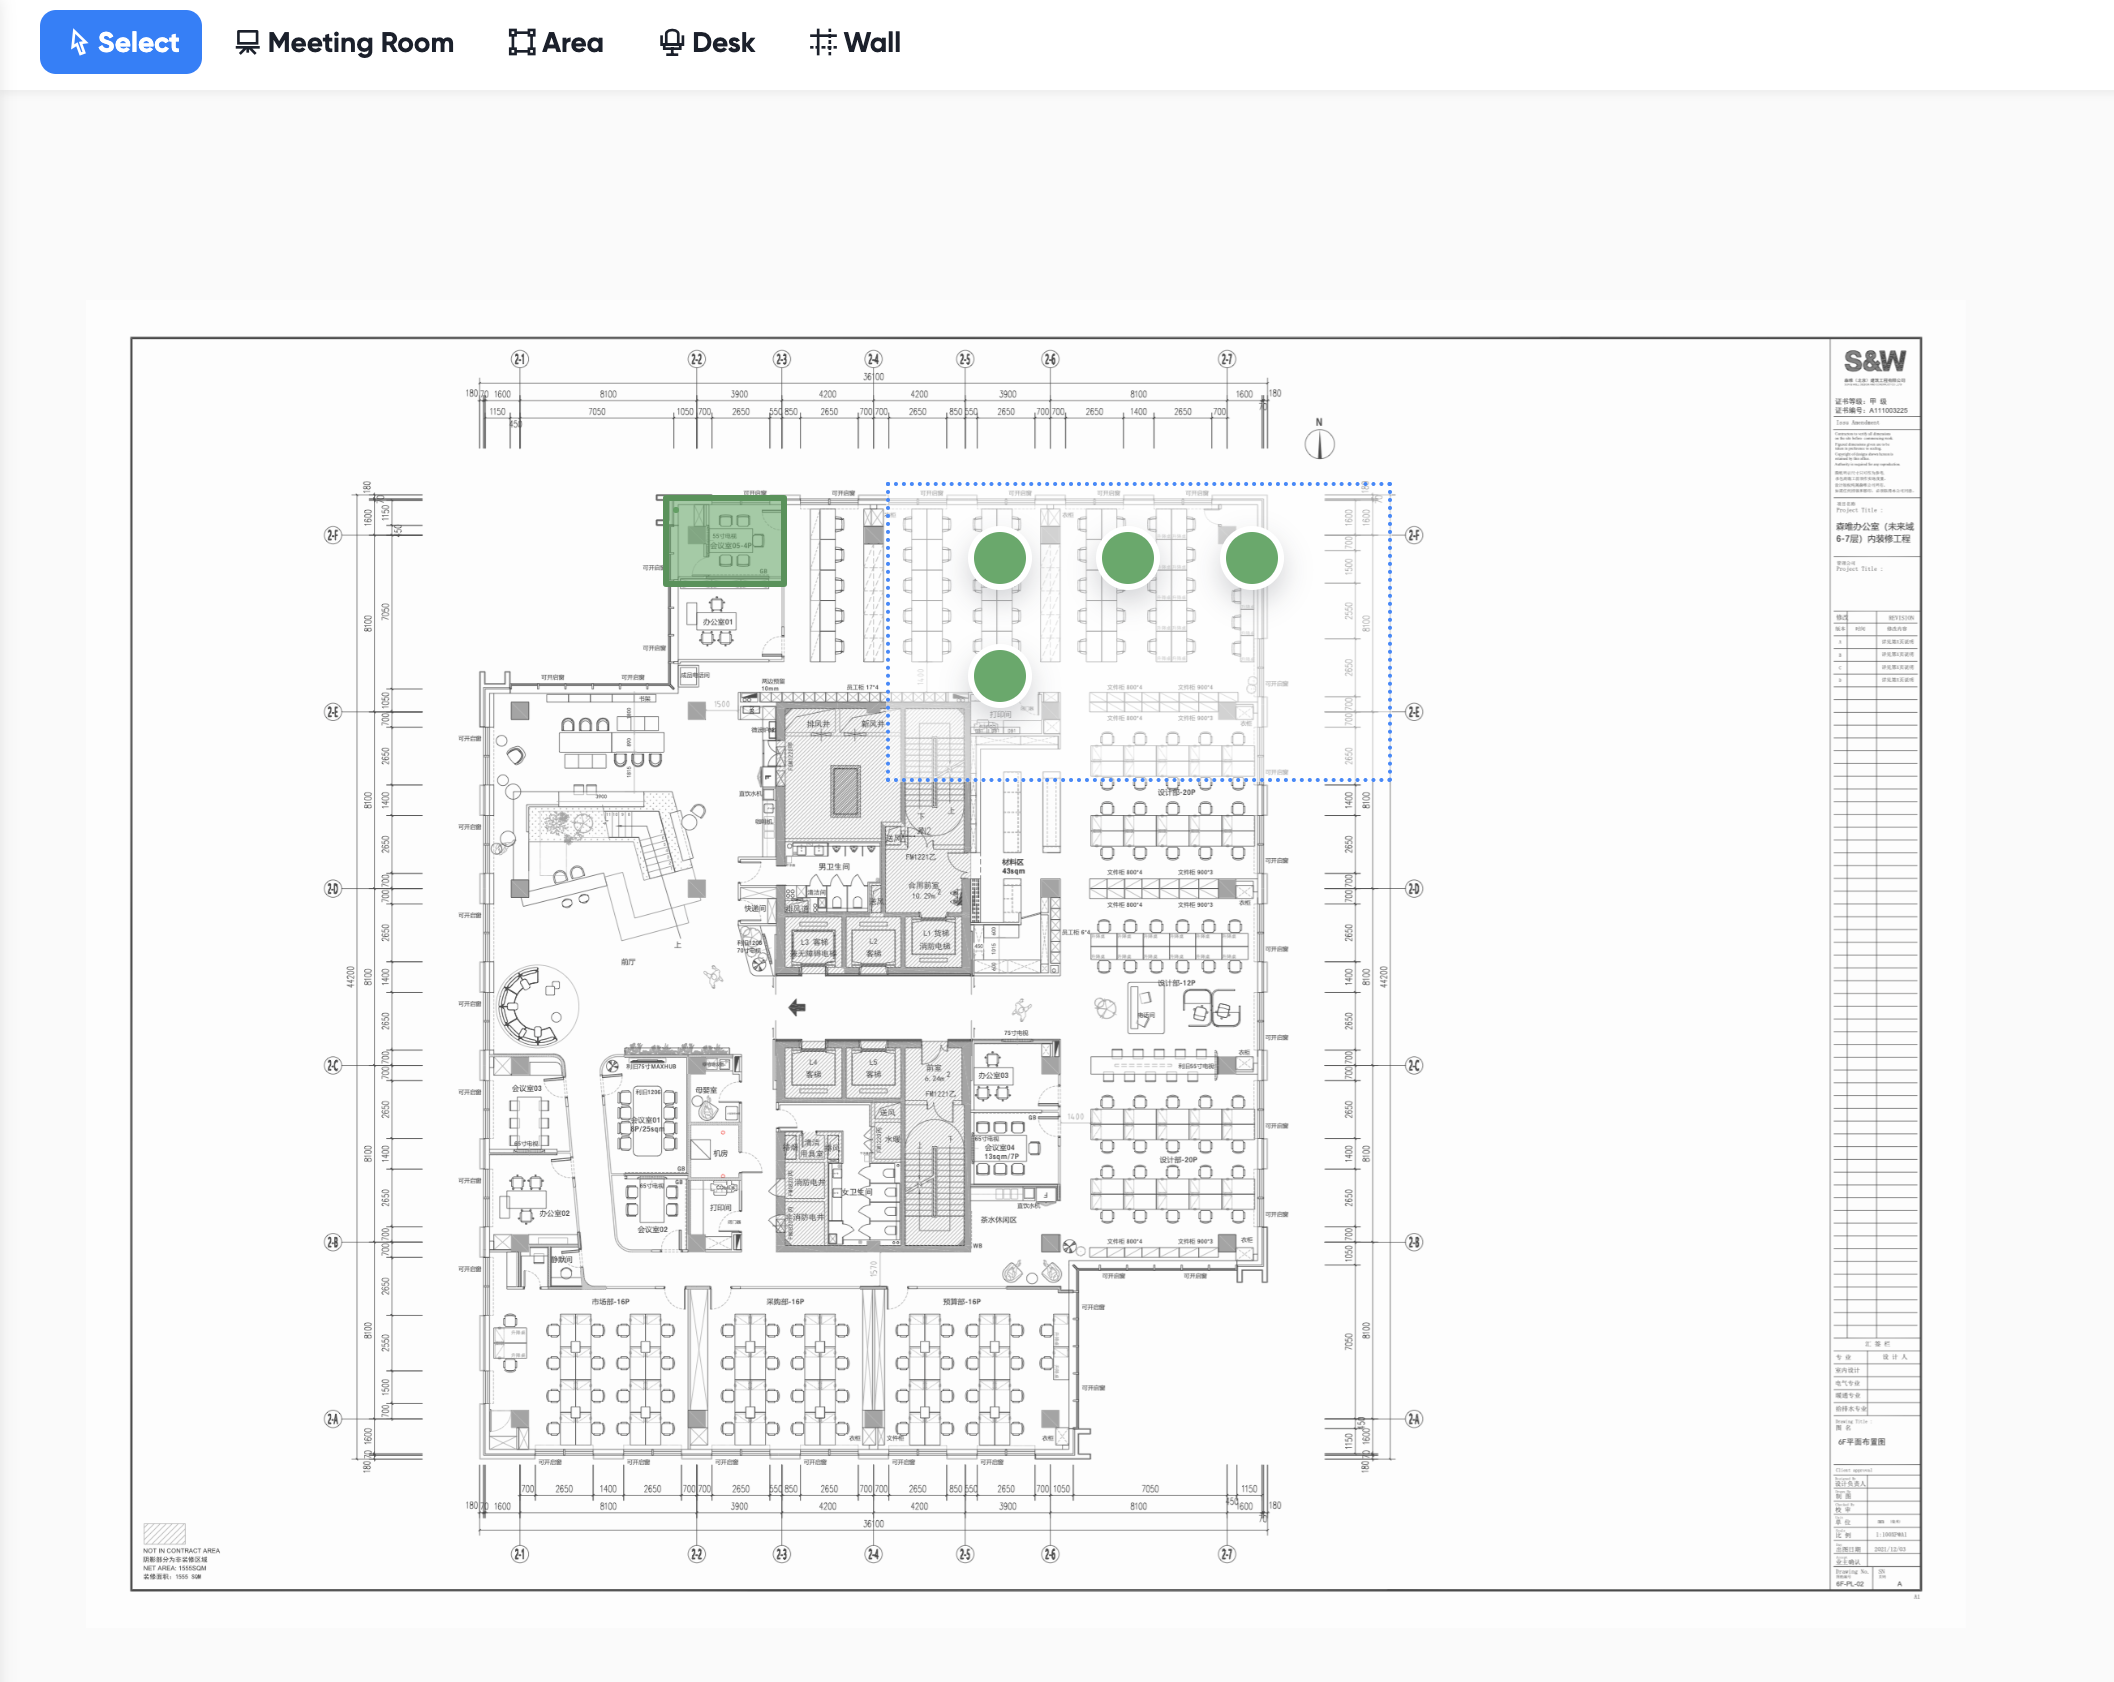
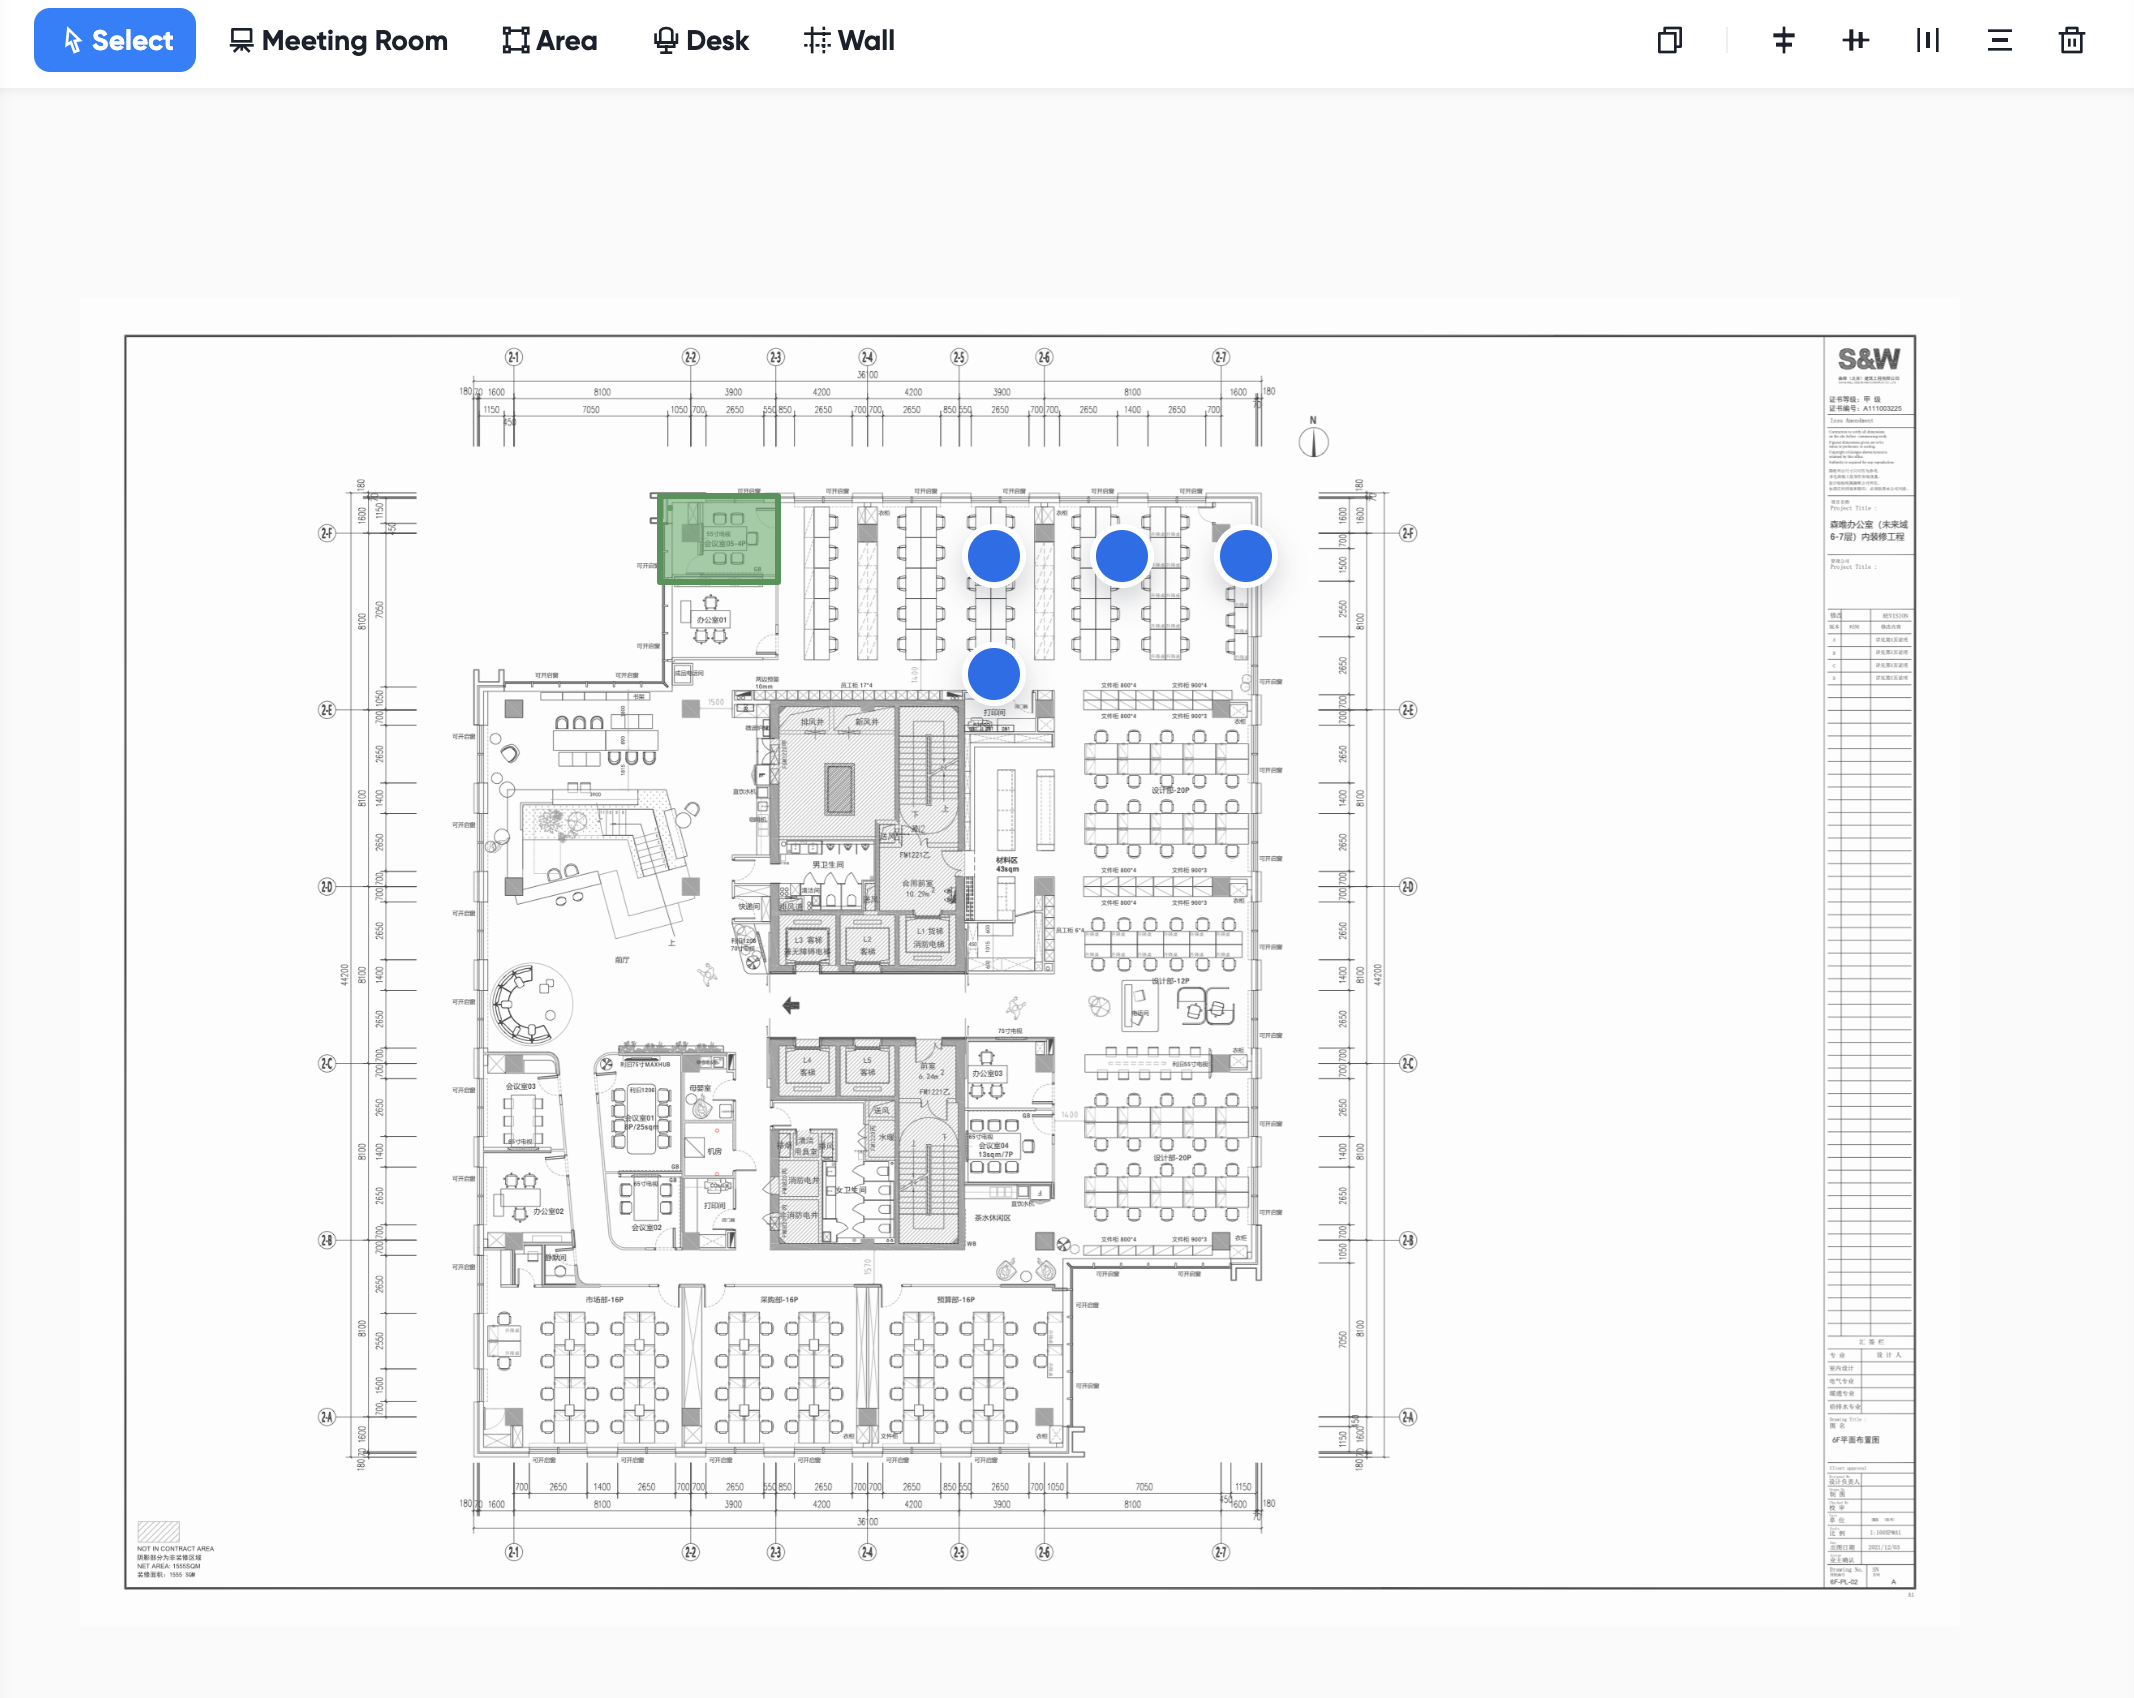
- Selected desks are shown as blue color:
Alignment
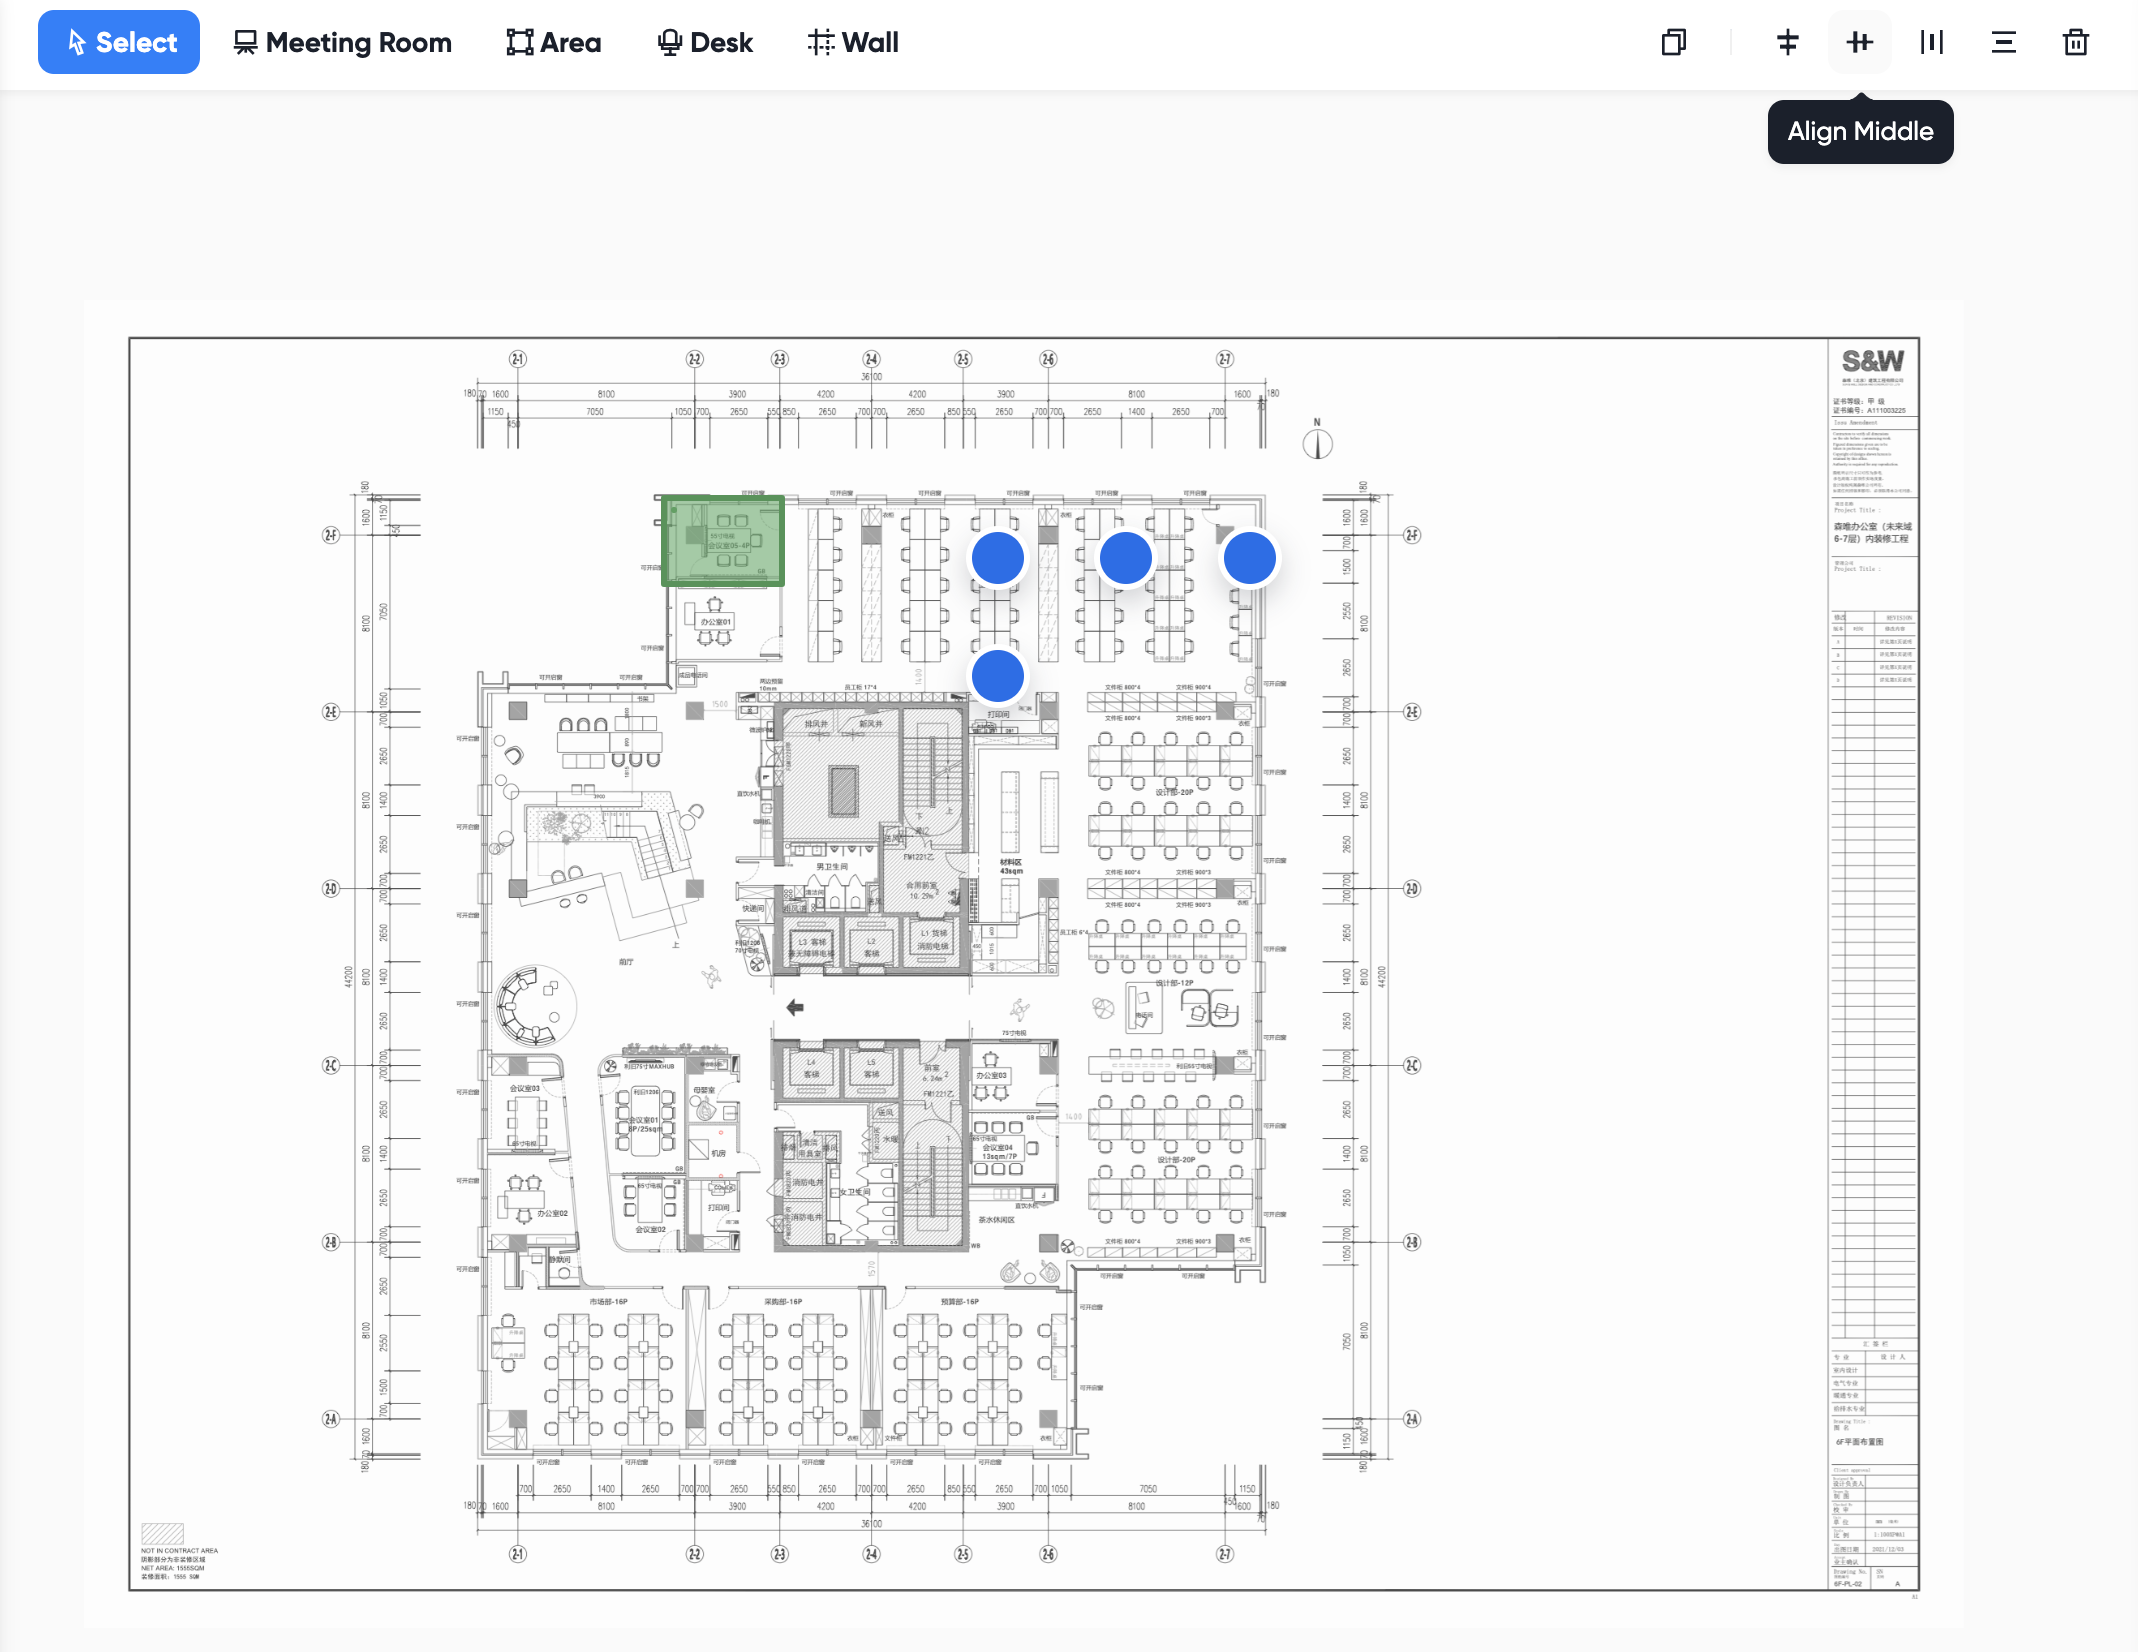
You can align multiple desks by first group selecting them and using alignment tools
- Click the alignment tool to align desks, or distribute them evenly horizontally or vertically:
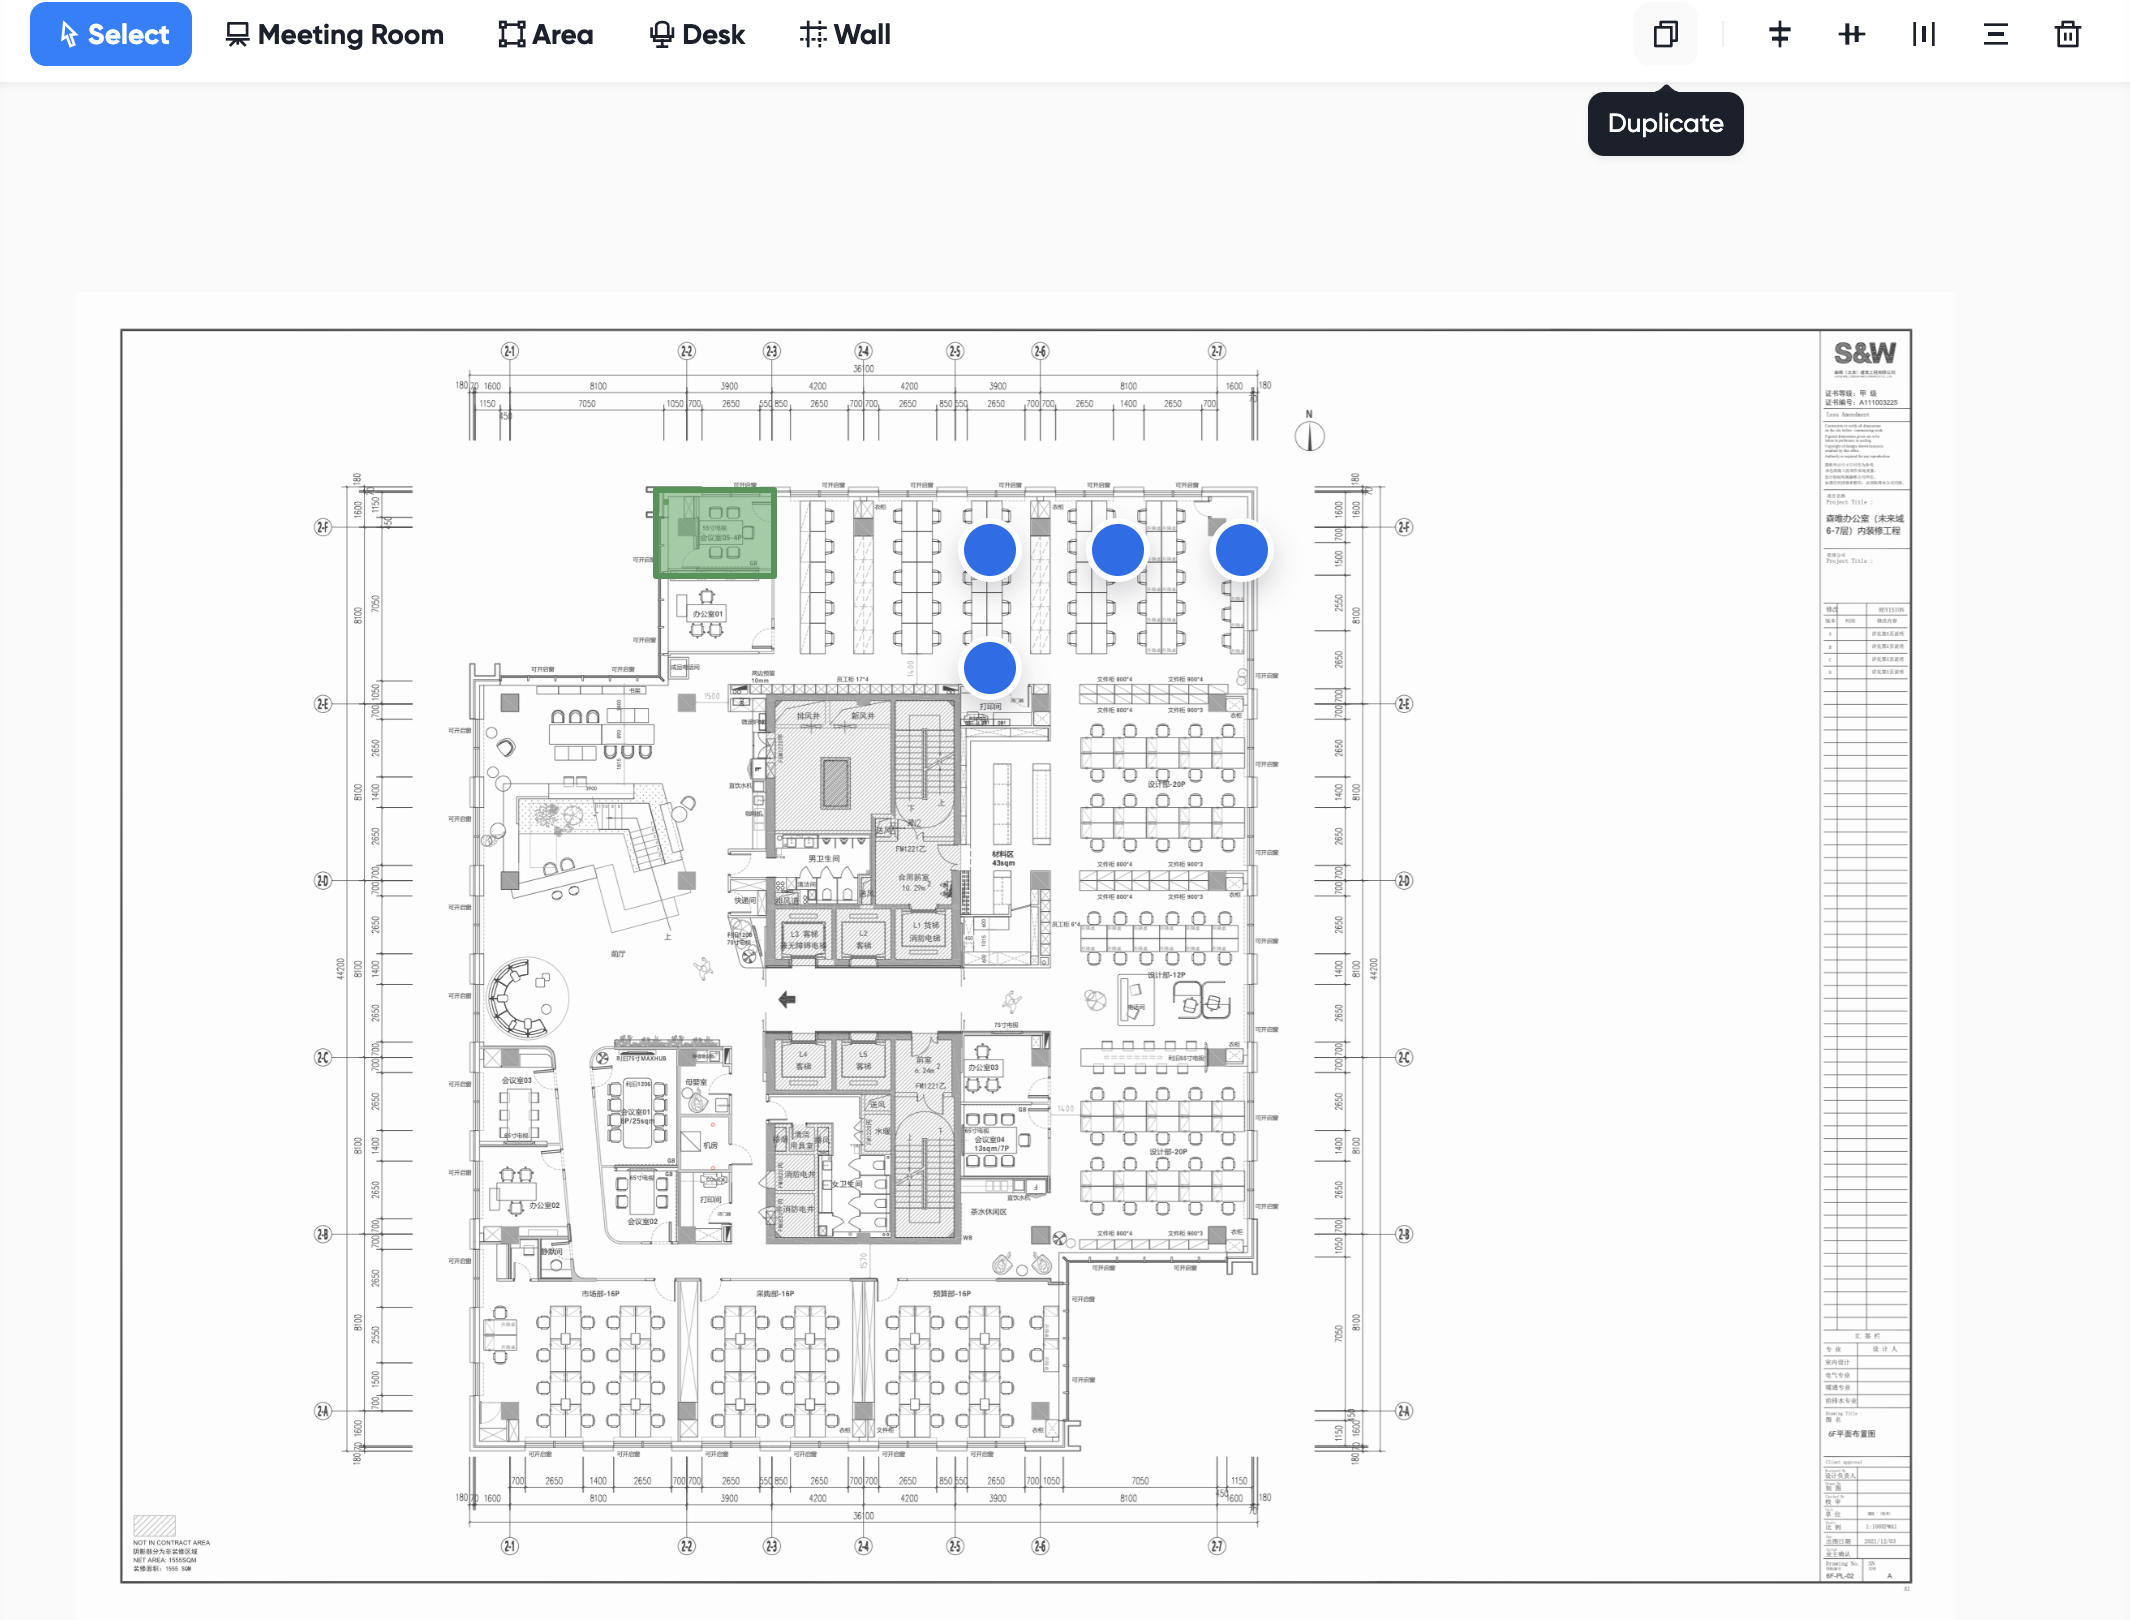
Duplicate
You can also duplicate one or more desks by first group selecting them, then click Duplicate button:
Delete
You can delete one or more desks by first group selecting them, then click Delete button, or use Delete/Backspace key.
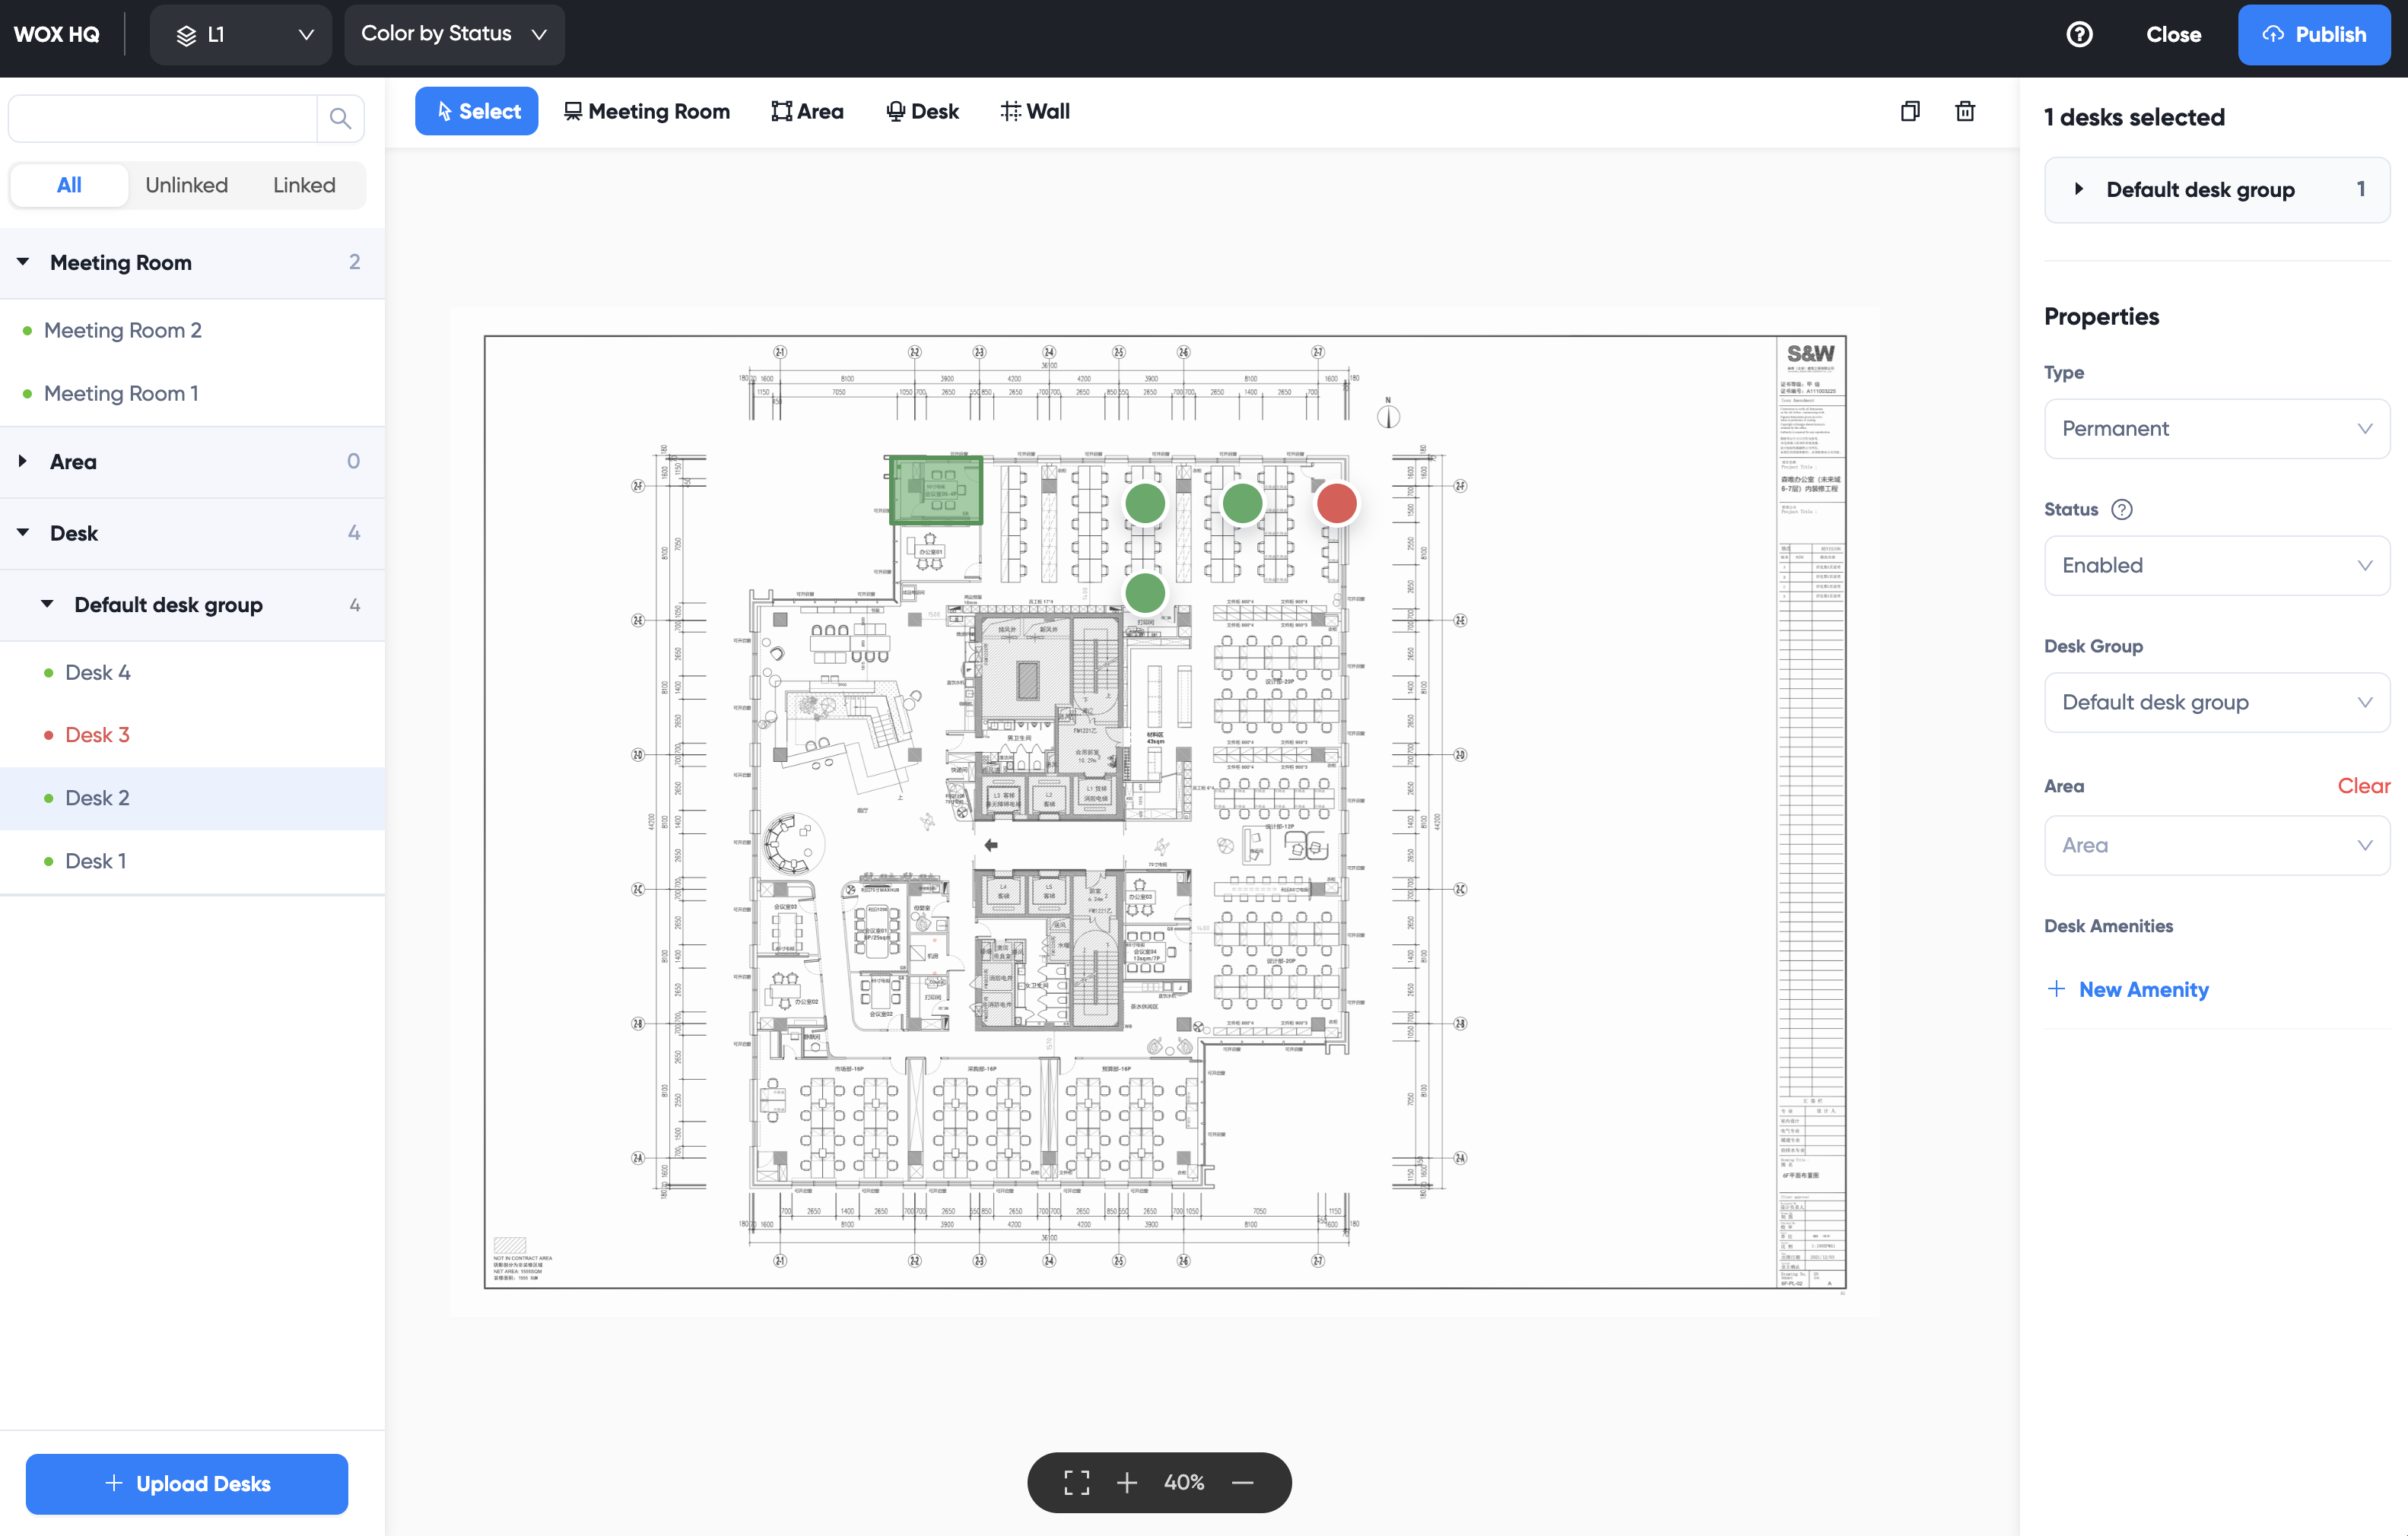
Editing Desk Properties
Select one or more desks, on the right panel, you can edit the properties for selected desks:
Desk Colors
You can choose to display desks by their link status, or by their department.

Color by Status
By default, the Map Editor displays desks using their status. It makes it very intuitive to know which desks are linked and which are not. Green means linked, Red means unlinked.
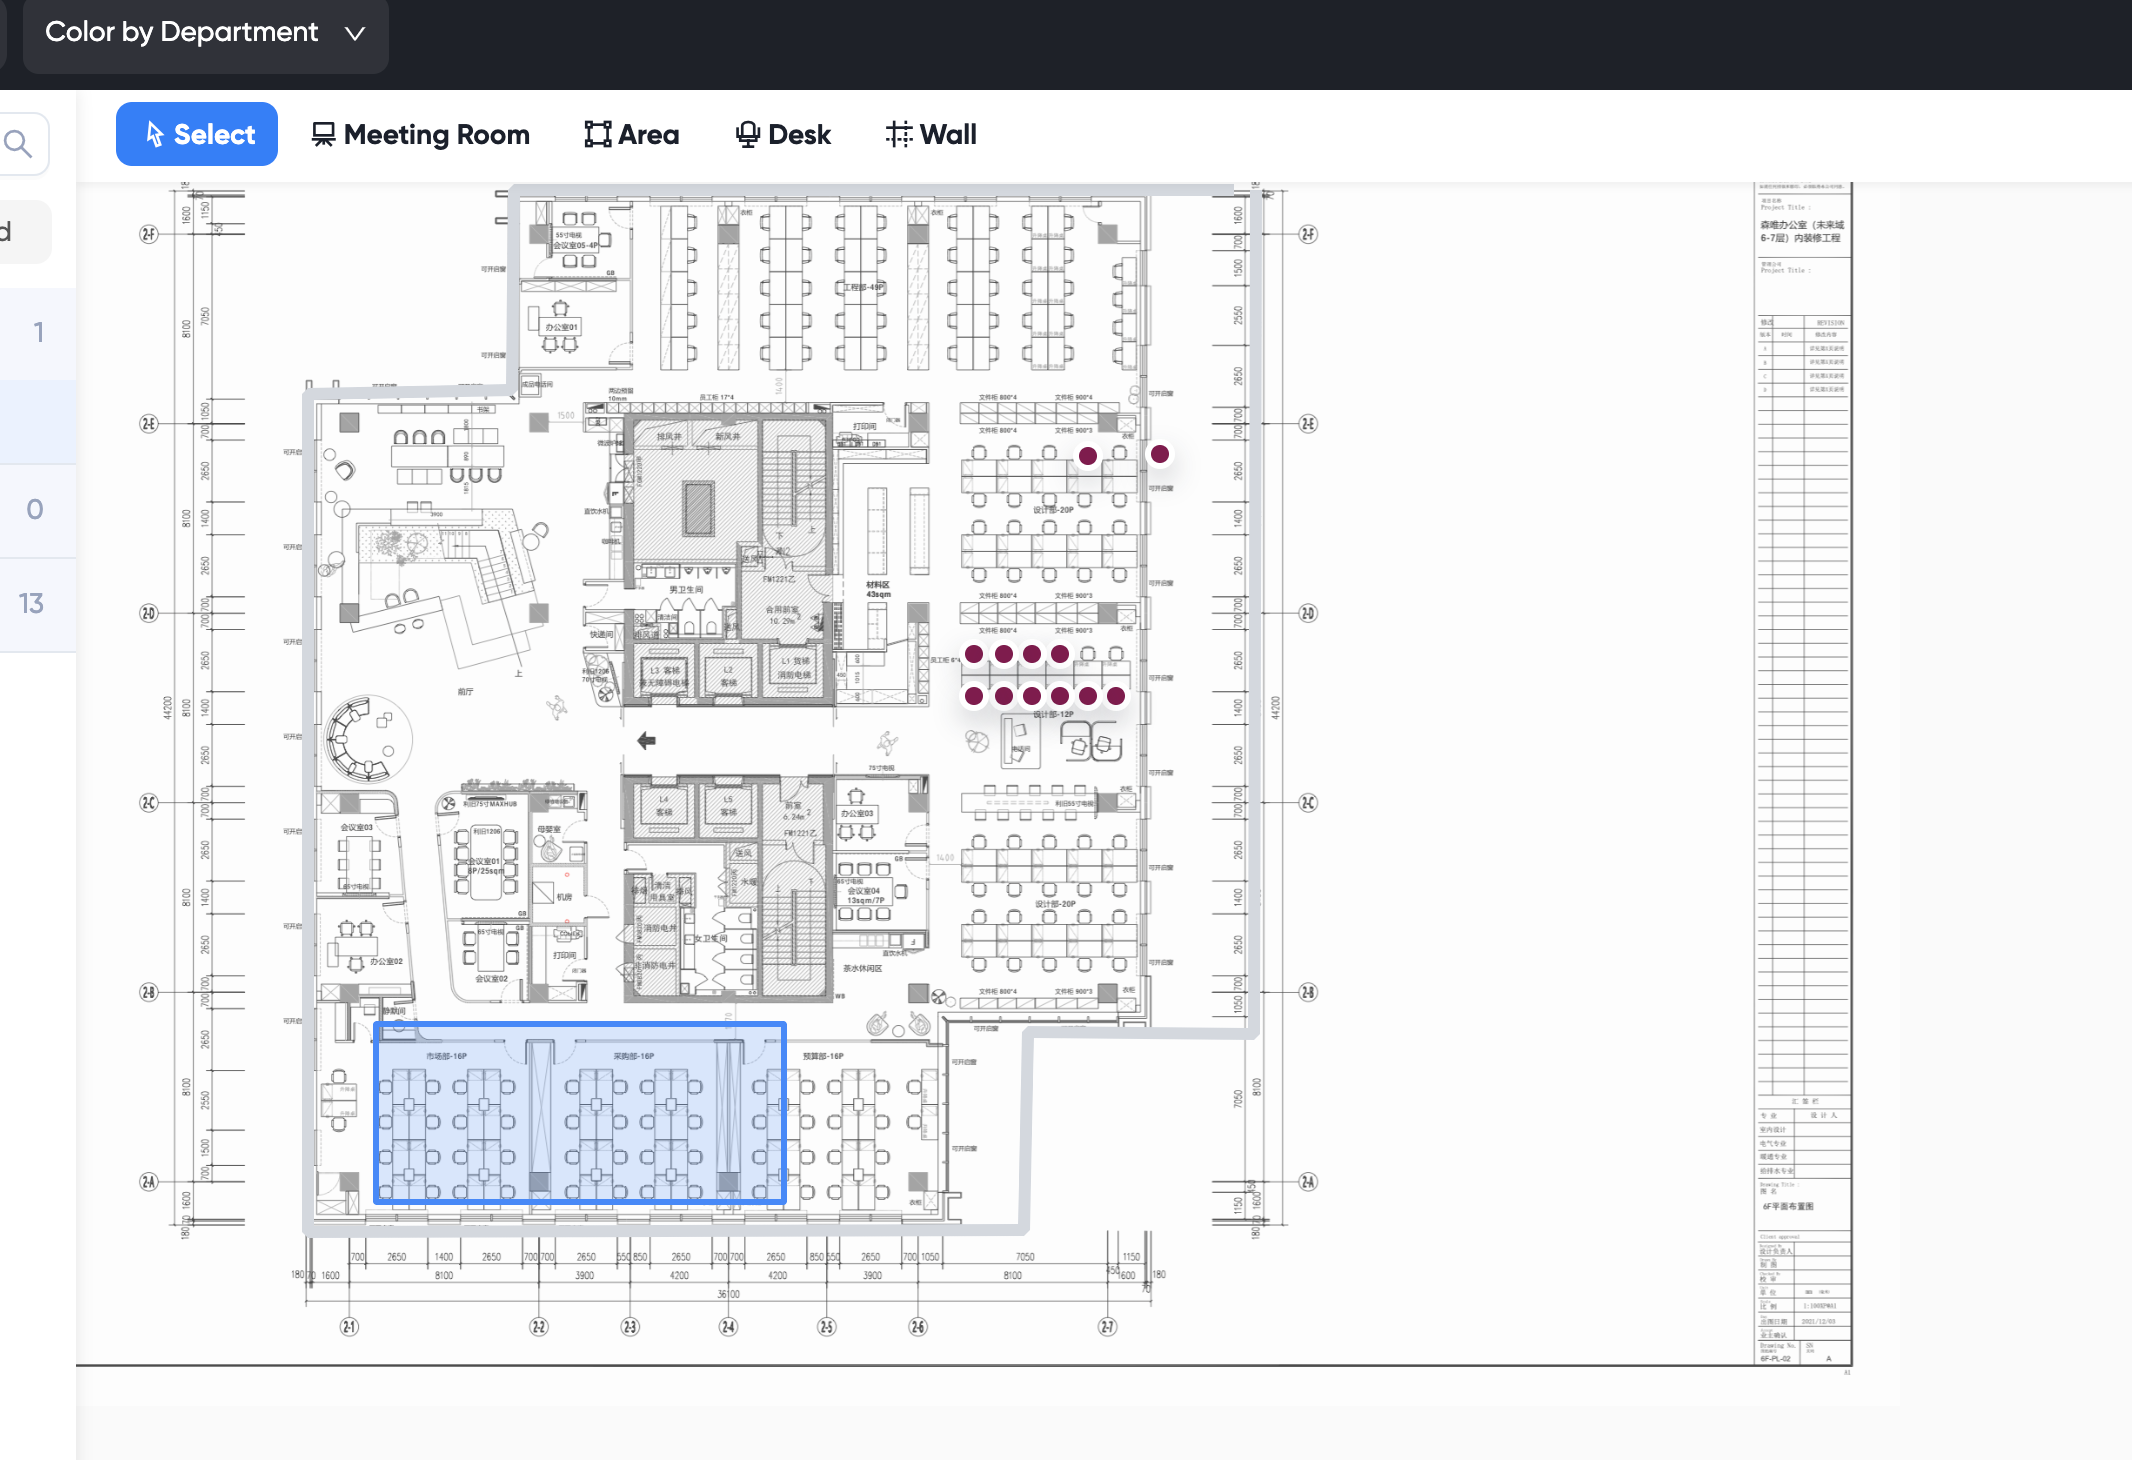
Color by Department
If you would like to view which departments are assigned to which desks, you can switch to Color by Department view. Under this view, if a desk is linked, it is displayed using the color of the department. Otherwise, it is displayed as Red.
Edit Resources
You can edit existing resources on map.
Edit Areas and Meeting Rooms
Areas and Meeting Rooms are shown as rectangle or polygon. If an area or meeting room is rectangle shape, you can only change its width, length and position. If it is a polygon, you can change each vertex position, add and remove vertices.
Move
Single clicking the area or room, the shape will turn to blue color. You can move the shape around to change its position.
Change Shape
Double clicking the area or room, the shape will turn on edit mode. Each vertex becomes a white square that you can drag and move using mouse. Click and move vertices as you like.
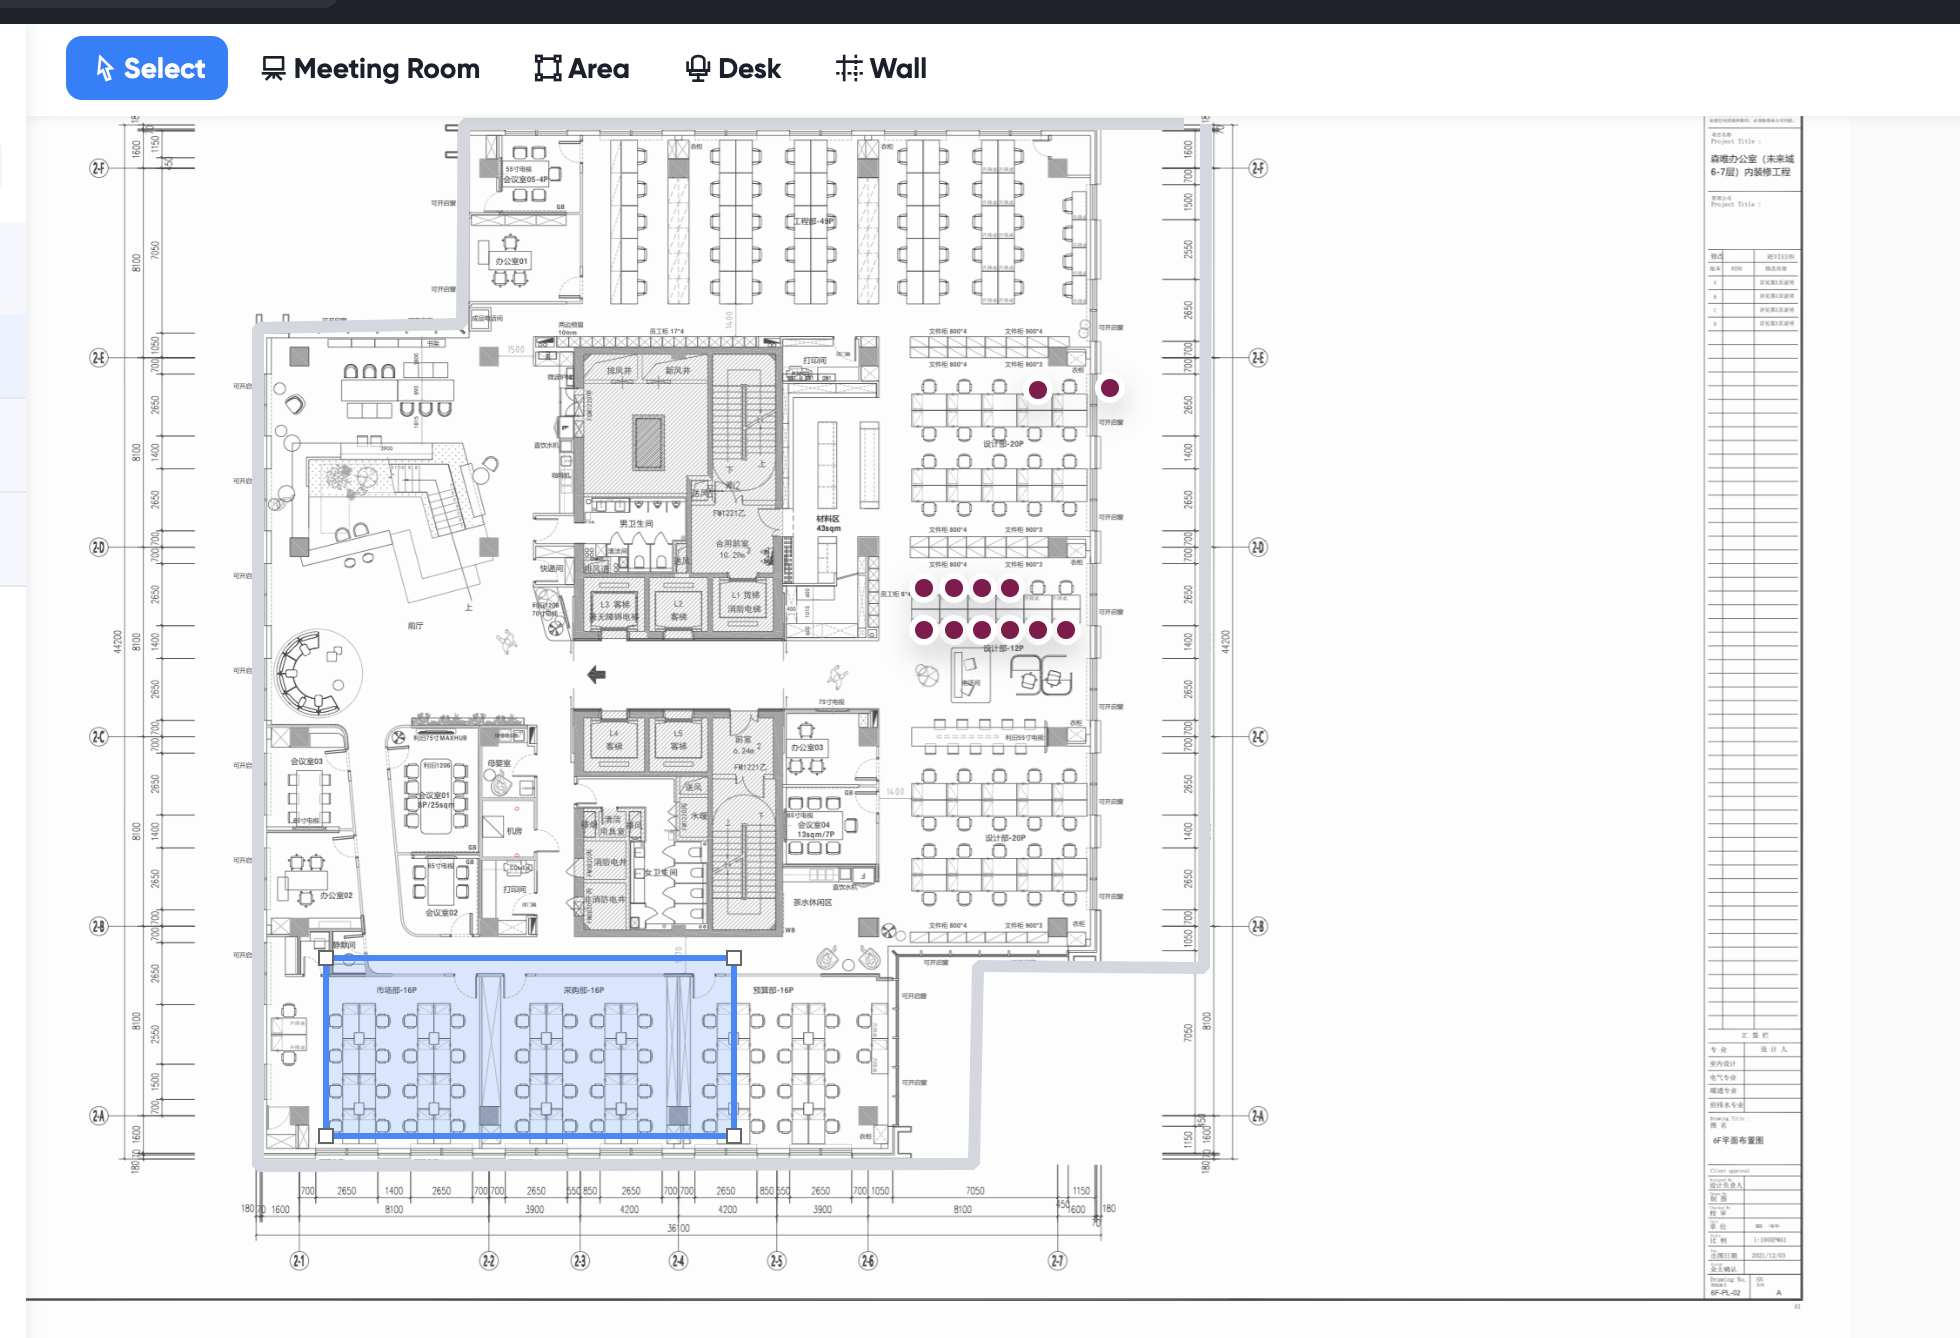
To change polygon shape, click the middle vertices and drag.
After editing, clicking anywhere on the map to finish.
Link Resources
On the left panel is the list of areas, meeting rooms and desks. You may search resources by entering name, or select link status.
Linked resources have a green dot and black title. Unlinked resources are displayed using red color.
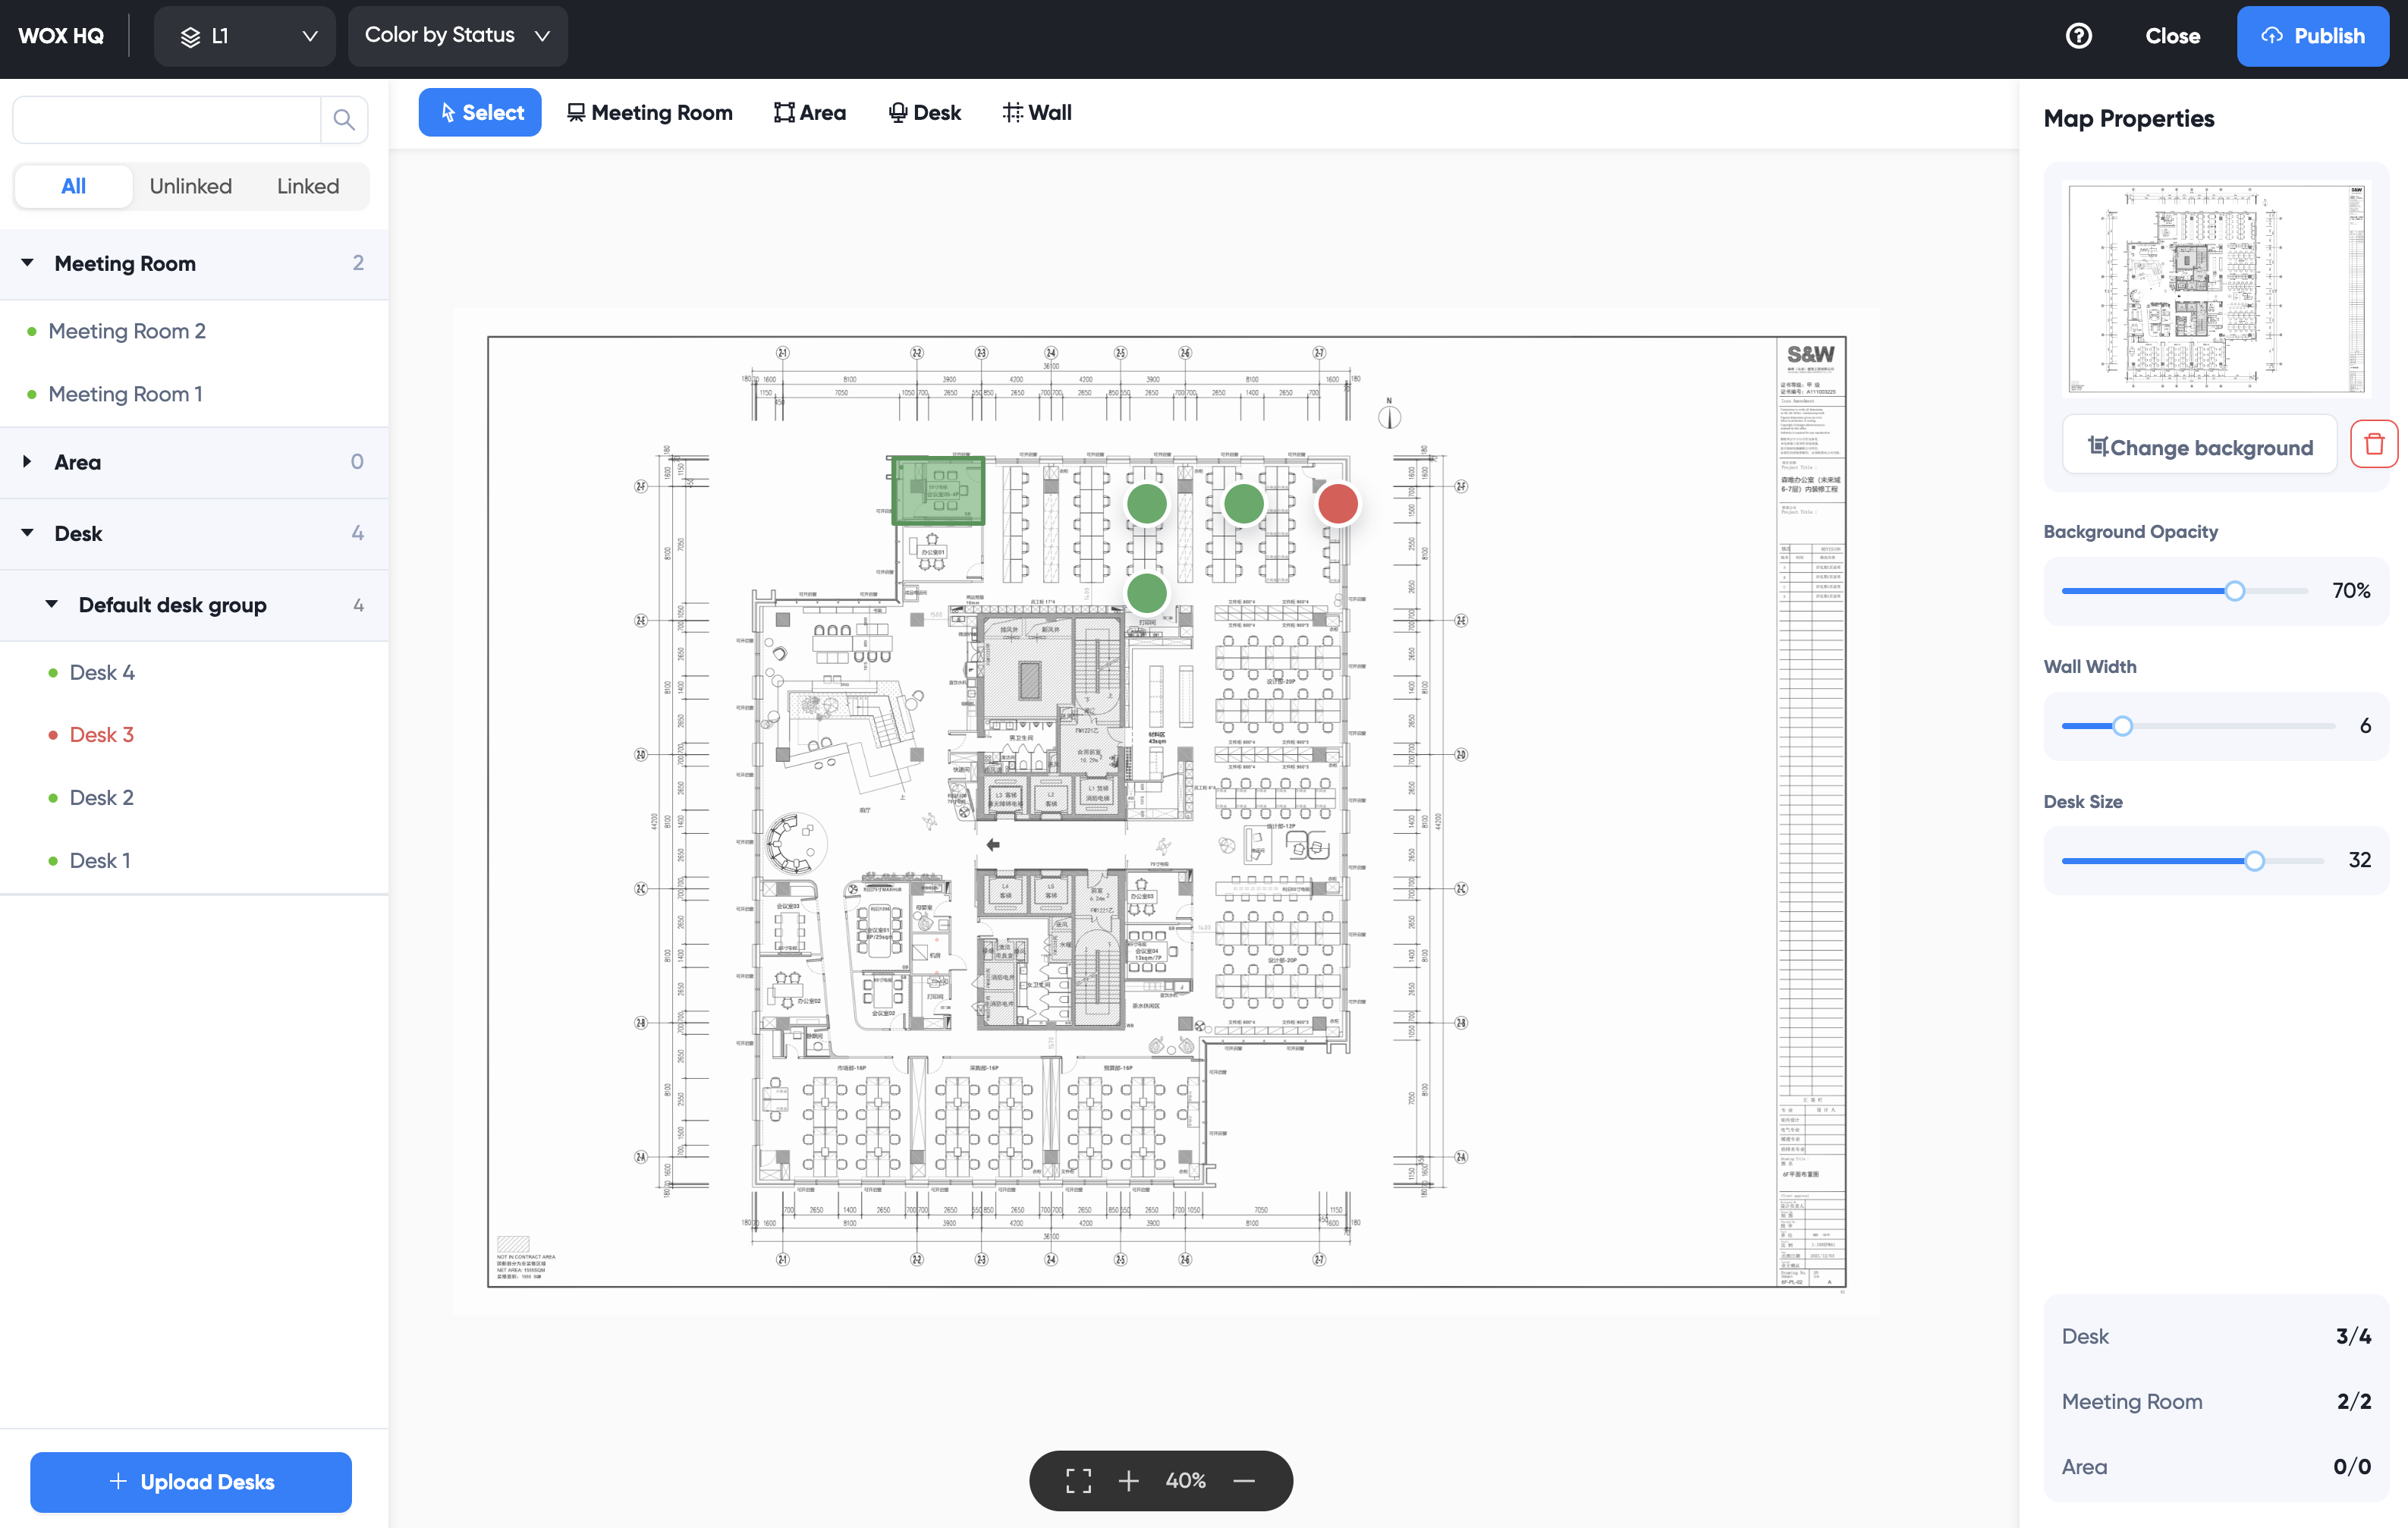
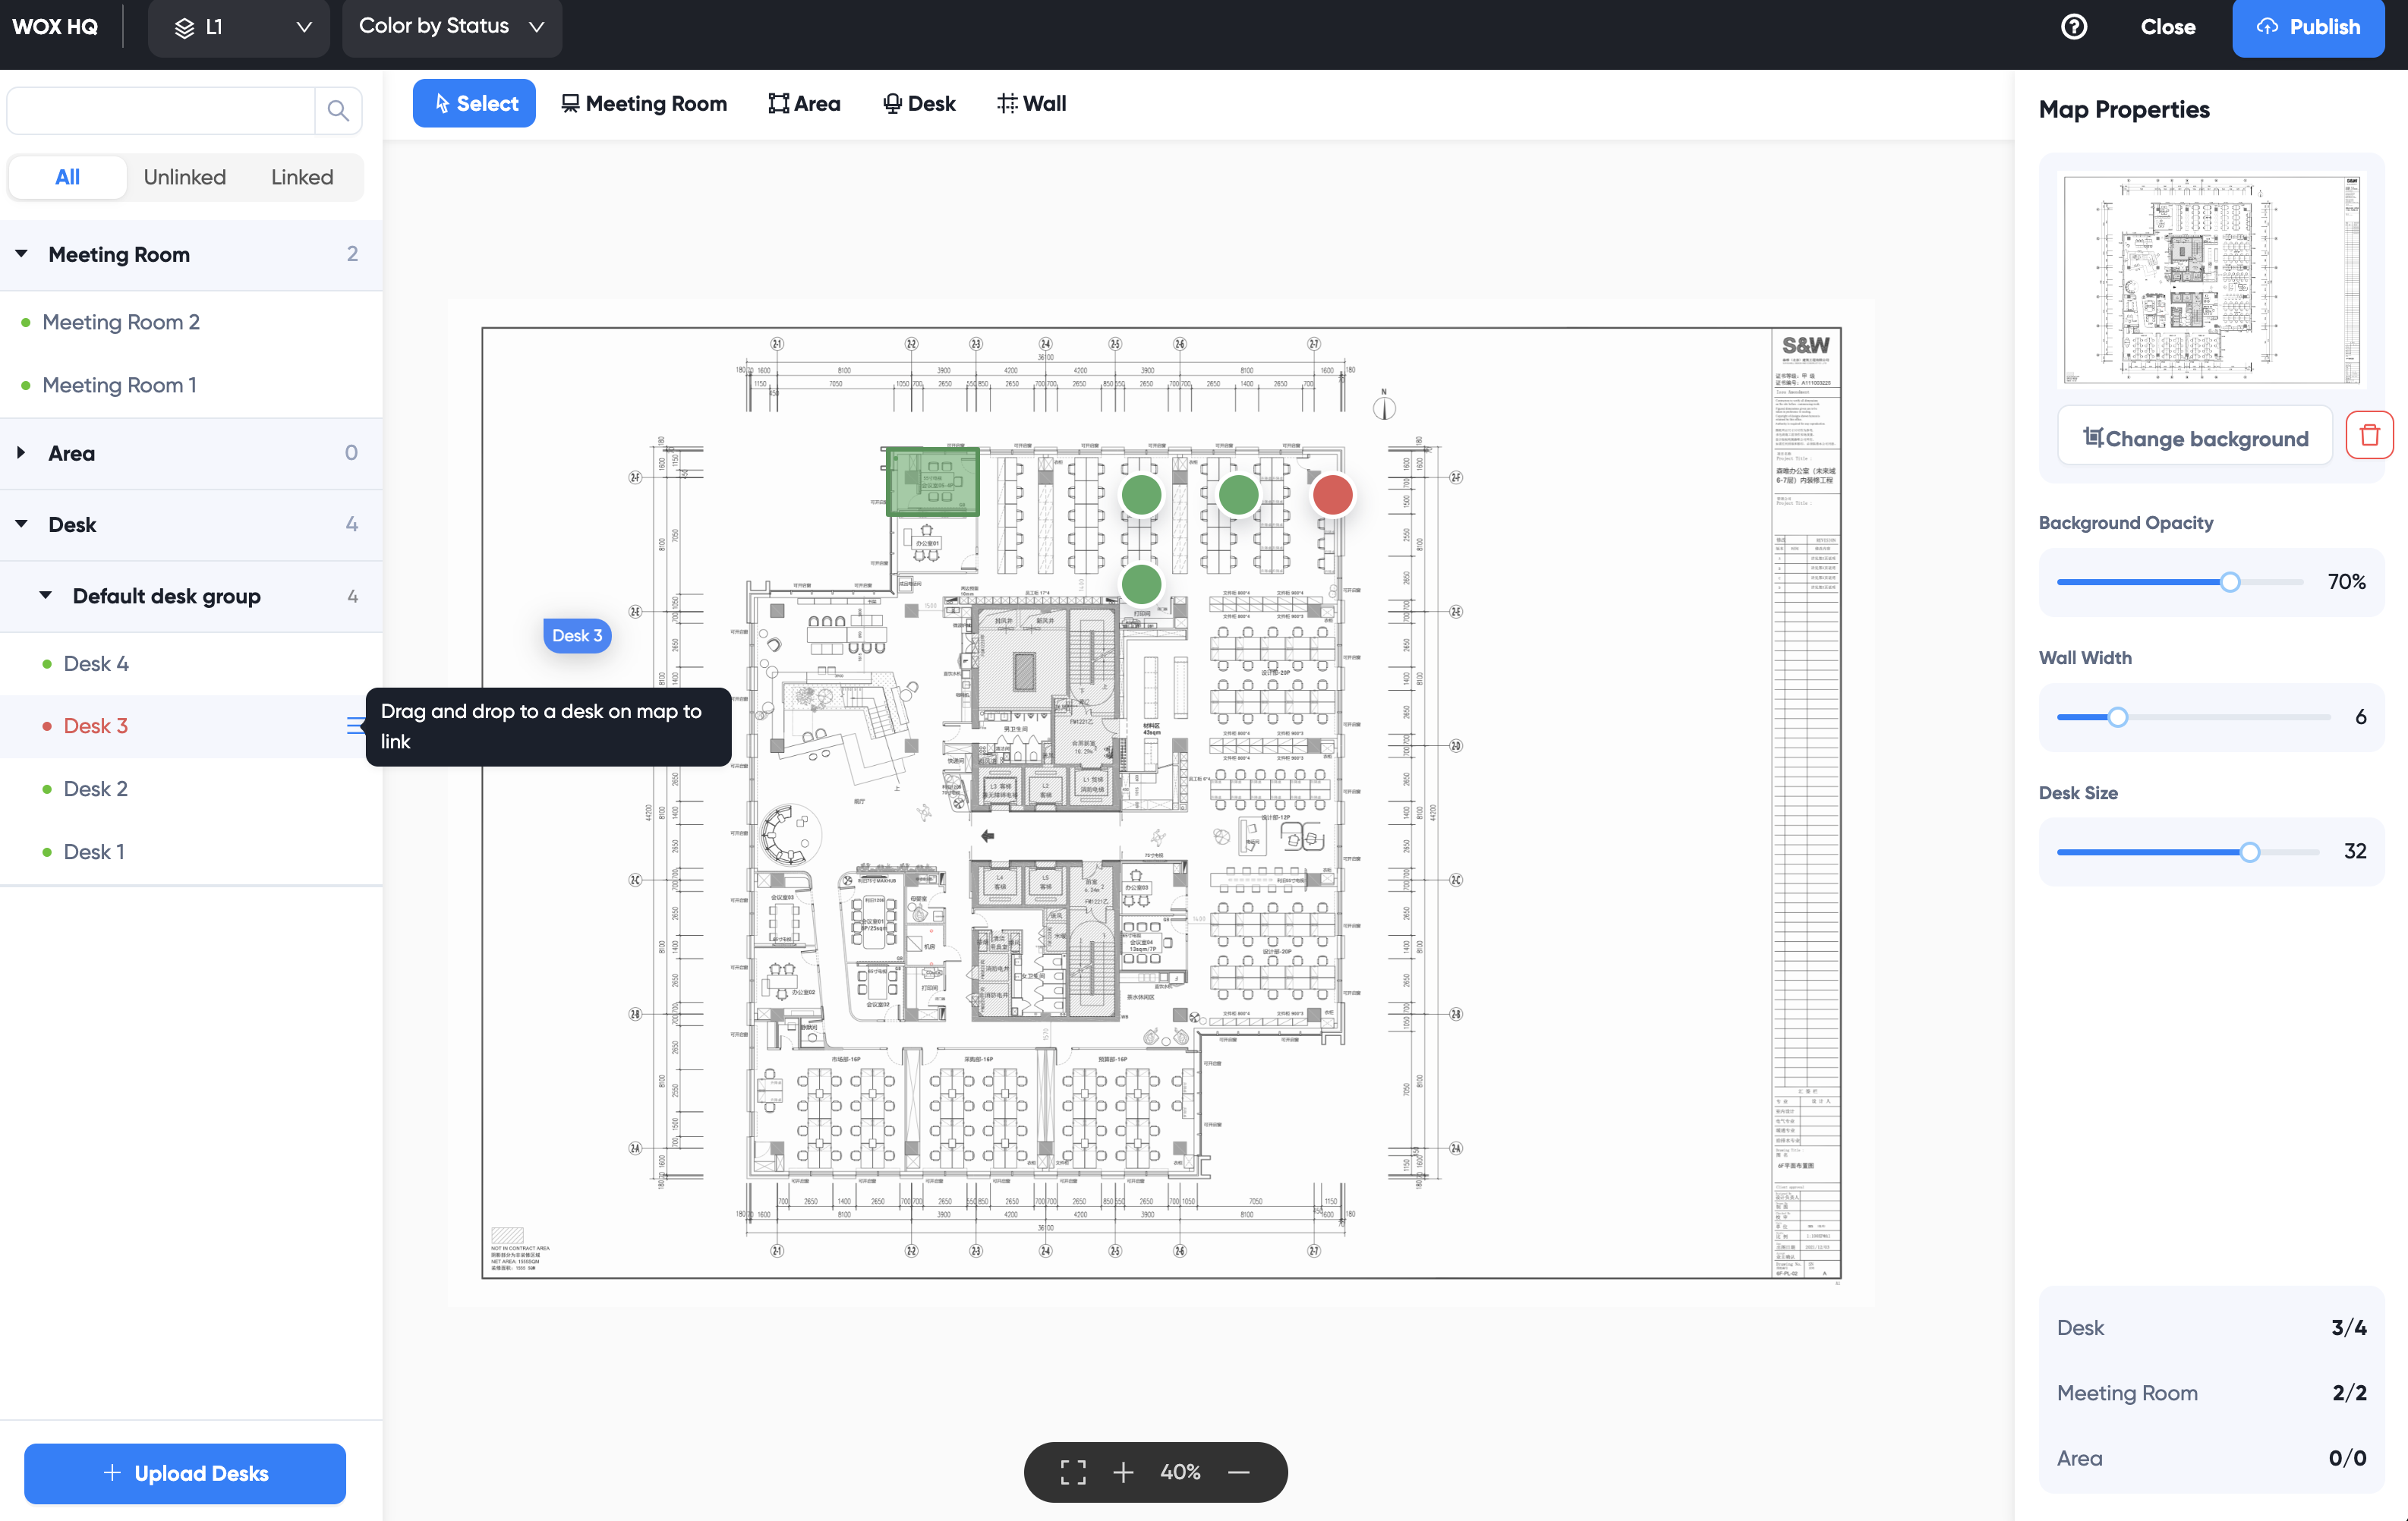
You can link unlinked resources using drag and drop.
Drag and Drop to Link
You can drag and drop resource on the left panel to the map to link resources
- If the resource is dragged to an unlinked map node, it'll link with that node
- If the resource is dragged to the map directly, a new node will be created and linked with the resource
Unlink Resources
You may also unlink resources by clicking the unlink button of the resource:
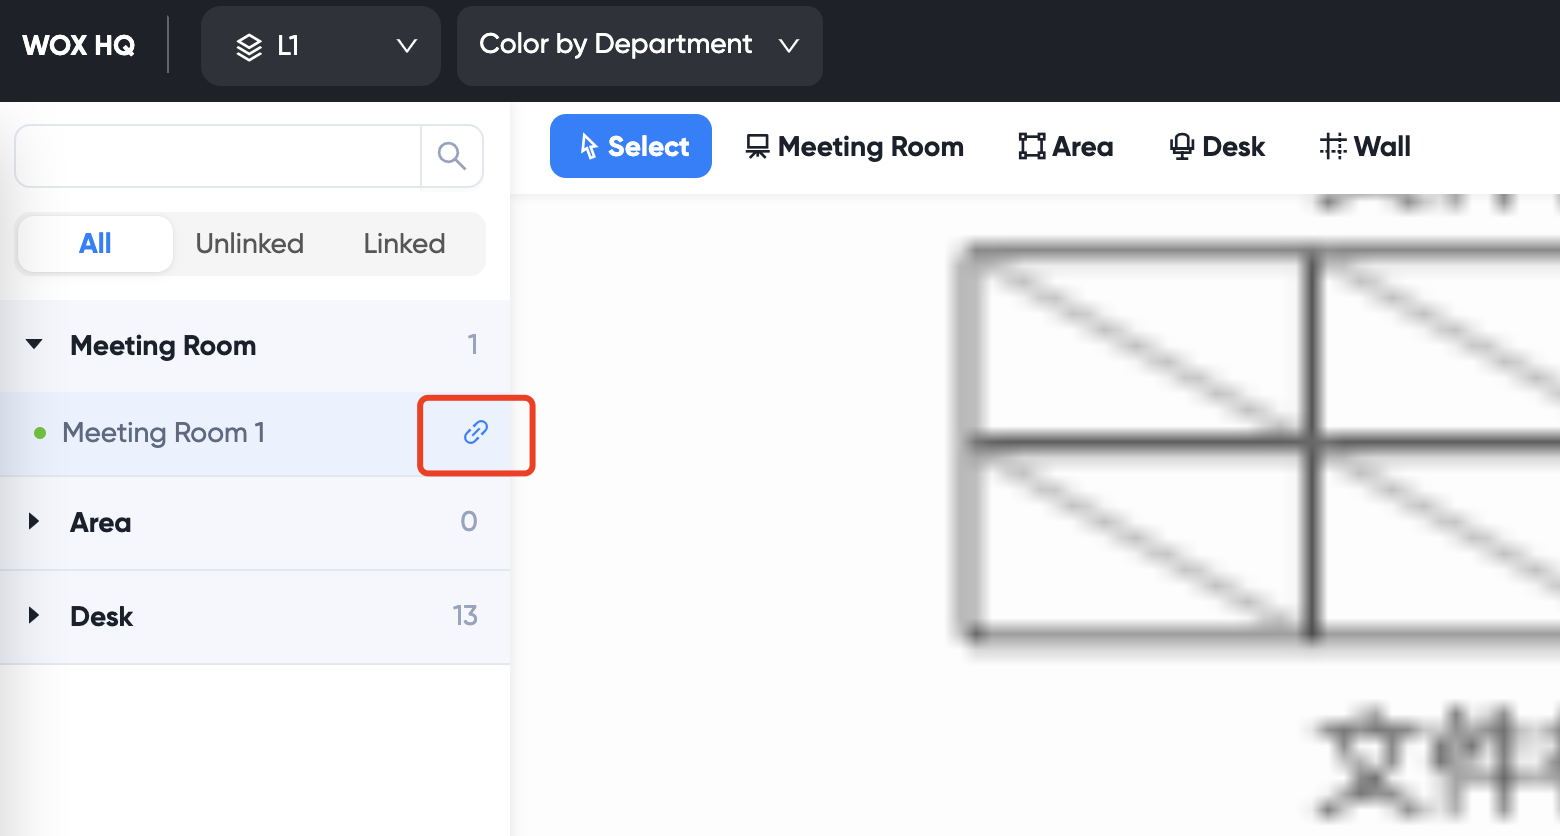
After unlinking, the resource is unlinked and changes color to red. The node on map is also changed to red. Then you can link the resource to a different node or new node using Drag and Drop.